Posted in All Kid Activities

Ice Painting

Mix food coloring with water and freeze. I just used 1-2 drops.

20131108-213330.jpg

20131108-213351.jpg
Wait for a sunny day and take out your colored ice cubes for some ice painting!

20131108-213538.jpg

20131108-213620.jpg

20131108-213646.jpg
The ice melted pretty fast.

20131108-213738.jpg

20131108-213820.jpg
Caleb kept on checking his hands to see if they got “dirty”.

20131108-213917.jpg
CALEB: My hand is cold!

20131108-214015.jpg
When he was done “painting” Caleb threw the rest of the ice all over the garden.

20131108-214103.jpg

20131108-214344.jpg
He enjoyed this a lot!

20131108-214435.jpg

20131108-214506.jpg
We laid out the paper on the grass to dry.

20131108-214554.jpg

20131108-214613.jpg
Hosed down the table and washed Caleb’s hands. They didn’t get stained at all–hahaha! I was secretly worried that they would be stained.

Cold fun on a sunny day!

20131108-214634.jpg

Posted in All Kid Activities, Life Schooling

Pizza Making

This is a wonderful family activity. Everyone can participate and it’s creative and super fun. Plus, your tummy will thank you πŸ‘πŸ‘πŸ‘

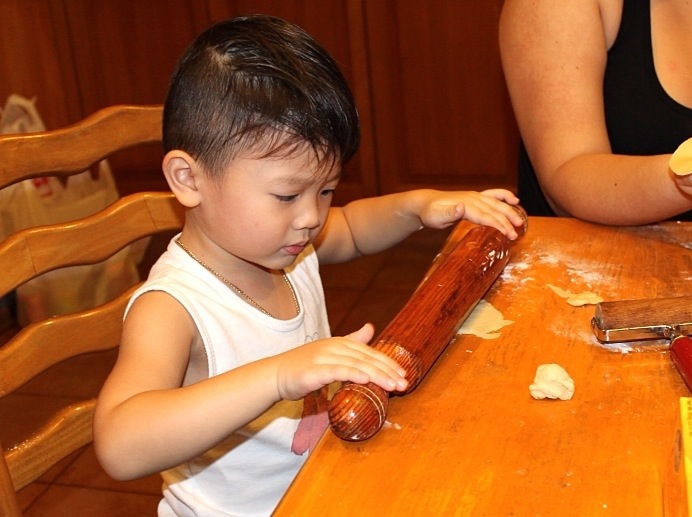
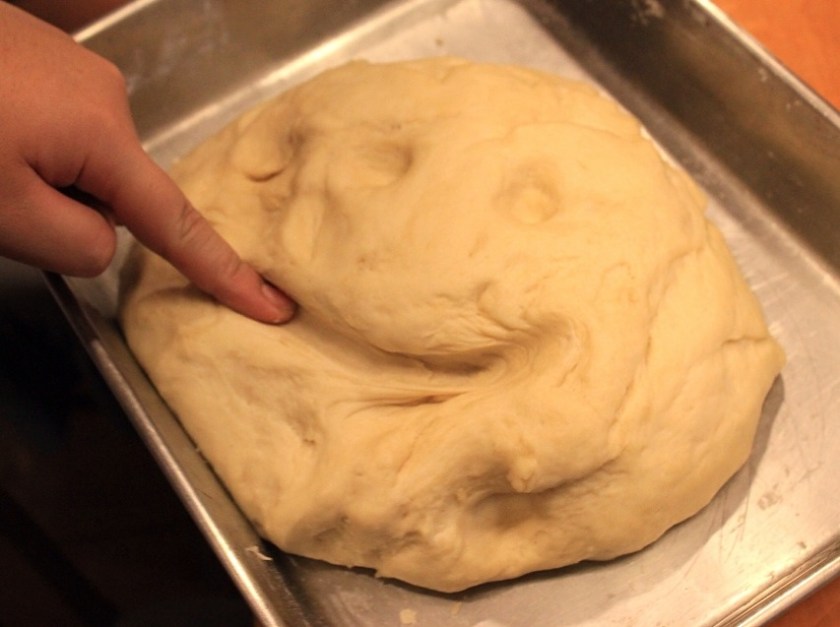
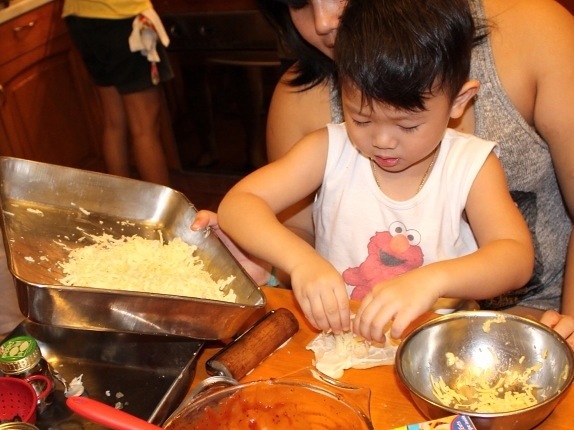
We started by making the dough.
20131107-211405.jpg
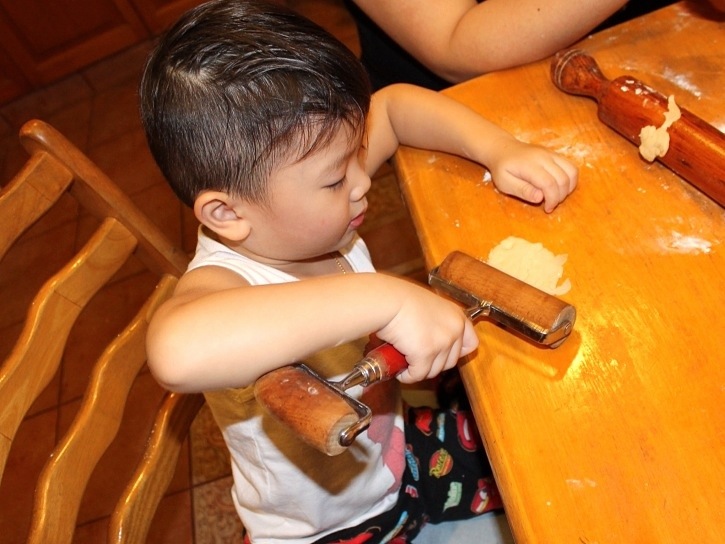
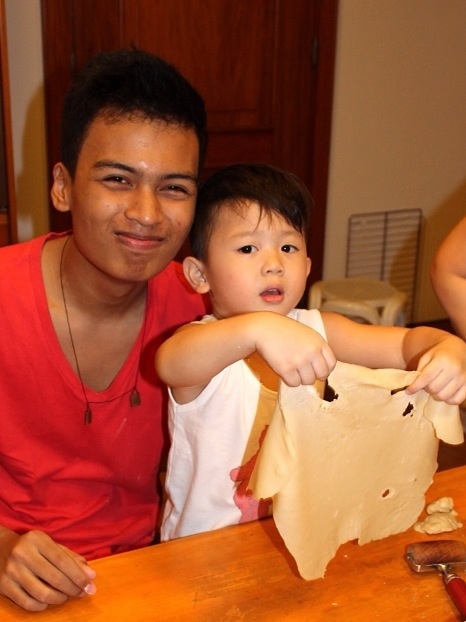
Flatten the dough and shape into pizza or whatever you feel like doing. You are limited only by your imagination ☺
20131107-211745.jpg
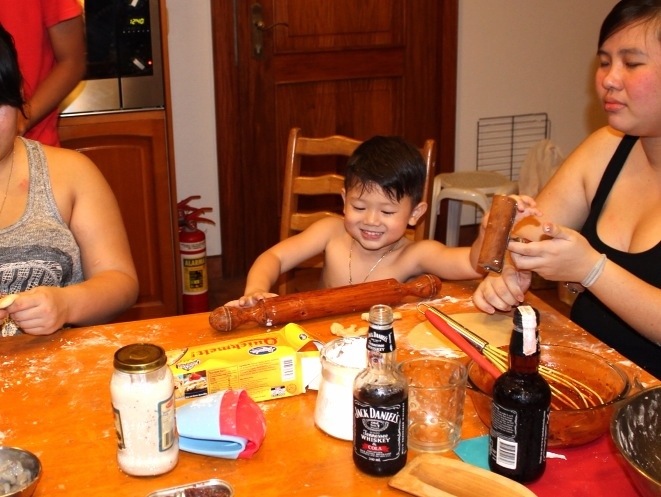
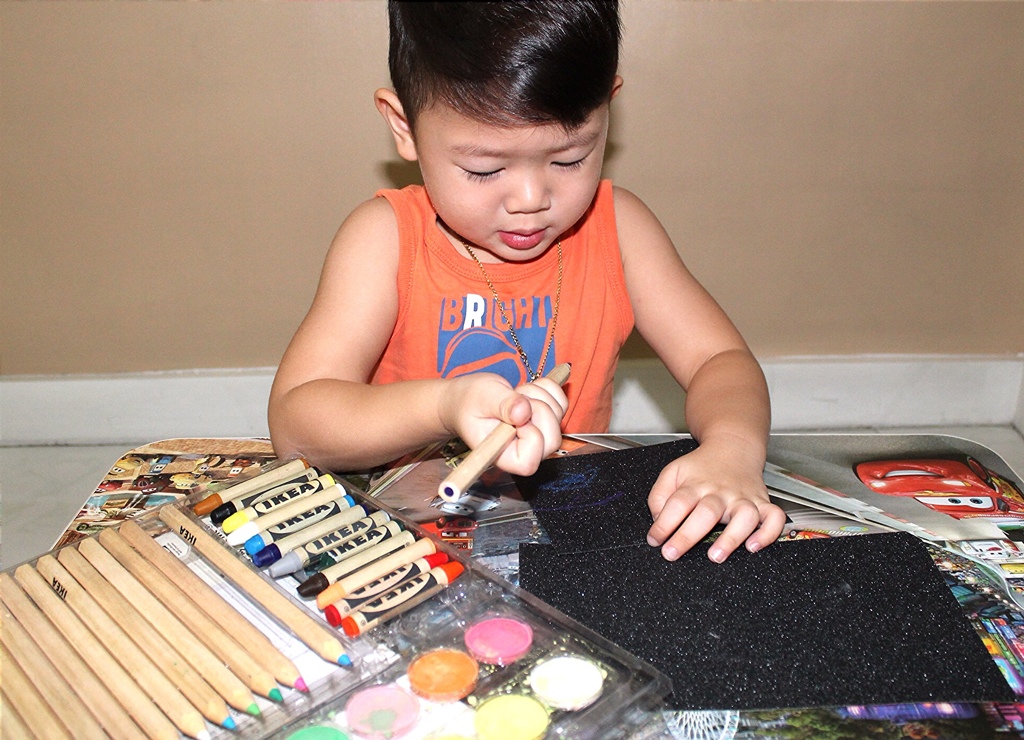
Caleb had so much fun with the dough and the rolling pins.
20131107-212111.jpg20131107-212130.jpg
Pizza making tips from Sexy Gran.
20131107-212302.jpg
Tossing the pizza. If your pizza is rolled out to thinly, it will tear when you toss it. No problem, just do the whole process again. Roll and toss. πŸ˜‰

20131107-212527.jpg
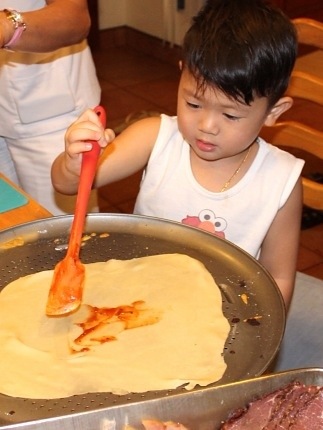
Putting some pizza sauce.
Tomato sauce.

20131107-212707.jpg
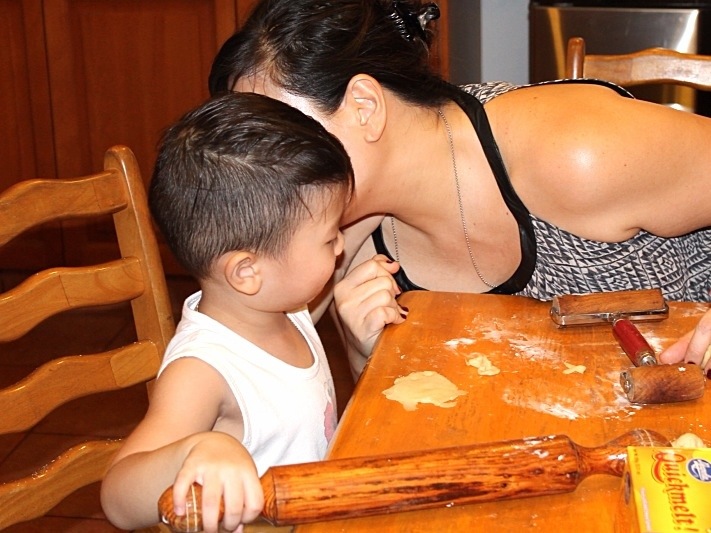
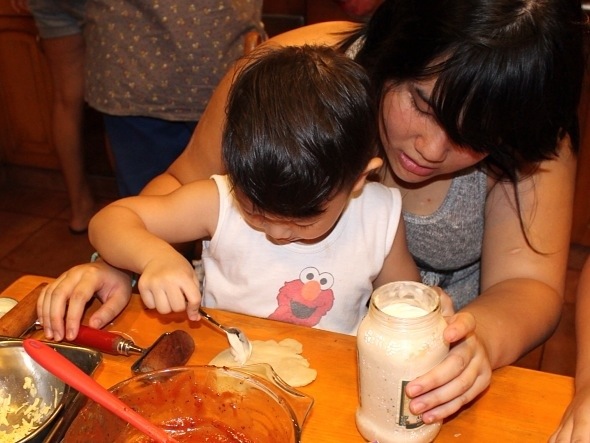
White sauce on Caleb’s special pizza–he made this one by himself with special assistance from Auntie Sassha.
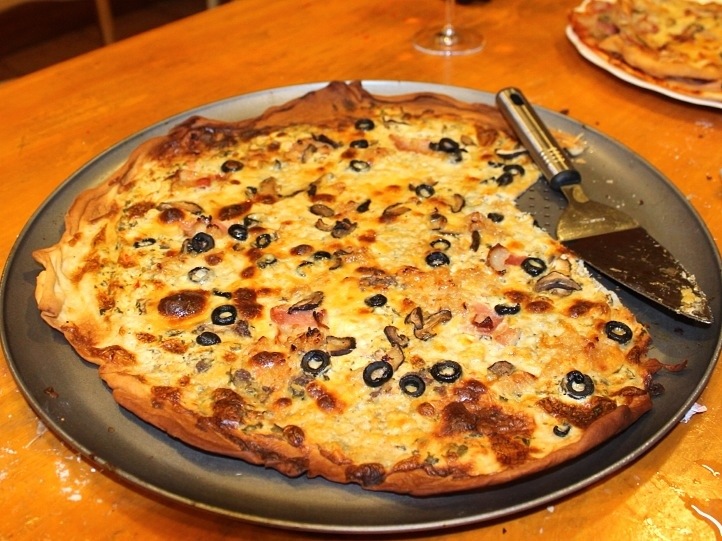
20131107-212817.jpg
Adding some cheese.

20131107-212902.jpg

20131107-212924.jpg
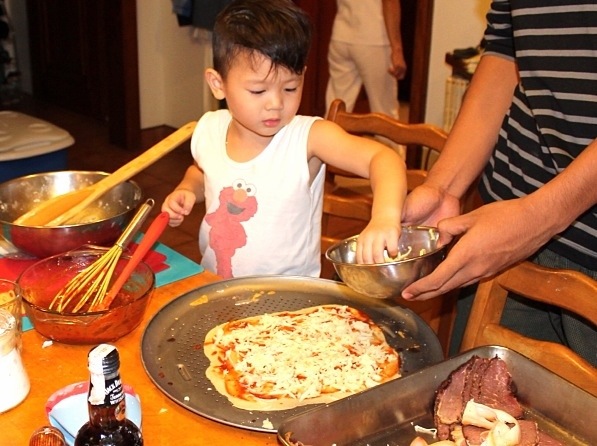
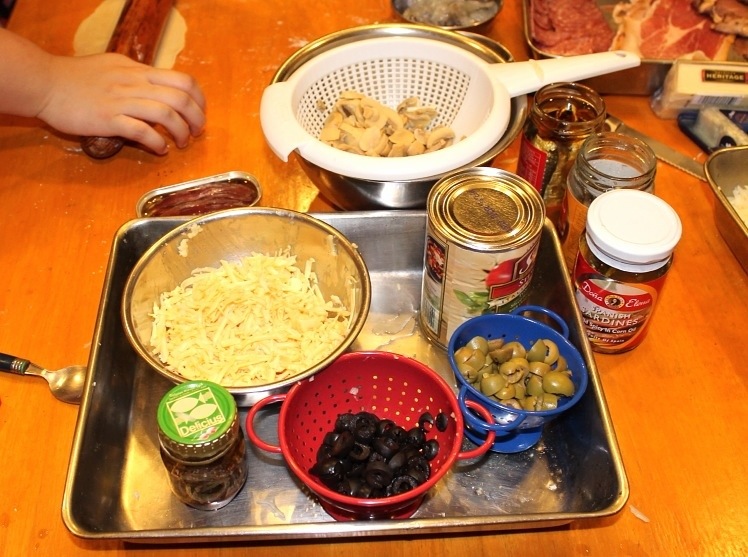
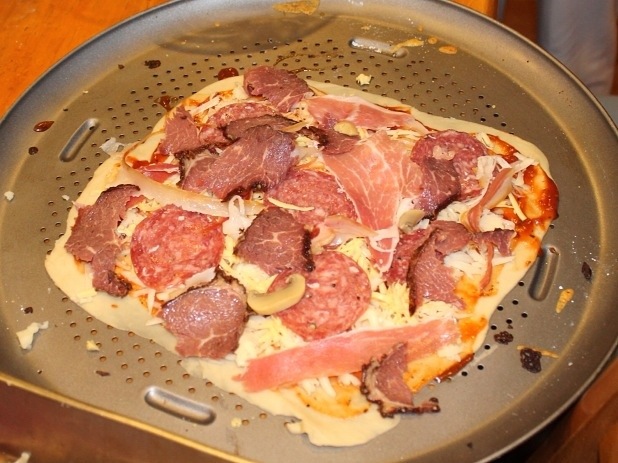
Have all the toppings prepped and go wild with what you put on top of your pizza.

20131107-213011.jpg

20131107-213036.jpg
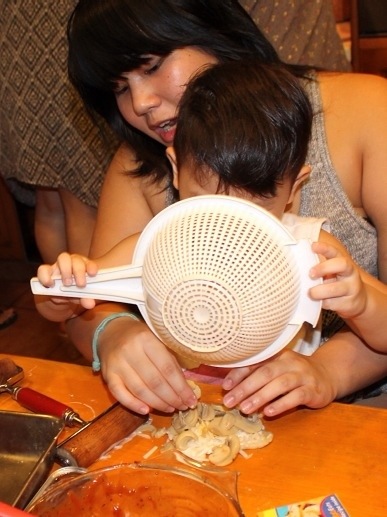
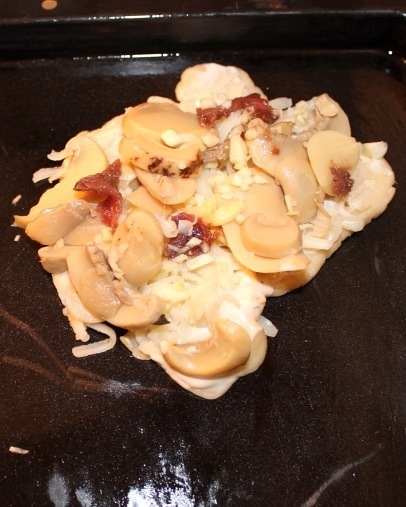
Caleb “poured” the toppings onto his personal pizza. He just wanted to put mushrooms.

20131107-213112.jpg
Ready for the oven!

20131107-213206.jpg
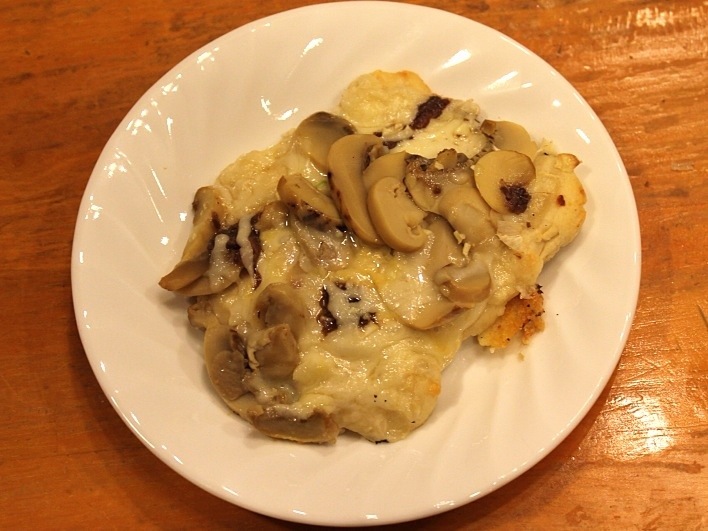
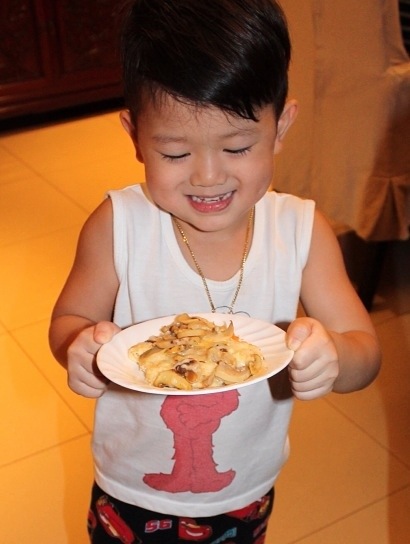
Caleb was happy with his pizza.

20131107-213247.jpg

20131107-213258.jpg
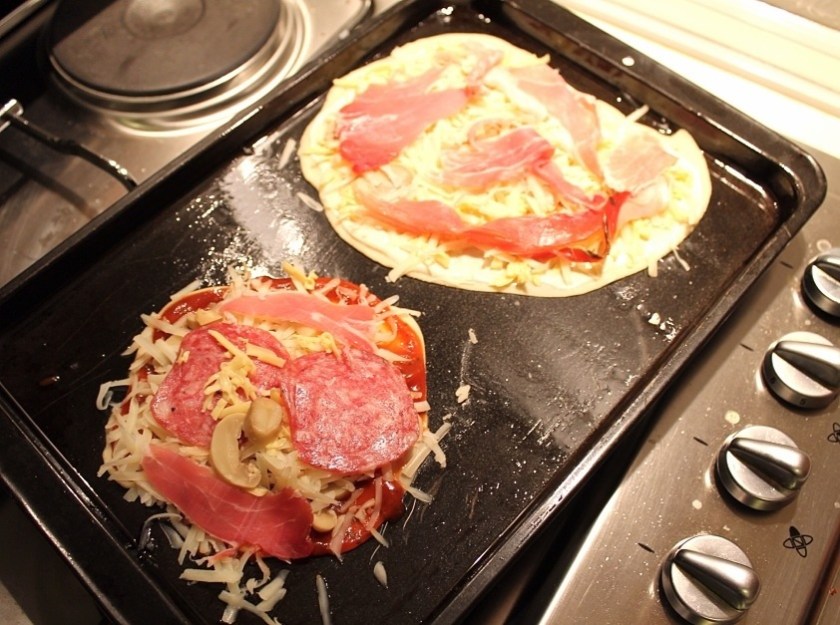
We made so many kinds of pizza in different shapes, flavors, and sizes.

20131107-213345.jpg

20131107-213354.jpg

20131107-213410.jpg
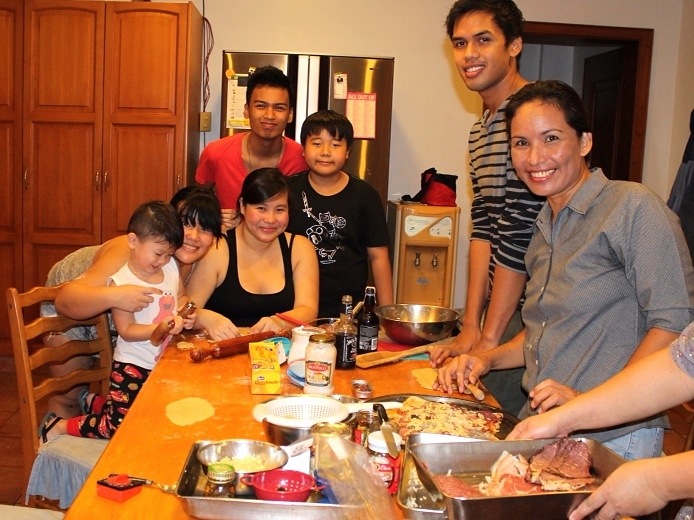
Caleb with the gang.

20131107-214220.jpg
The kitchen was buzzing with activity and full of people. It was great to see people come together and create something to eat. This was a fantastic friends and family bonding activity. We had a fabulous time doing this and we hope you do too!

Posted in All Kid Activities

Sandpaper Shirt Printing

I got this idea from my friend Gabbi. You will need:
1. Sandpaper
2. Crayons
3. Shirt
4. Iron
5. Cardboard
6. Newspaper

Step one.
Use the crayons to draw on the sandpaper.
I provided Caleb with different coloring materials and let him choose which one was the best to use on the rough paper. Here, he’s testing out the coloring materials.
20131005-132316.jpg
20131005-132325.jpg
CALEB: This one! I like this!
20131005-132335.jpg
Caleb enjoyed drawing on the rough paper.
20131005-132859.jpg
It’s easy to trace on!
Caleb traced his name.
20131005-132946.jpg
He even learned to draw a sun.
20131005-132955.jpg
Ready for the next step!
20131005-133527.jpg

Step 2.
Put the cardboard under the shirt. Position it so the sandpaper that will be ironed on to it will fit on top.

20131005-133638.jpg

Step 3.
Put the sandpaper facedown on the shirt.
20131005-133803.jpg

Step 4.
Put the newspaper ( I just used a sheet) on top of the sandpaper and iron using medium to medium high setting. This takes less than a minute to do.

20131005-133927.jpg

Step 5.
Remove and see the print on the shirt.
20131005-134123.jpg
Maybe we should’ve mirrored the letters. Hahaha! 😝
Caleb wanted to do another one. So we used the same sandpaper and drew on it again.
20131005-134315.jpg
20131005-134411.jpg
20131005-134420.jpg
Tada! All done!
20131005-134509.jpg