After 11 years, my trusted pressure cooker broke down. Time for a new pressure cooker!
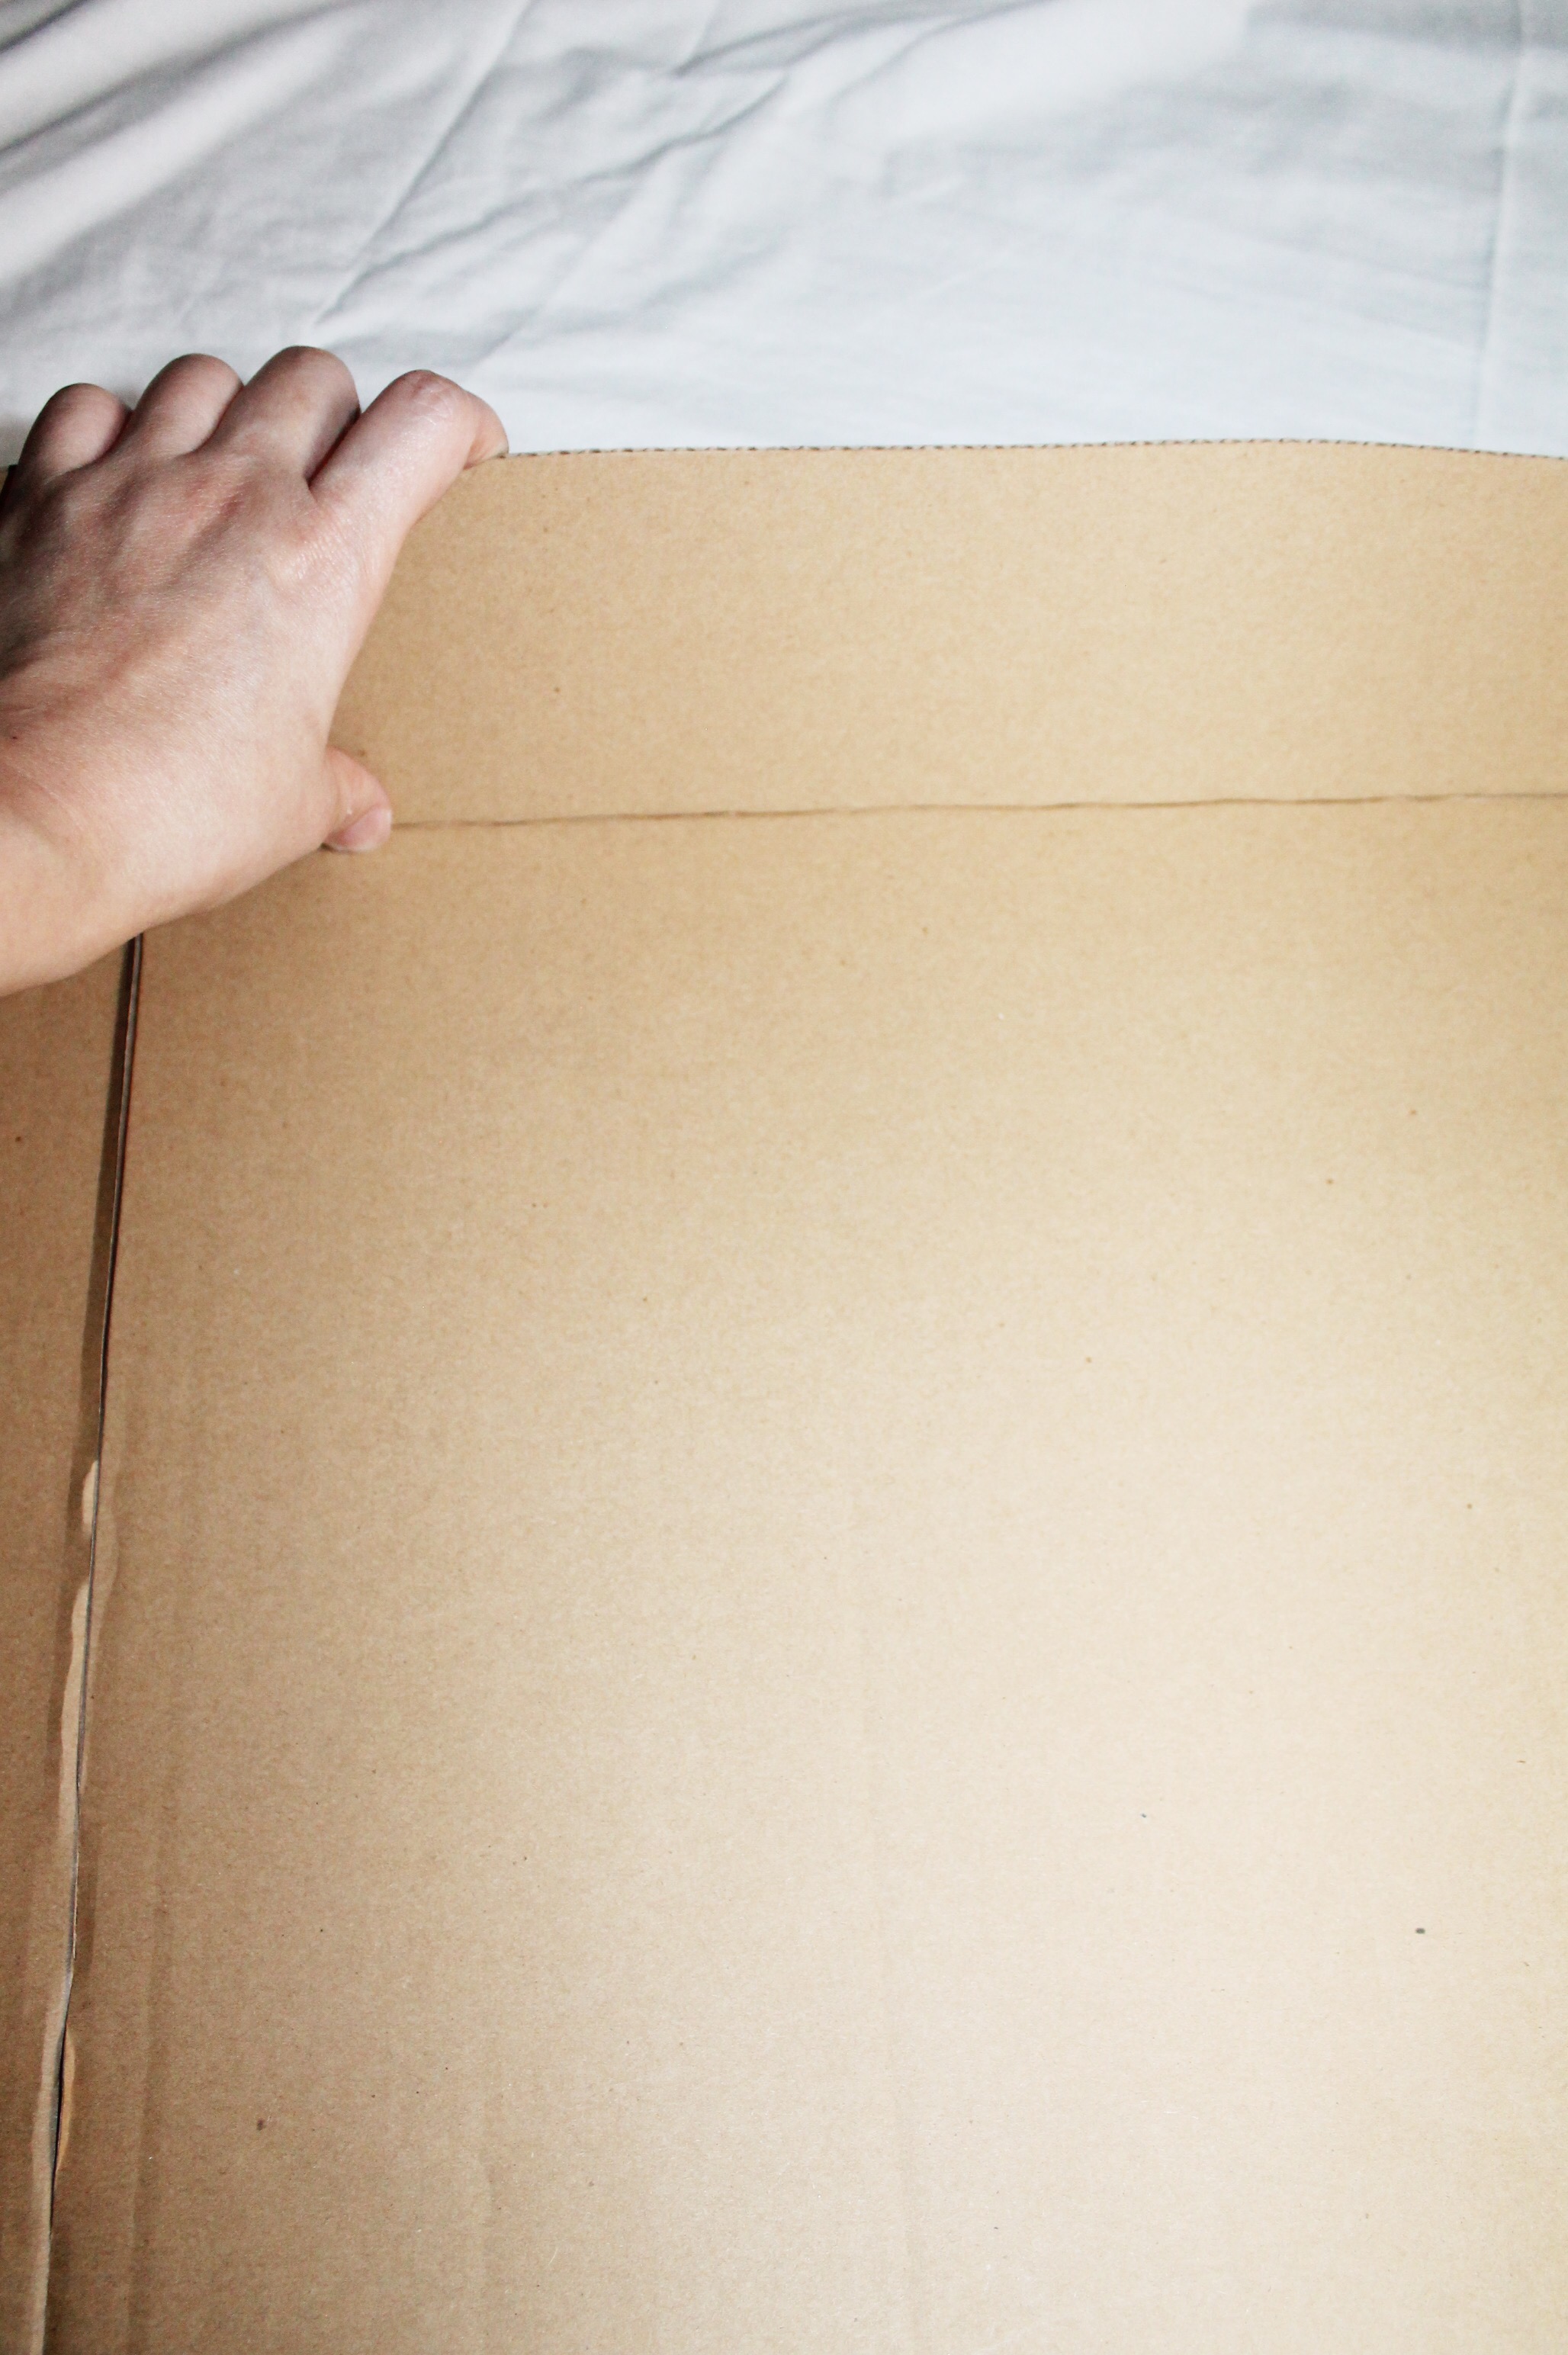
Tahdah! A gift from my mother in law which she ordered all the way from Taiwan!
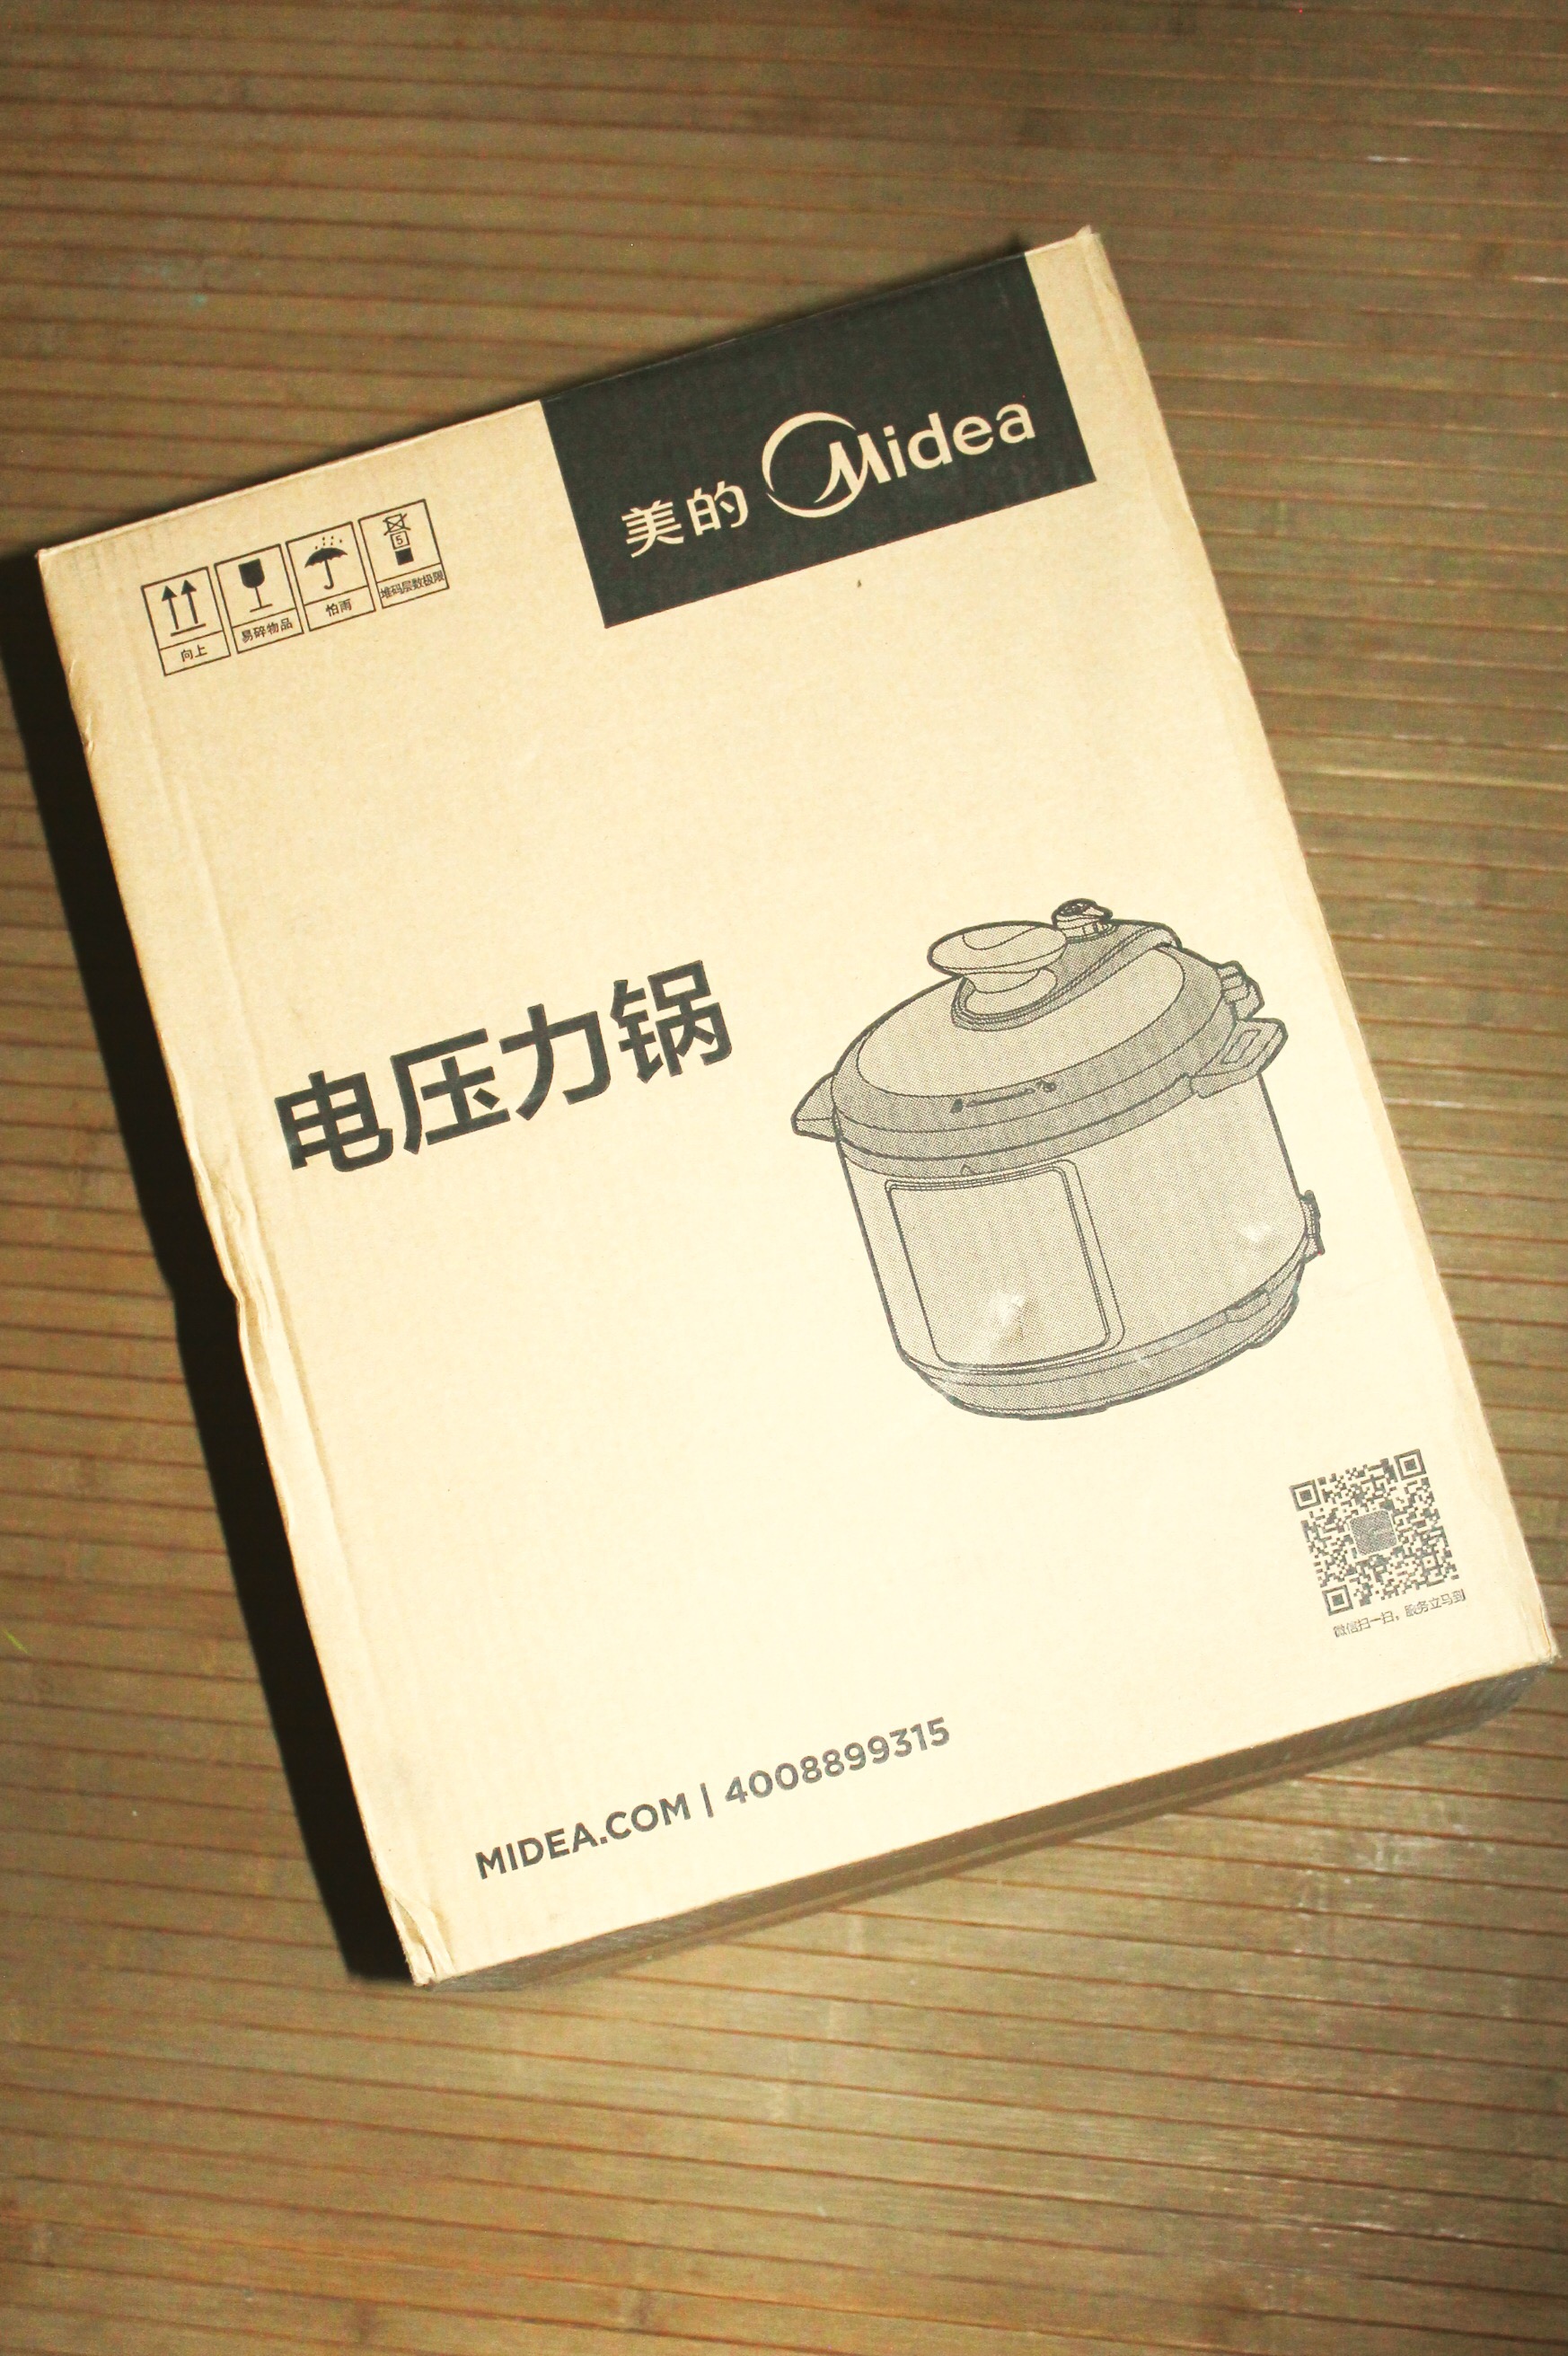
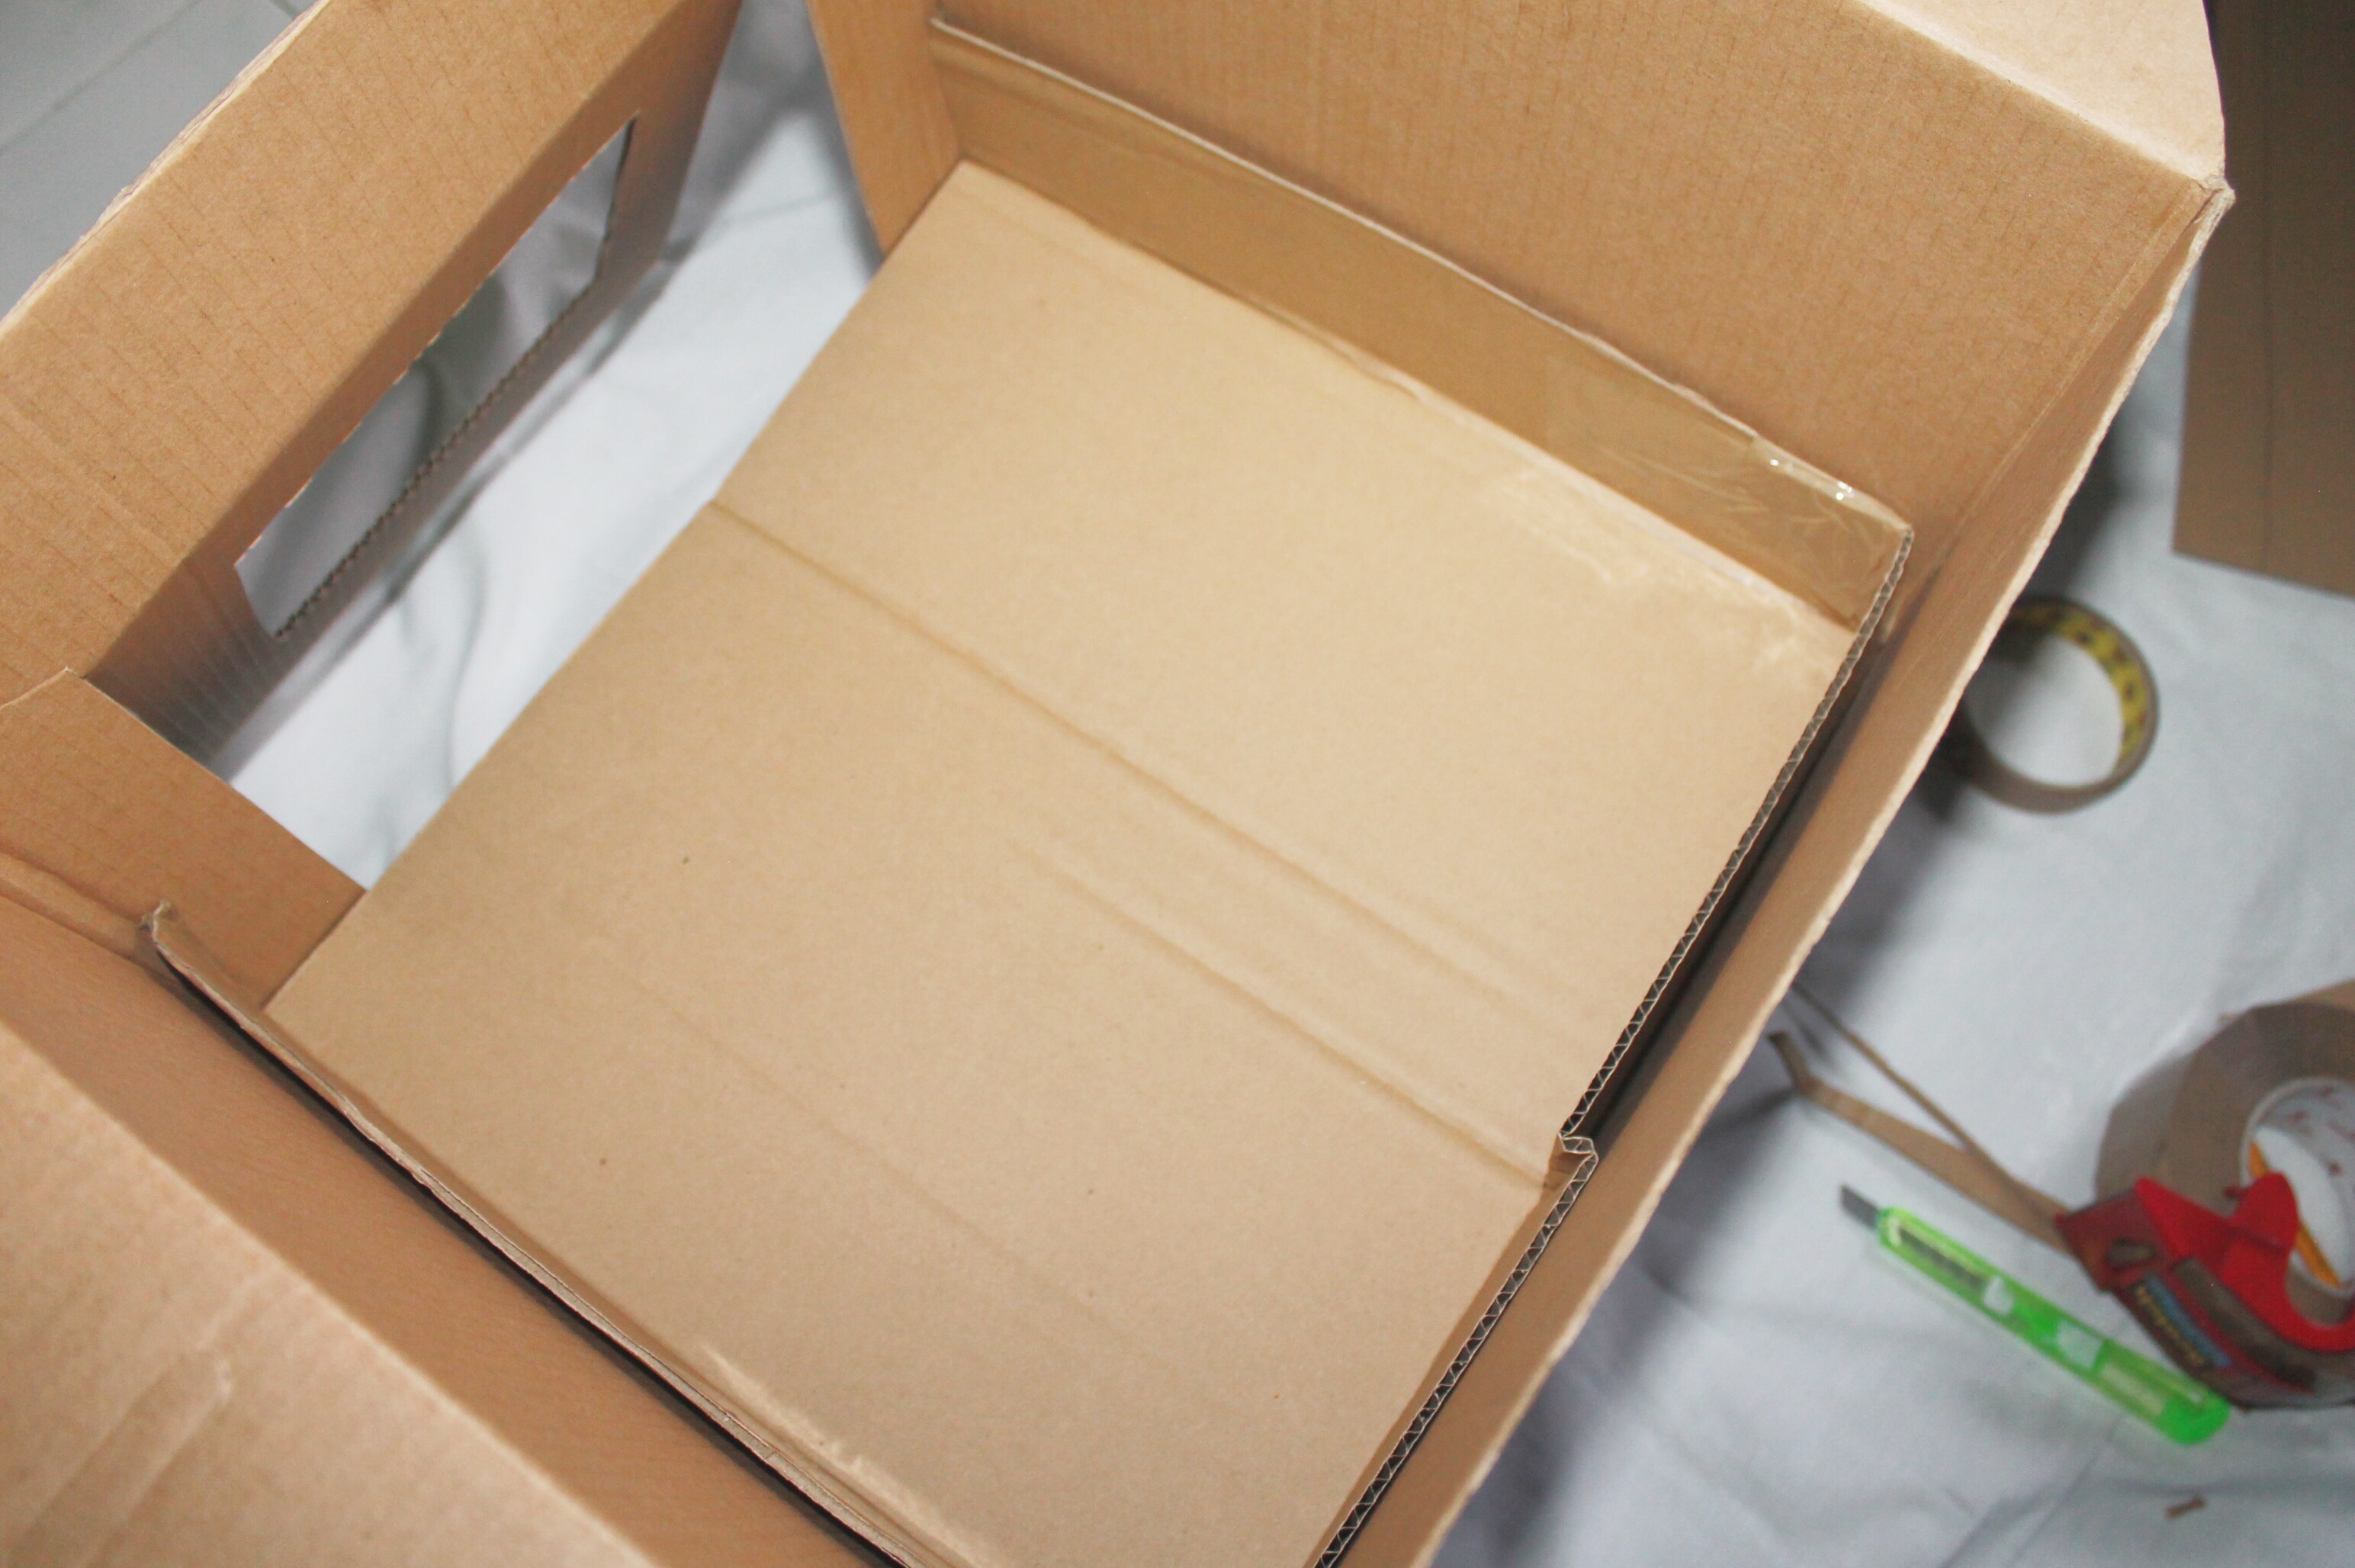
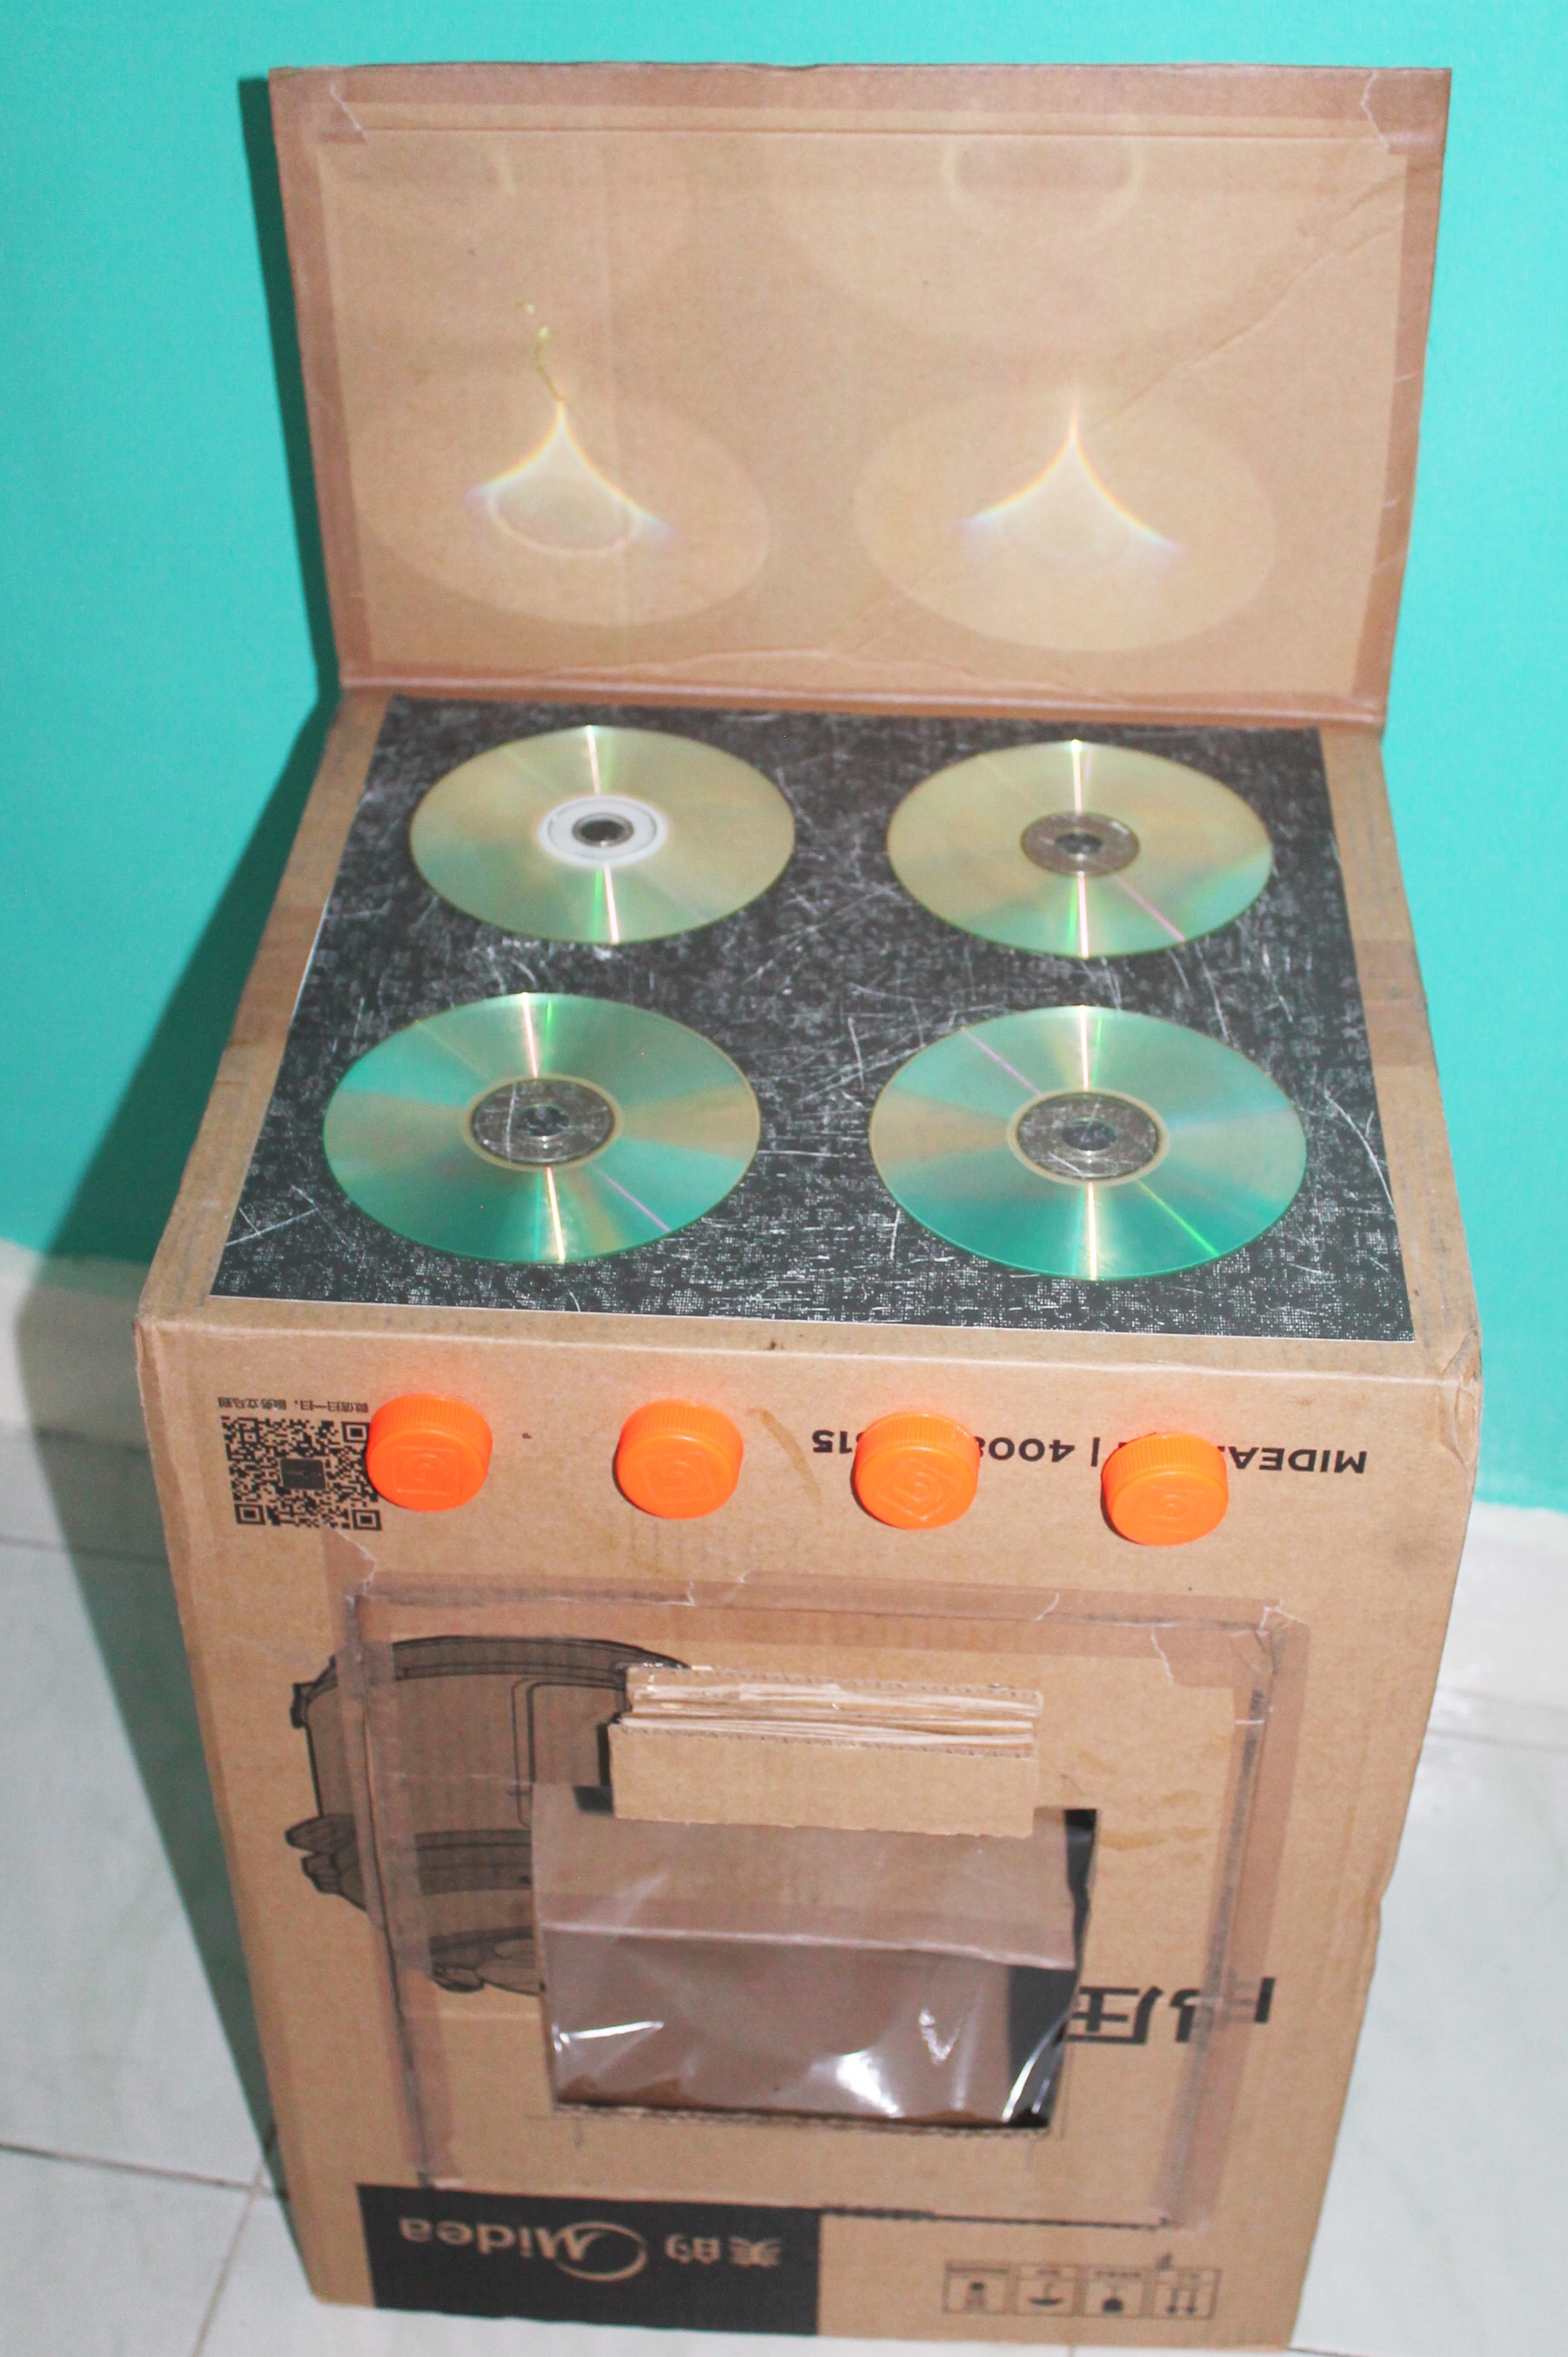
I didn’t want to throw the box without using it first so I decided to transform it into a toy oven for my boys!
You will need:
Masking tape
Packing tape
Double sided tape
Box cutter
Glue gun
4 plastic bottle caps
4 old cds
12×12 inch paper (I used scrapbook paper for this)
4 brass plated paper Fasteners or 4 paperclips
Extra cardboard to make a shelf
Kid safe Paint
Time from start to finish: 1 hour by yourself . 1-2 hours if the kids are “helping” you.
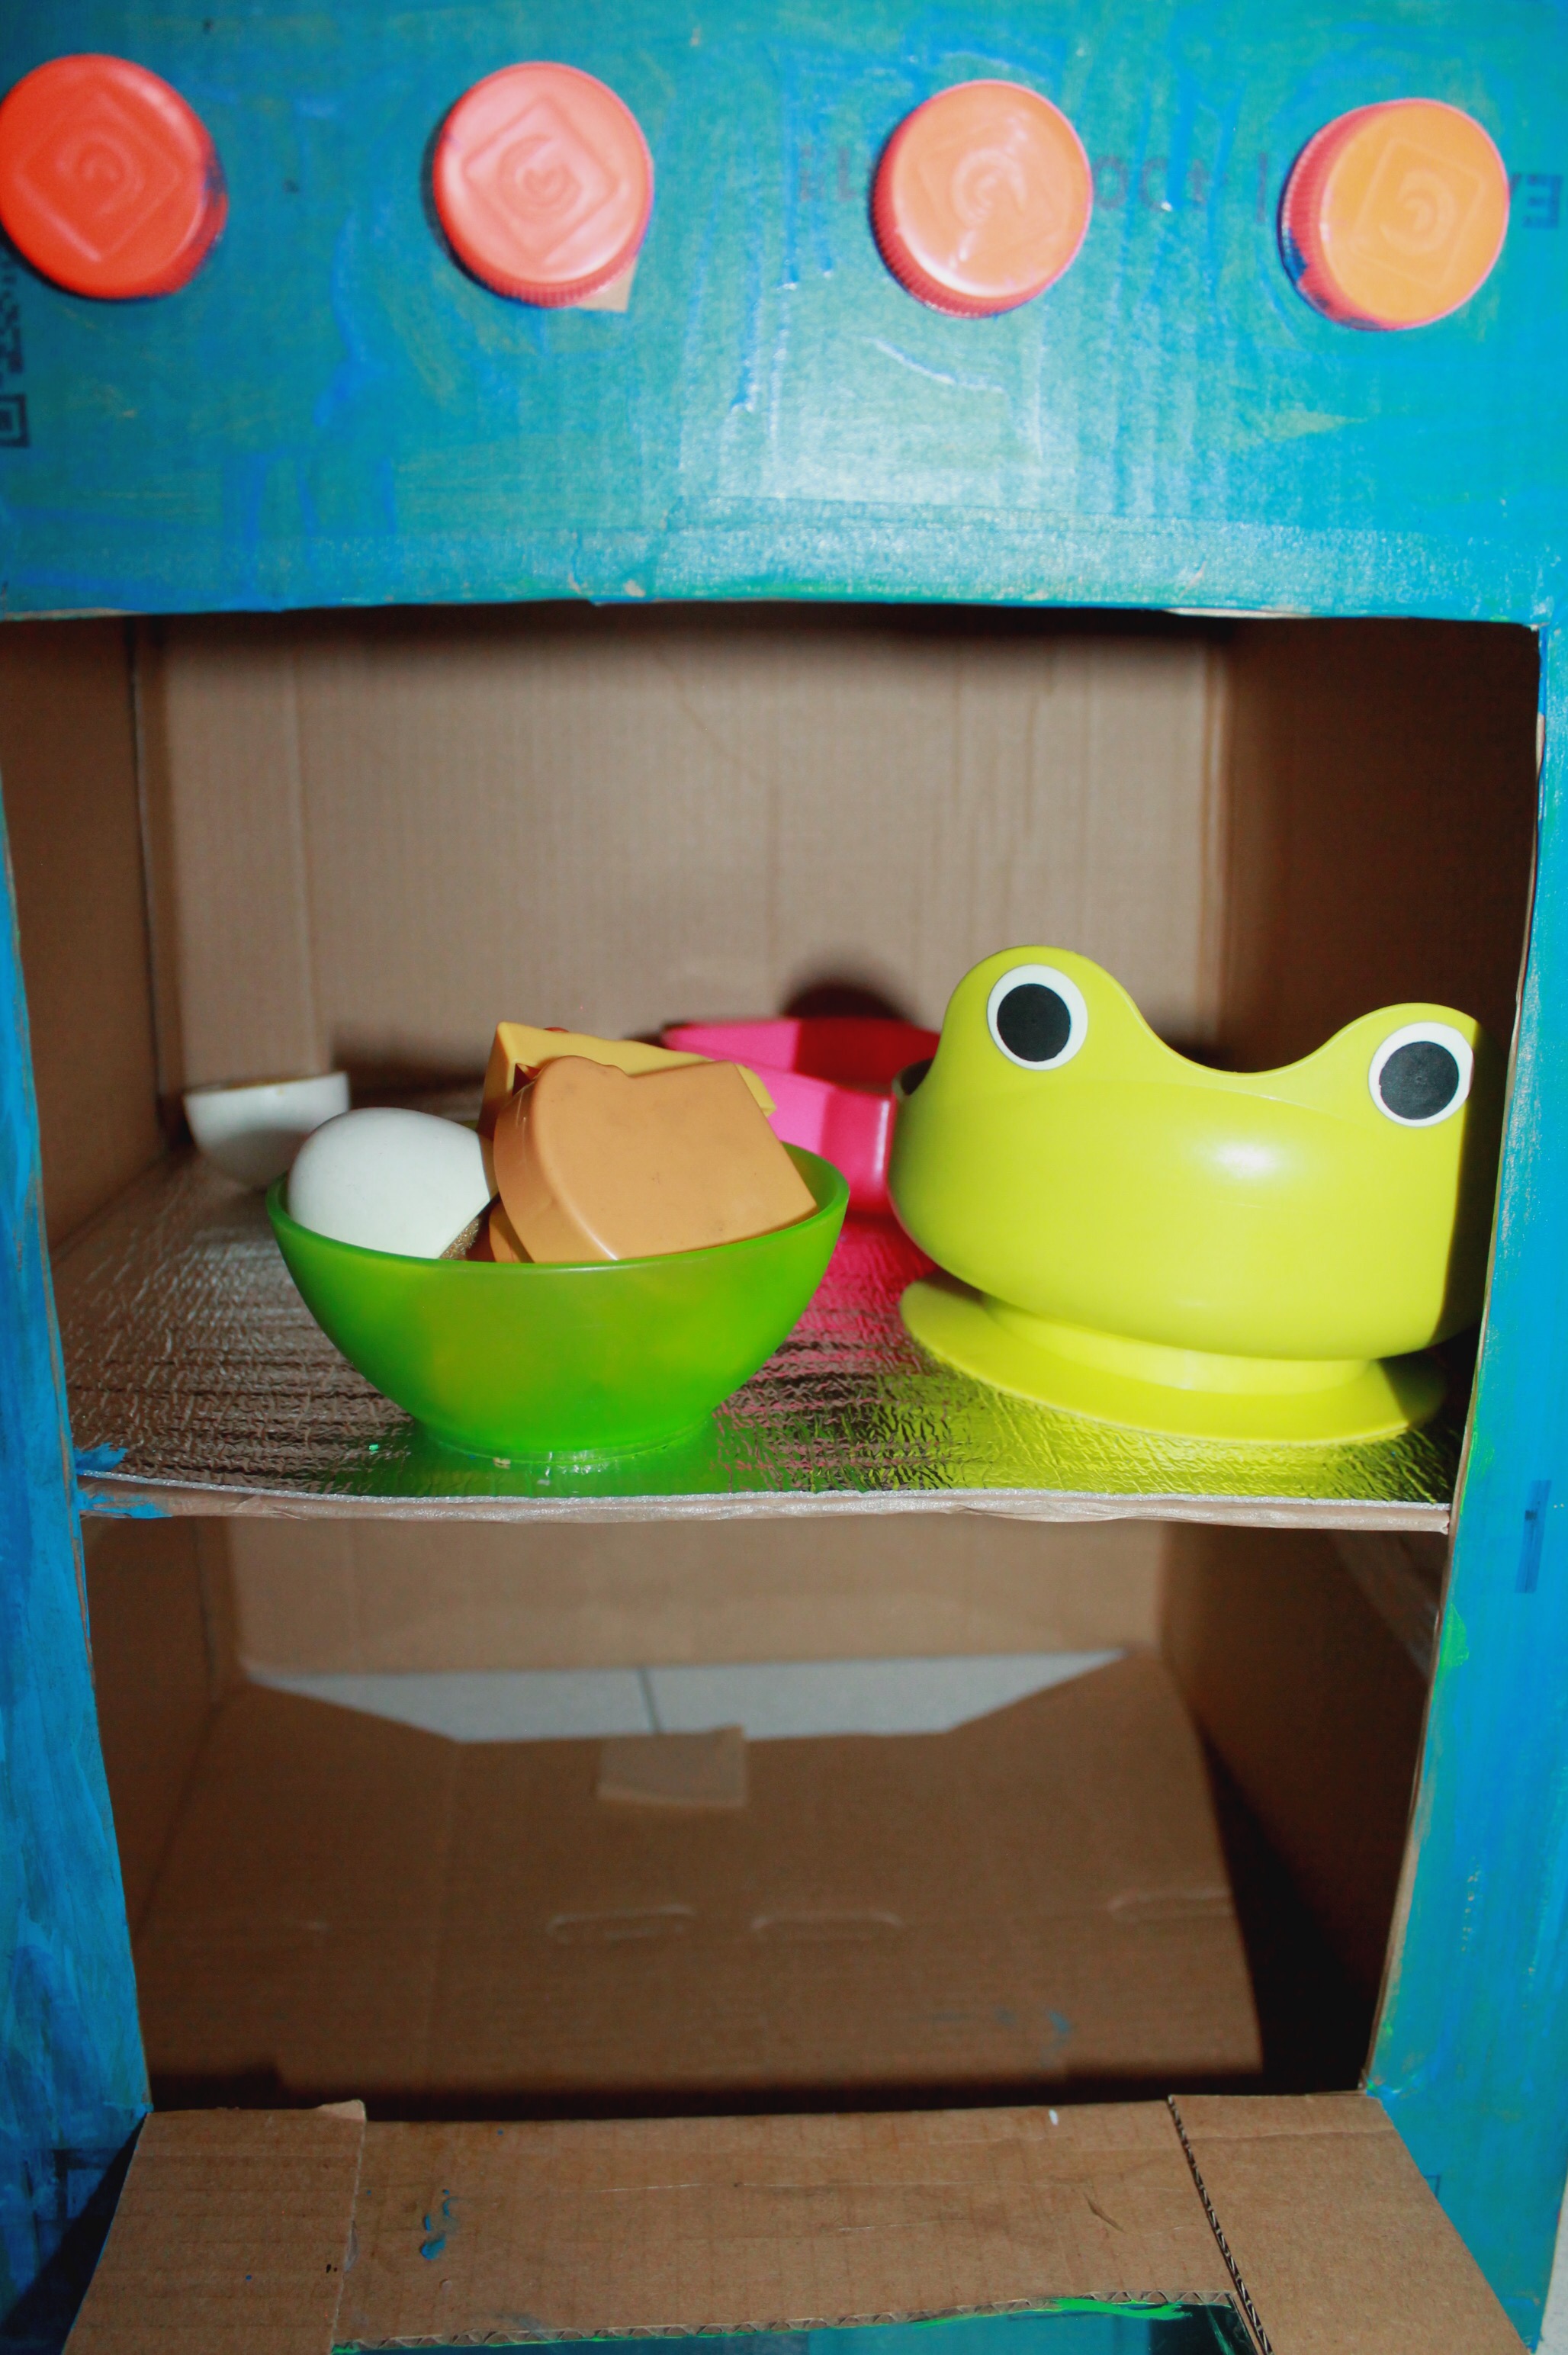
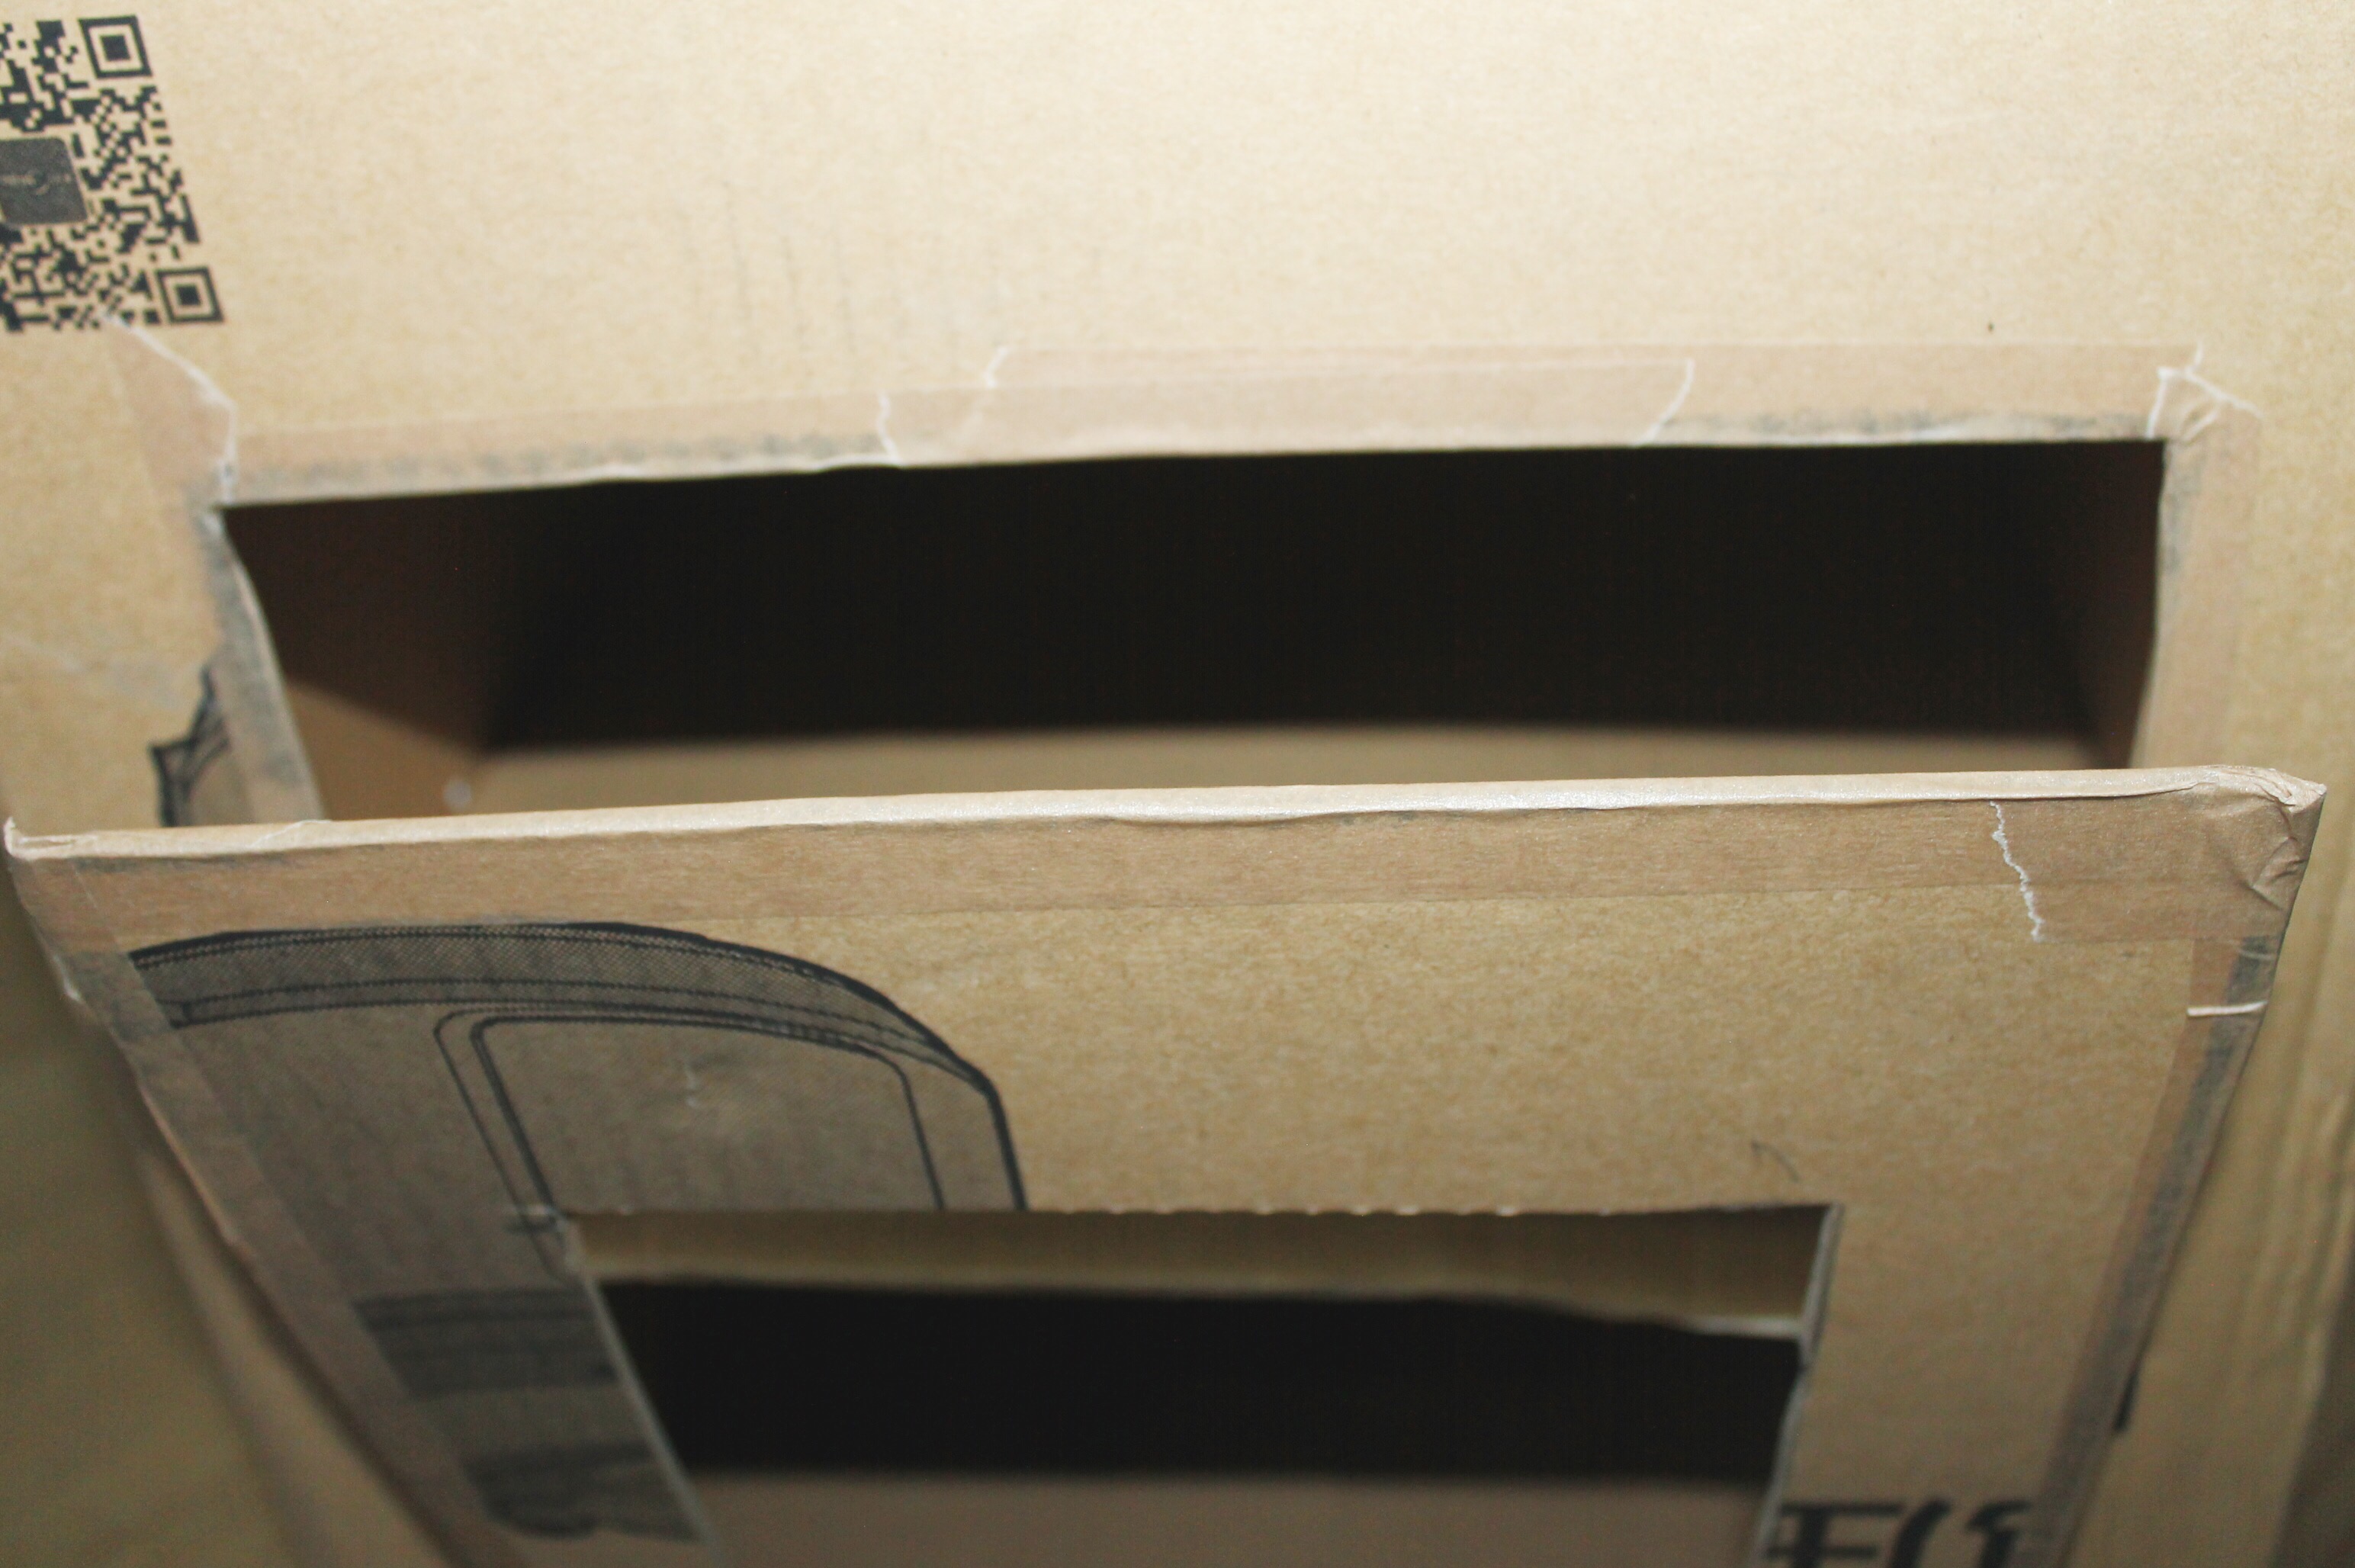
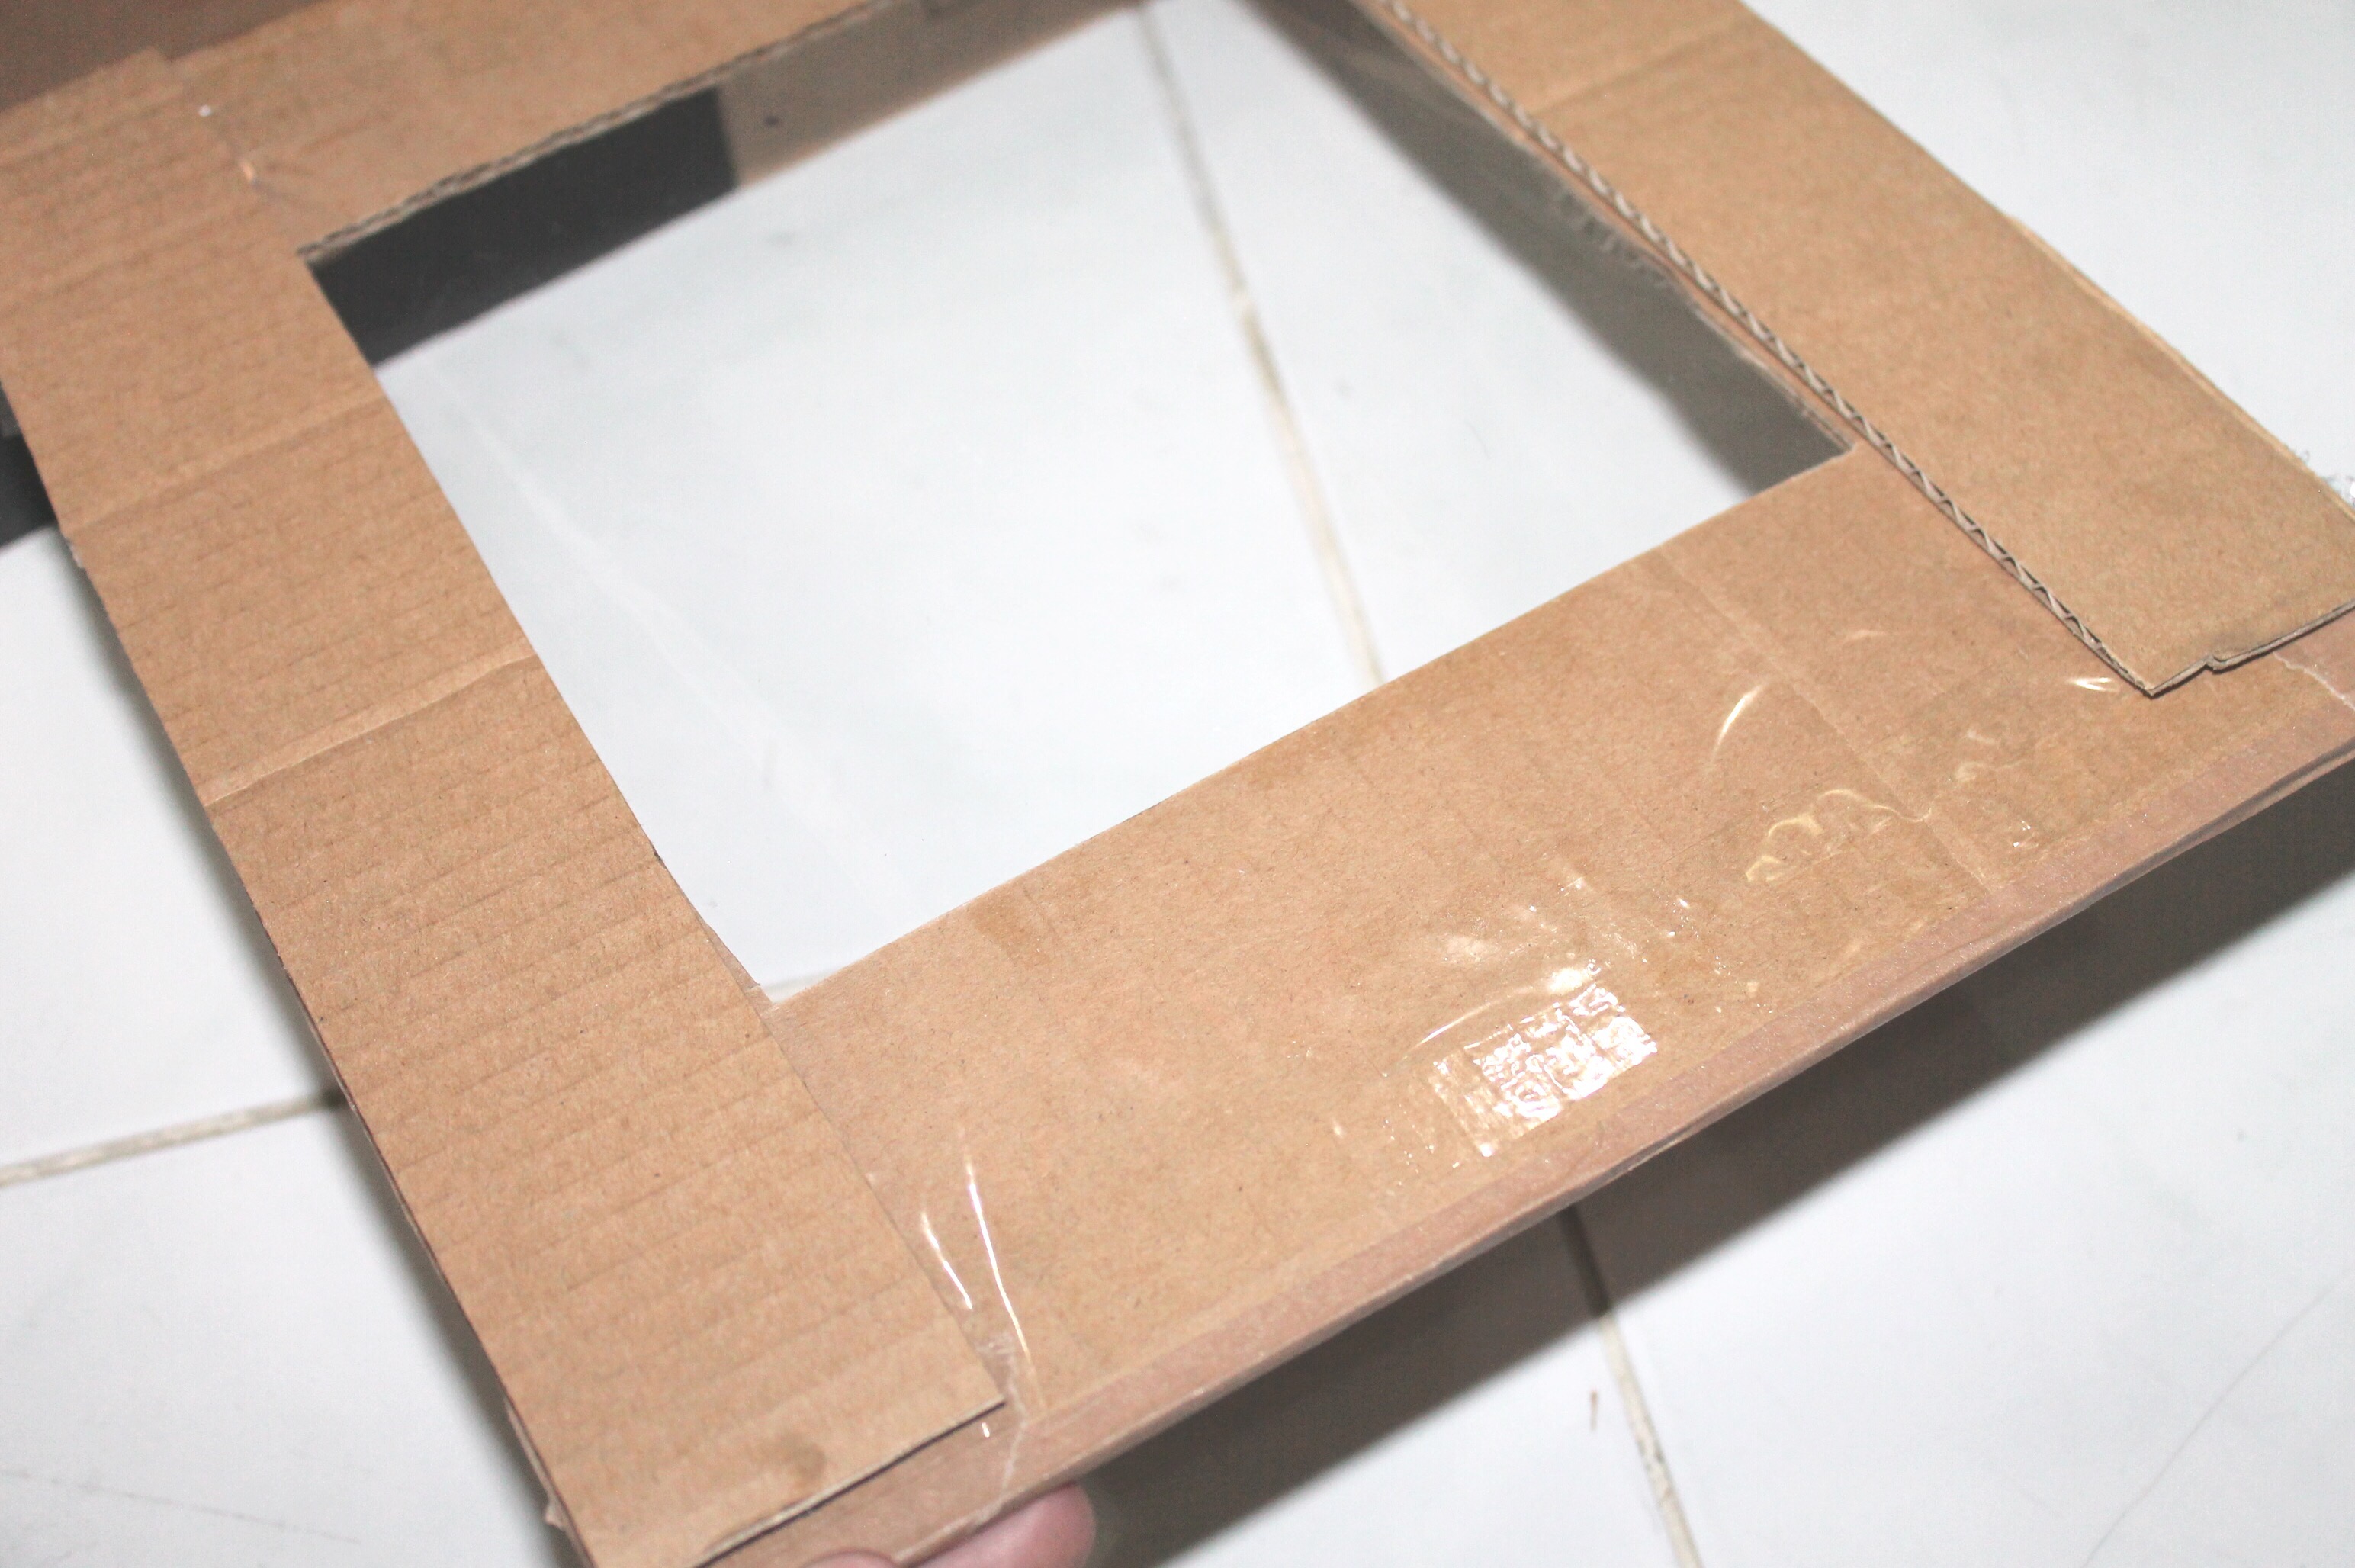
I drew a rectangle on the front side of the box. I measured 1.5inches from the sides of the box and 3.5 inches top and bottom.

And another rectangle in the middle of that rectangle. I measured 1.5″ from the sides of the bigger rectangle and and 2.5″ from the top and bottom of the bigger rectangle.
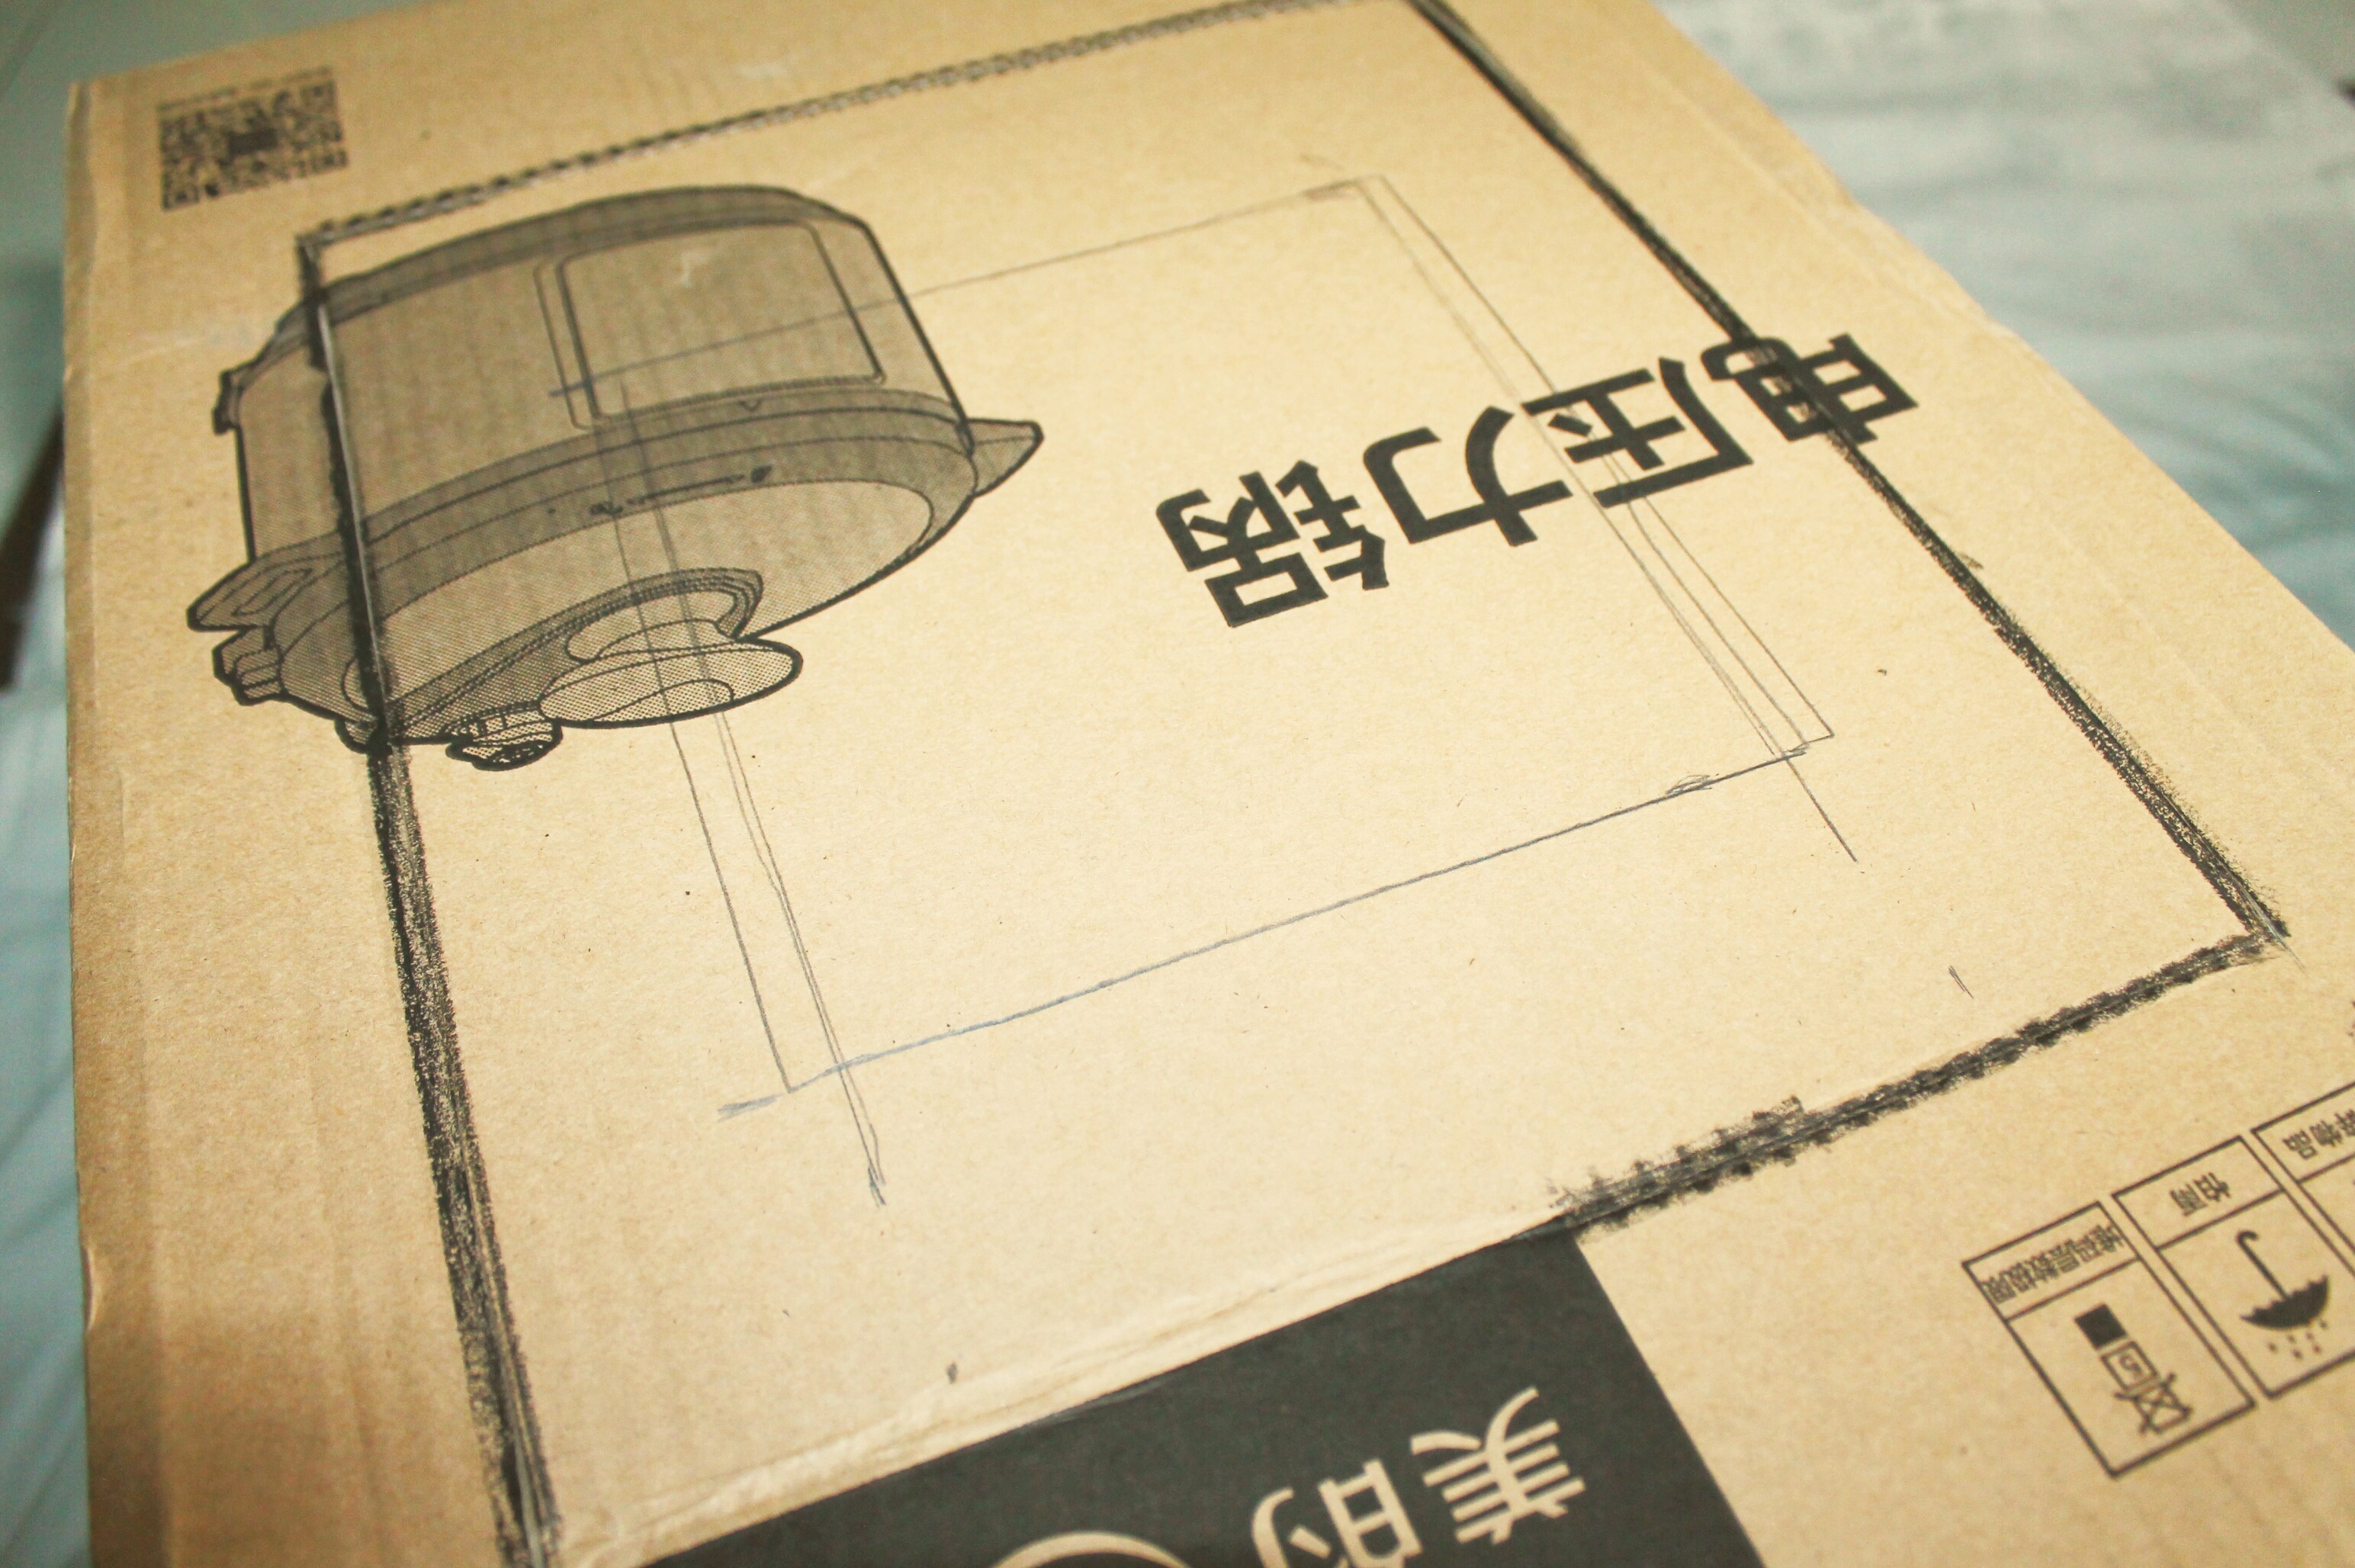
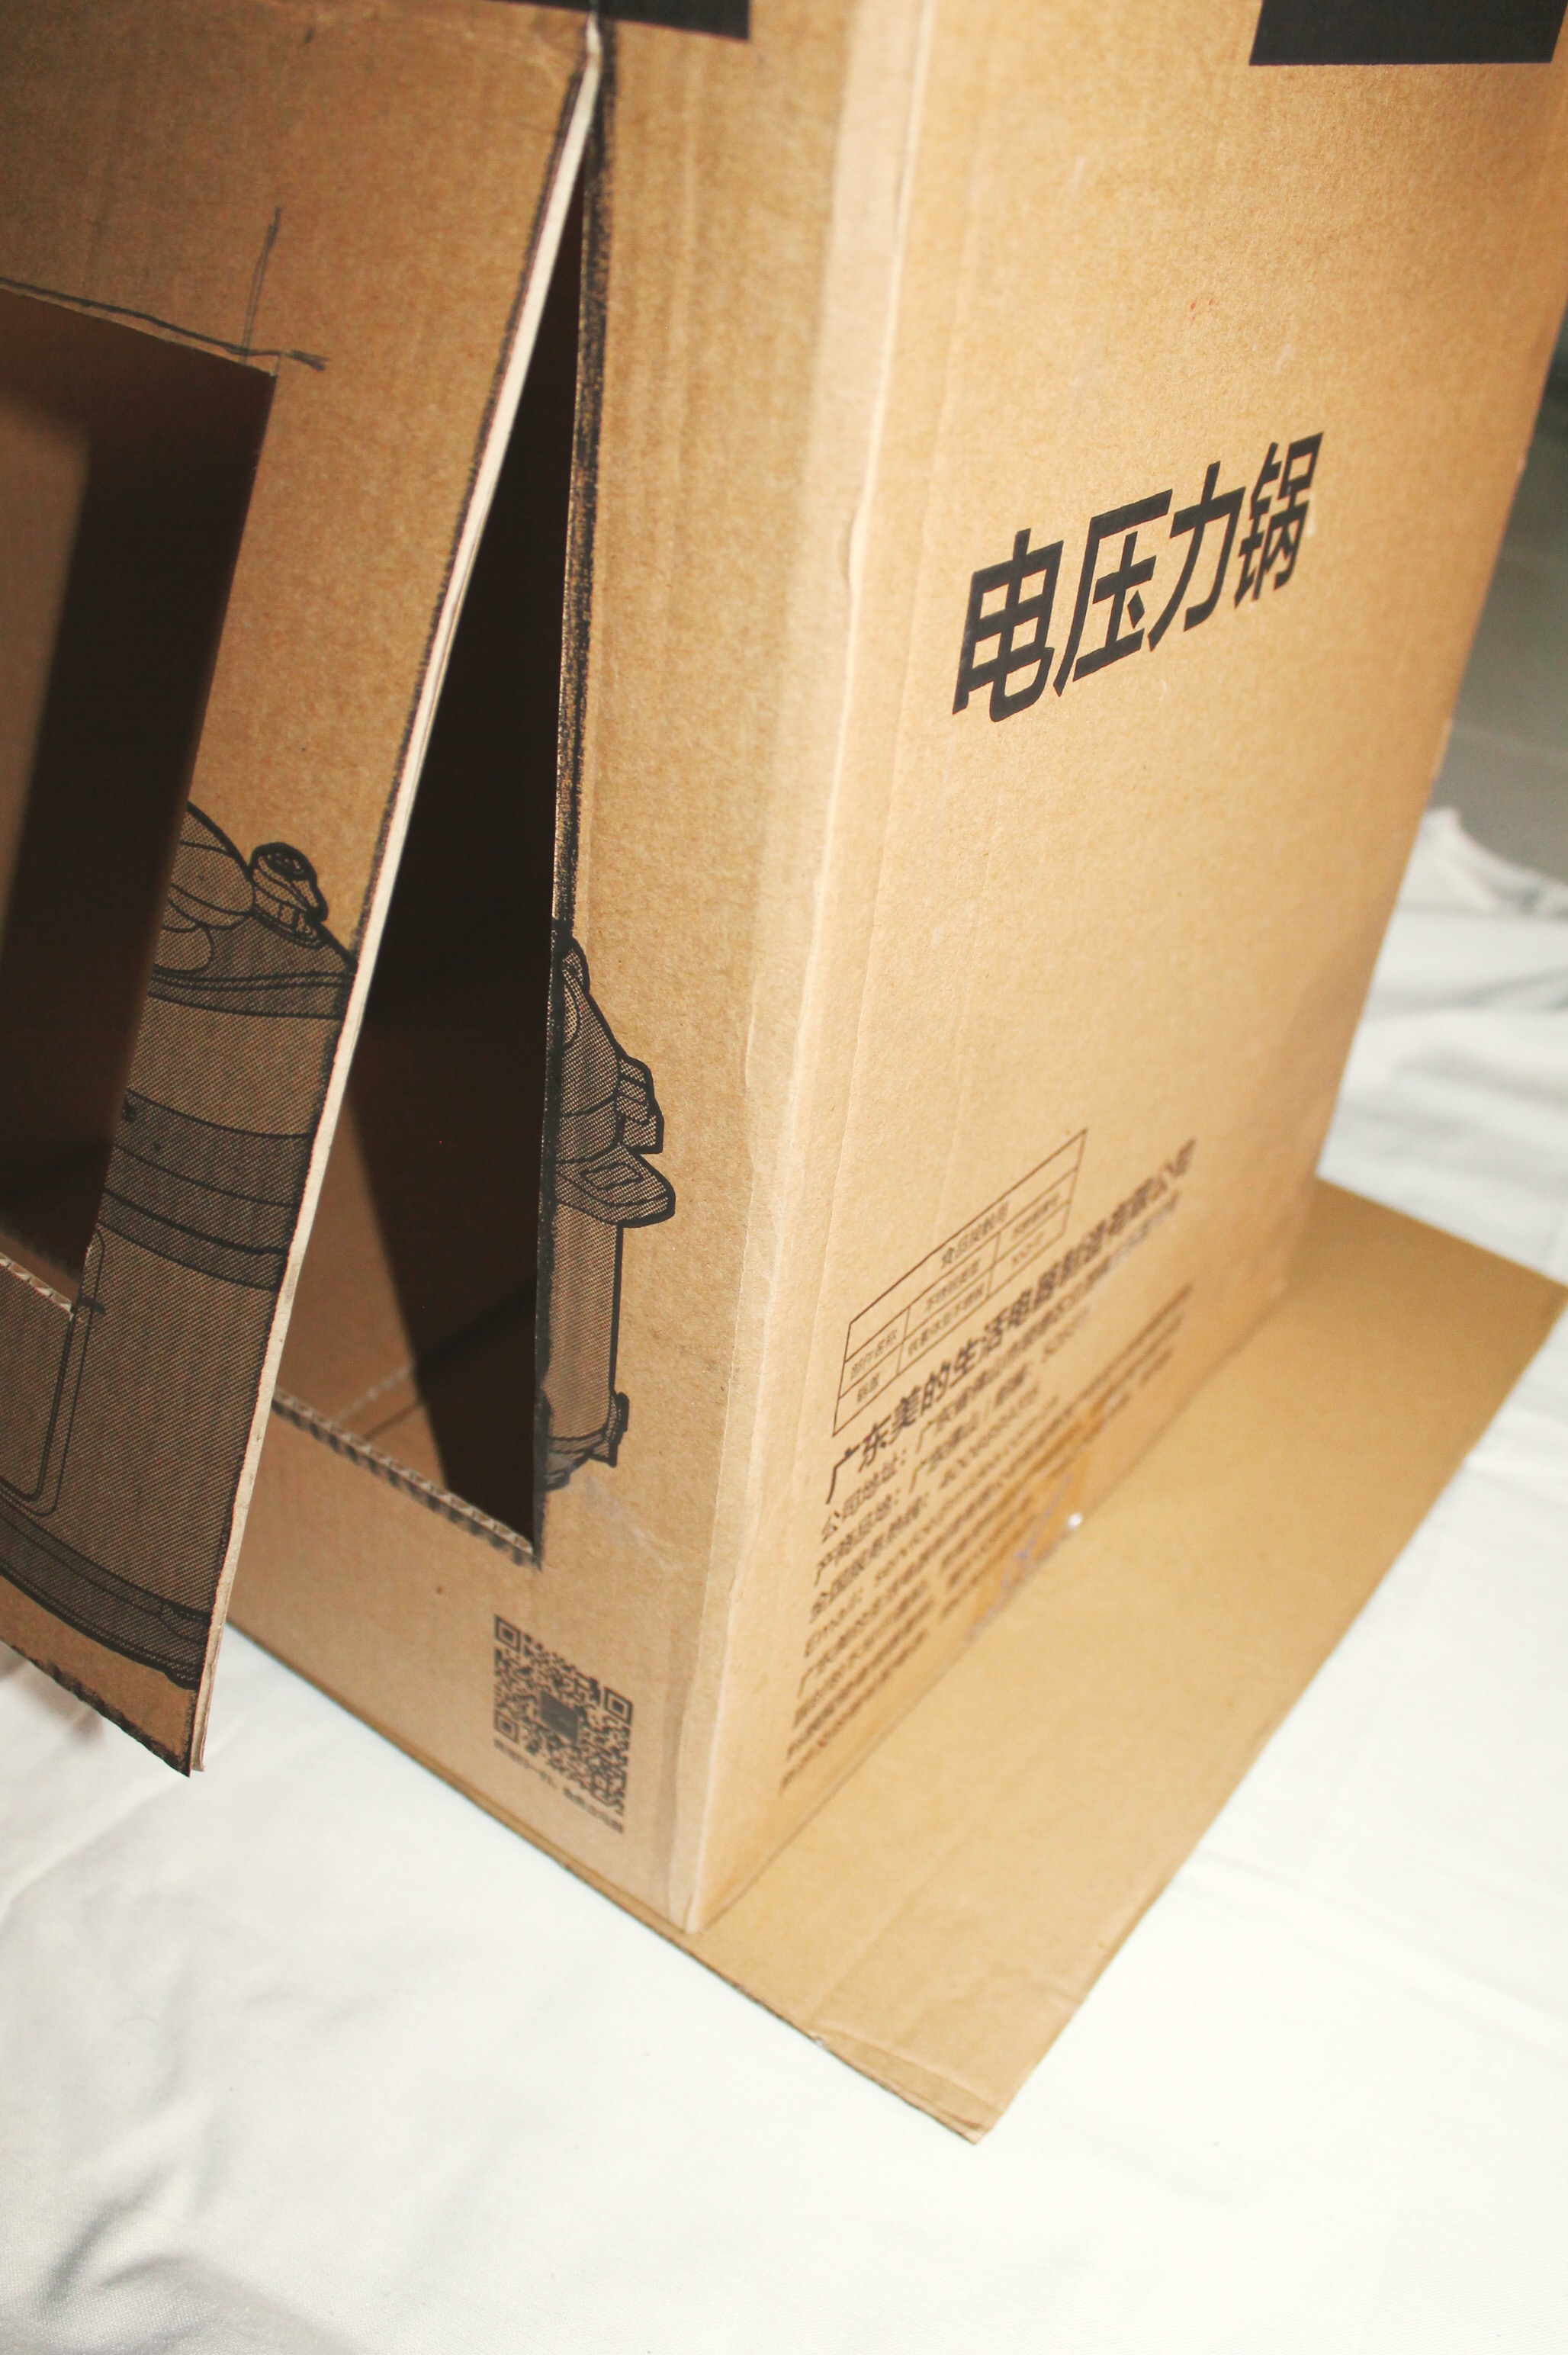
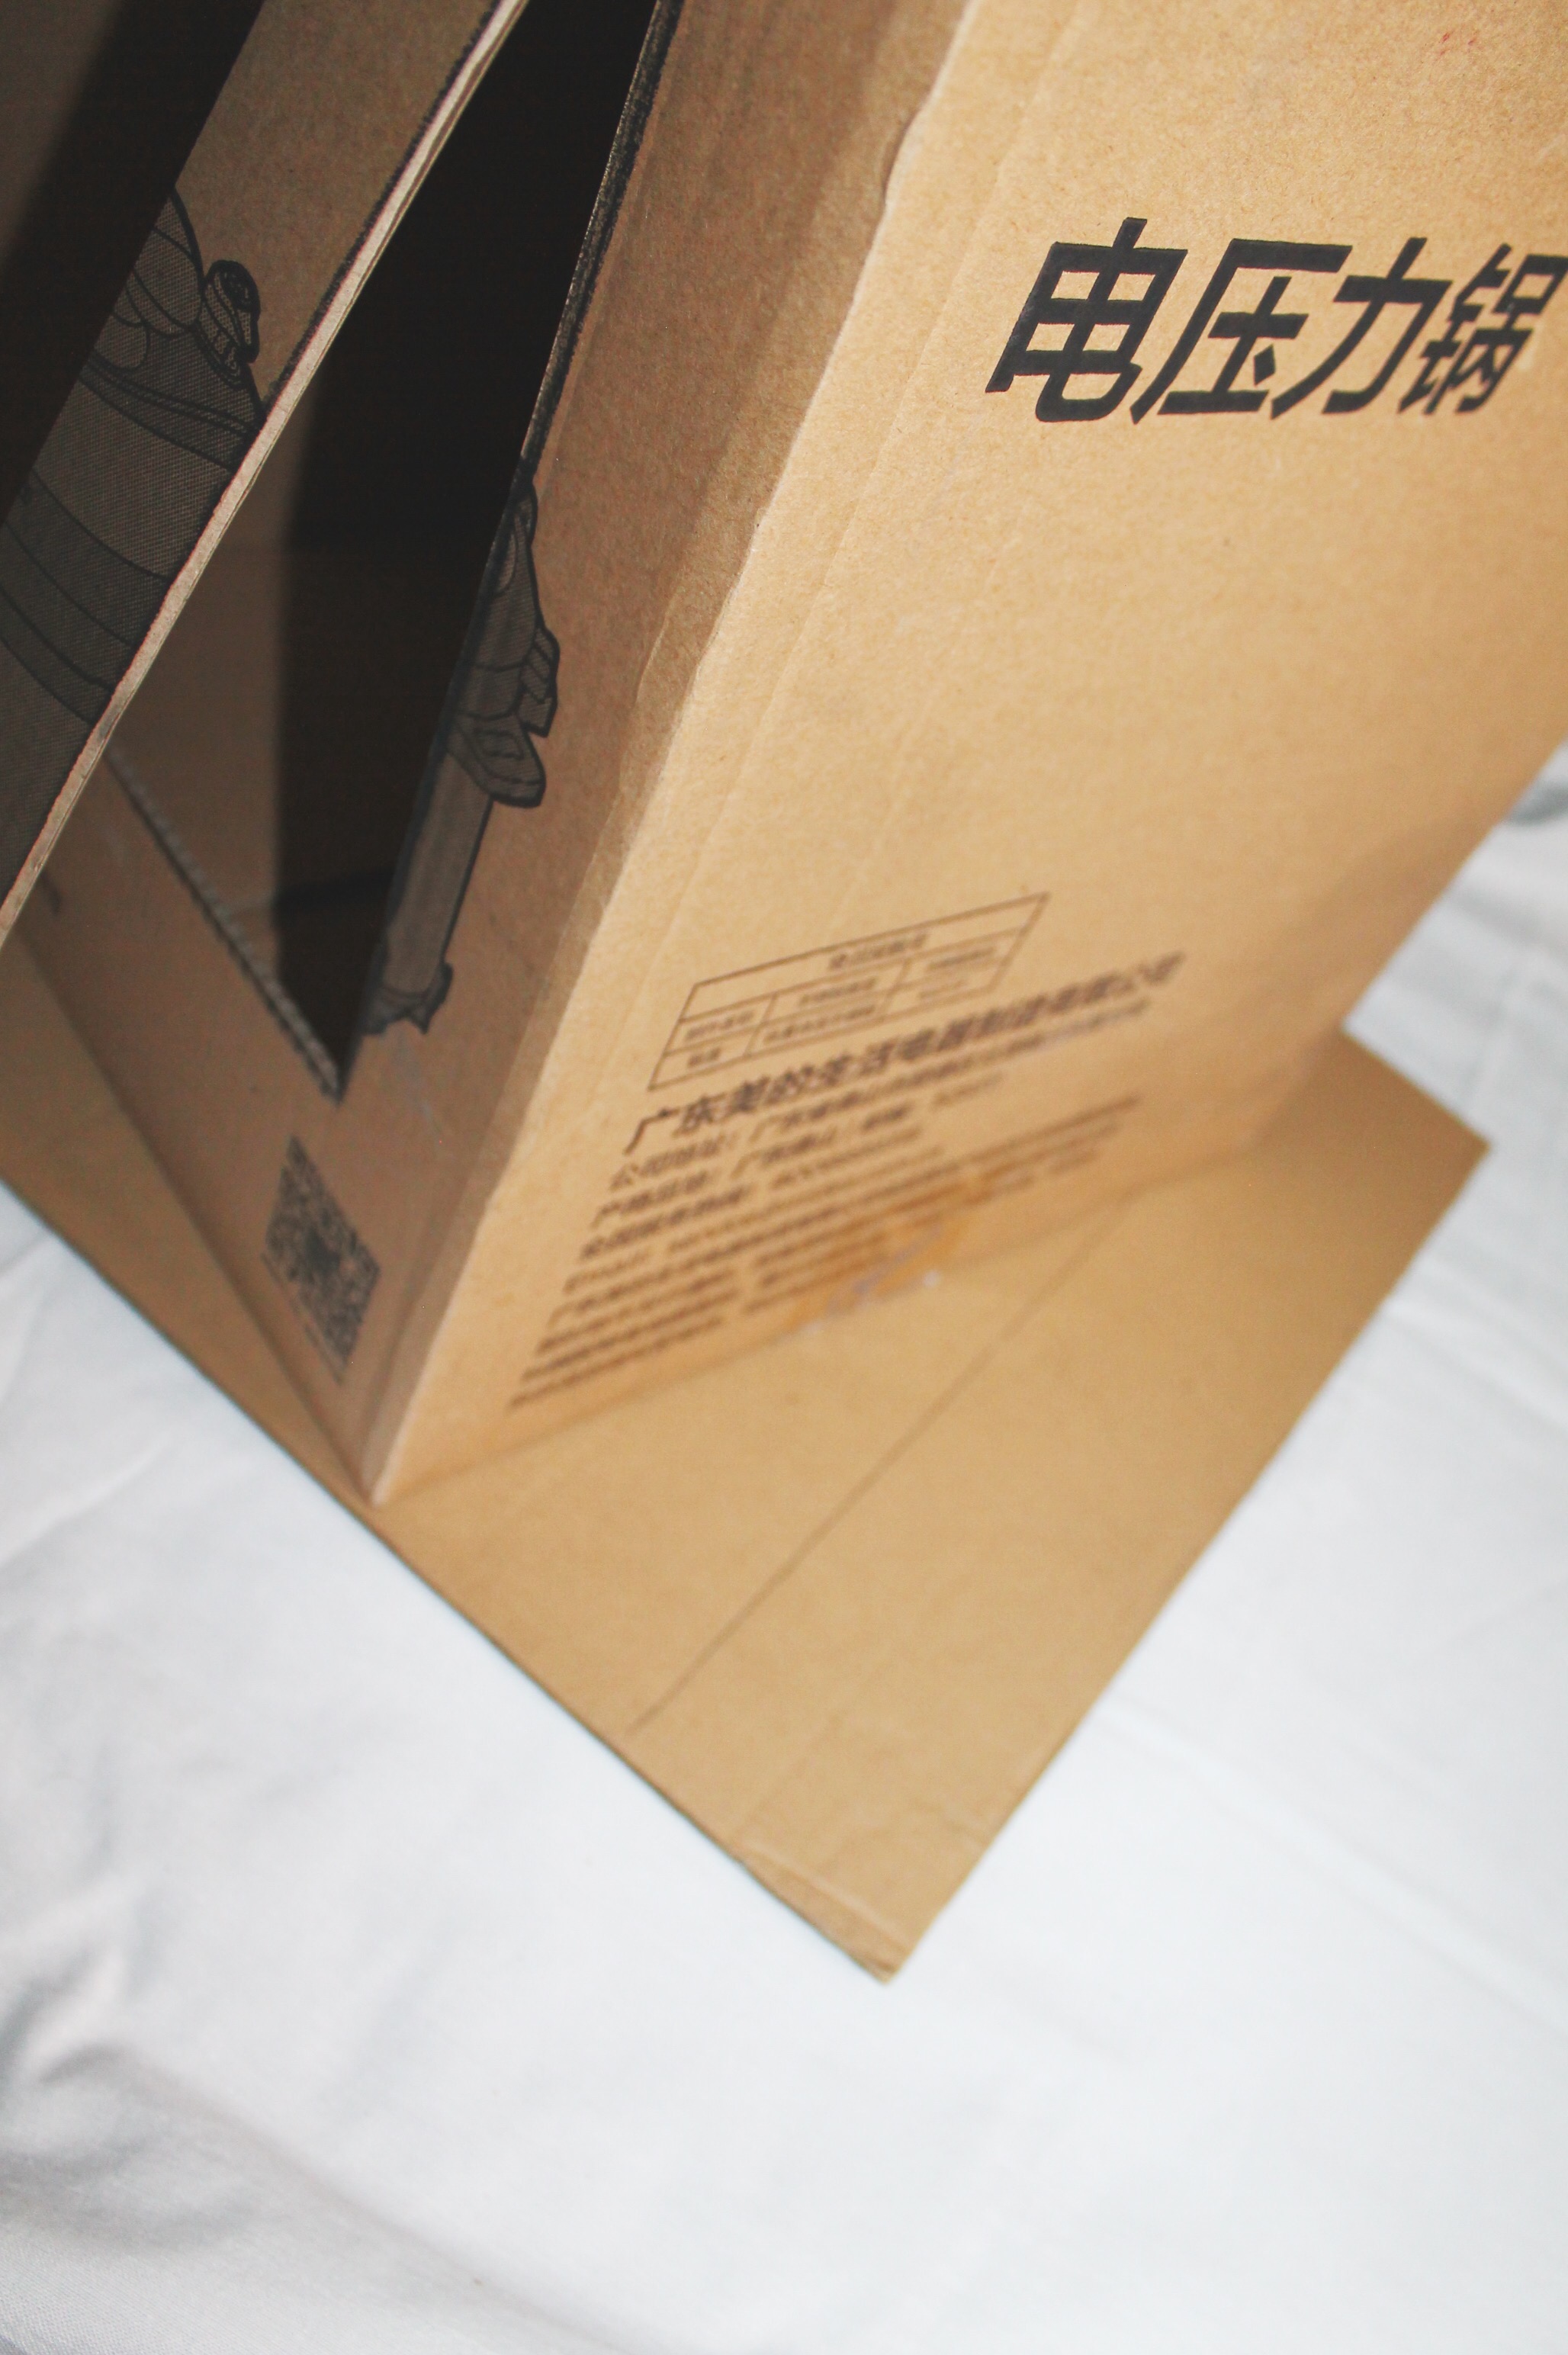
Cut with the box cutter.
DO NOT CUT THE BOTTOM OF THE BIG RECTANGLE. This will be the oven door.
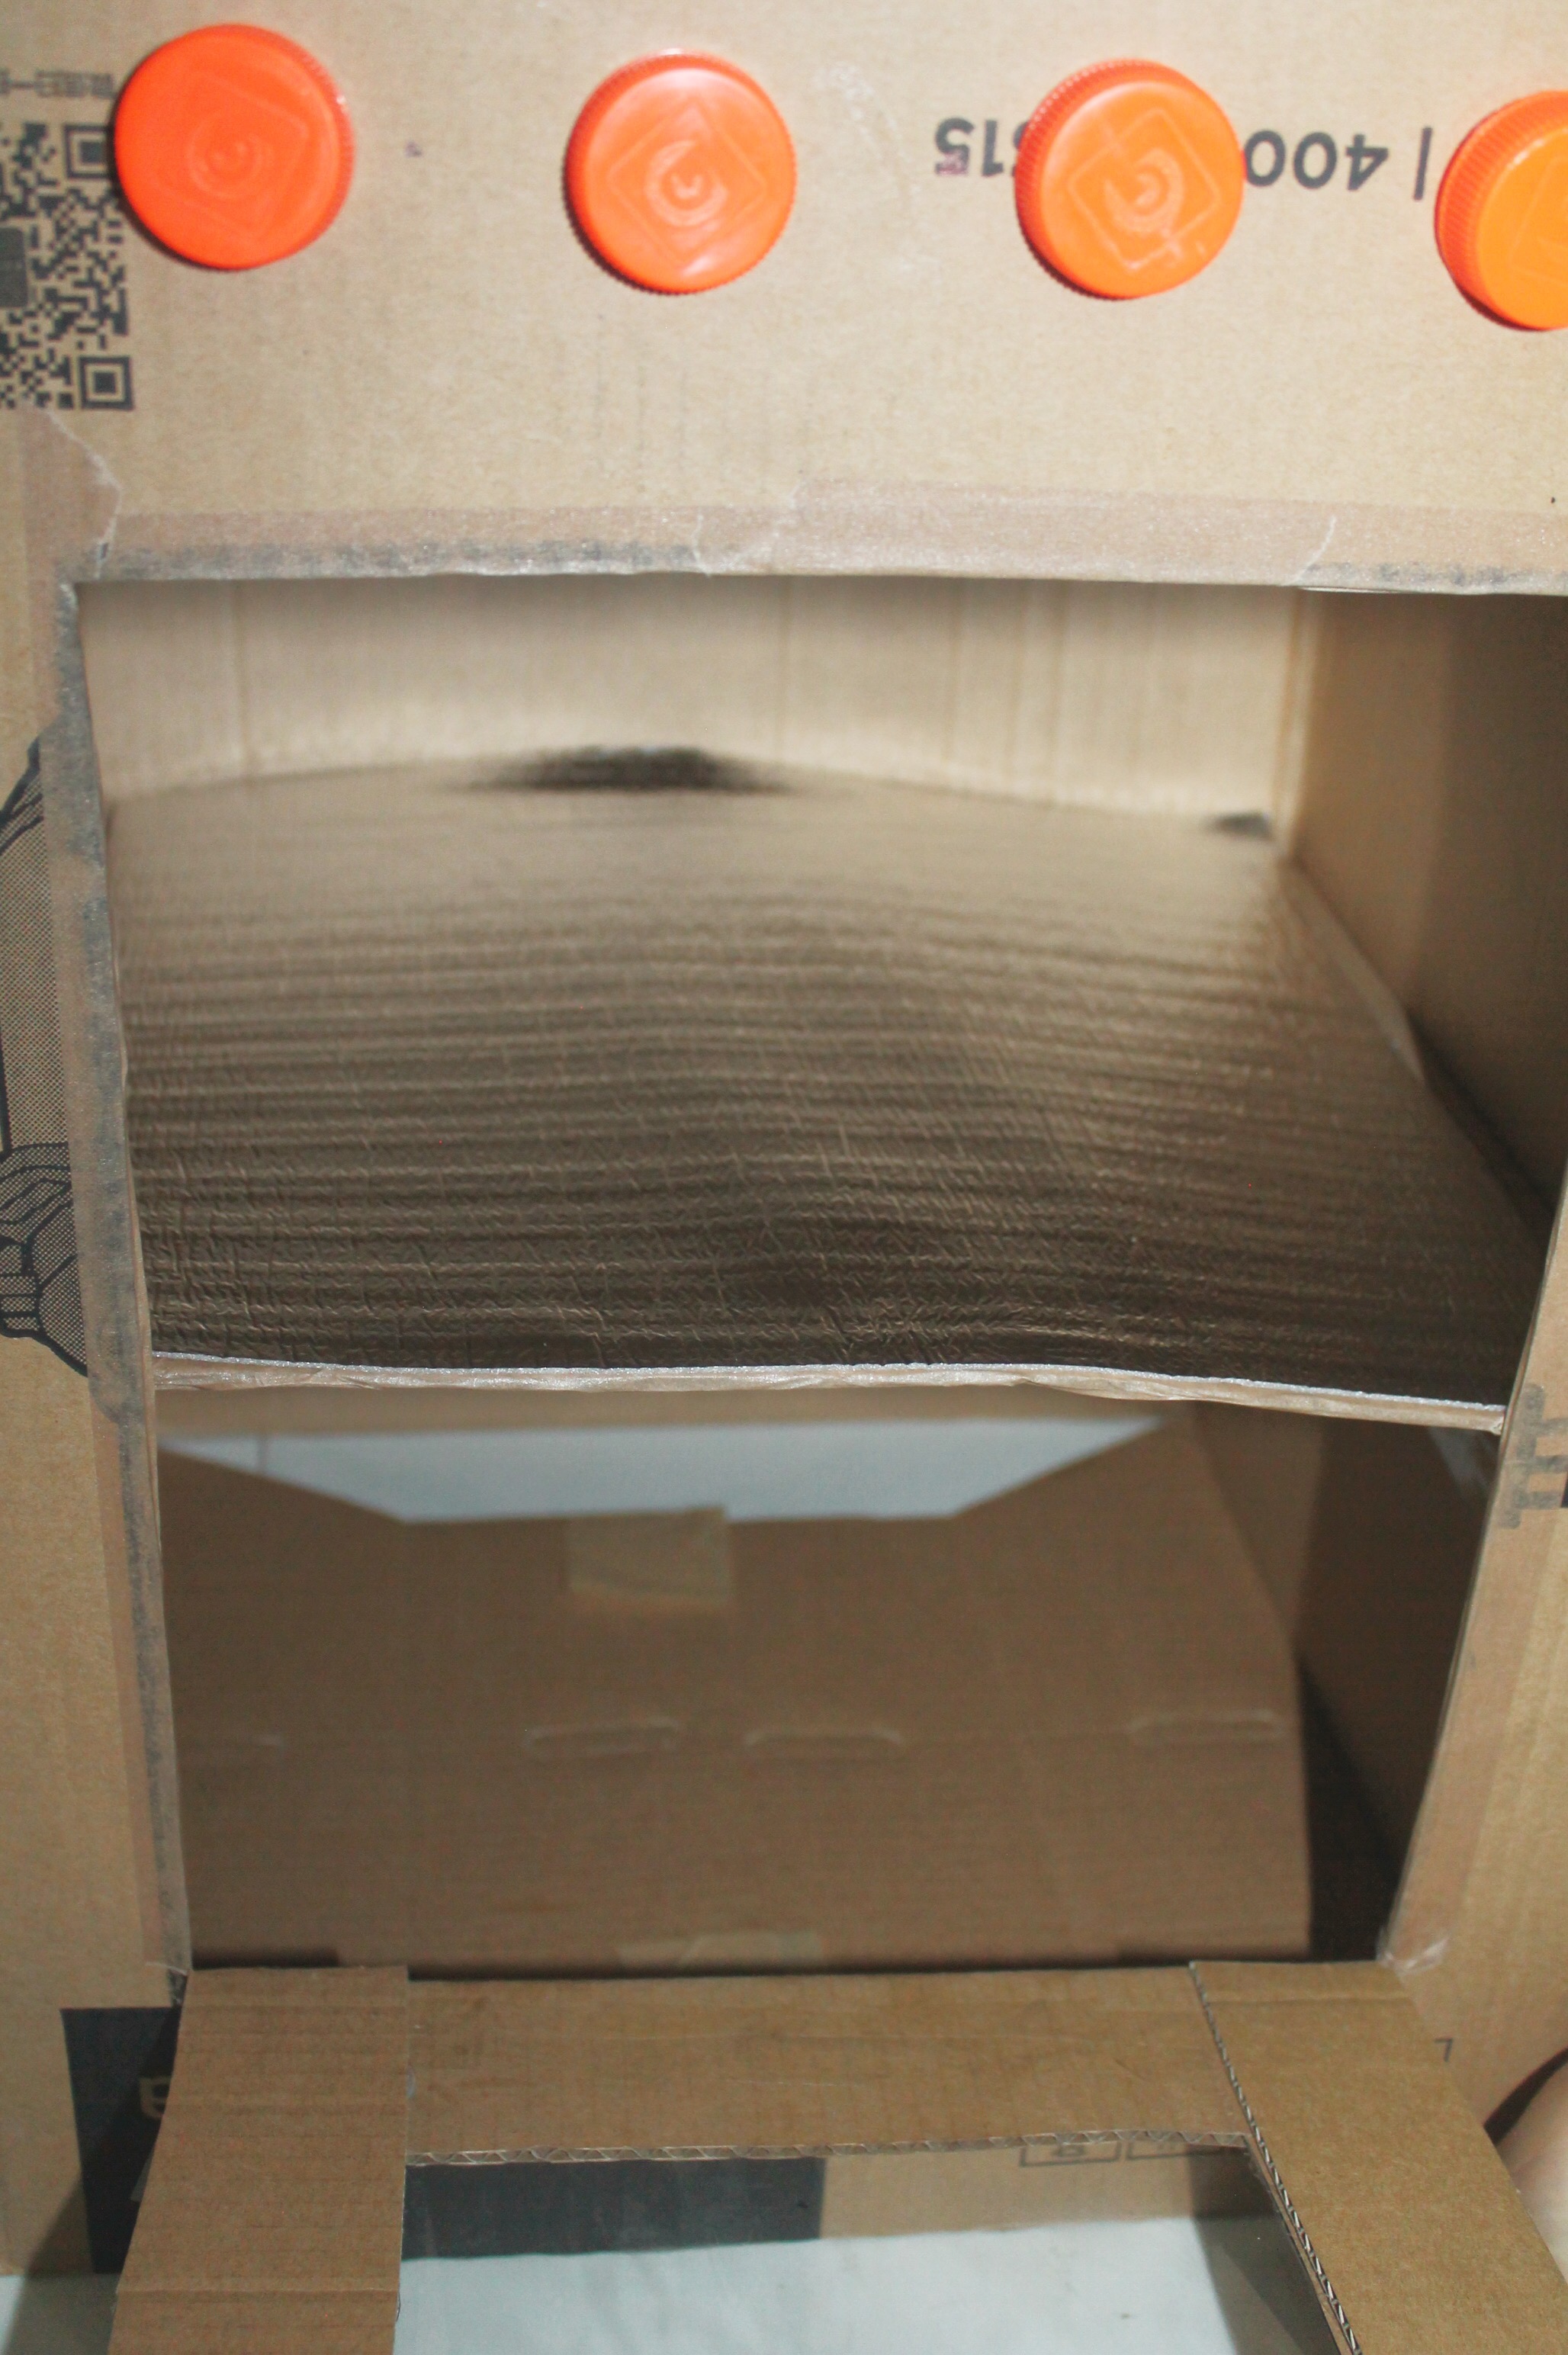
Get your extra cardboard and measure to the bottom of the box.
Mark and fold.
I made a little slit along the fold to make it fold cleanly.
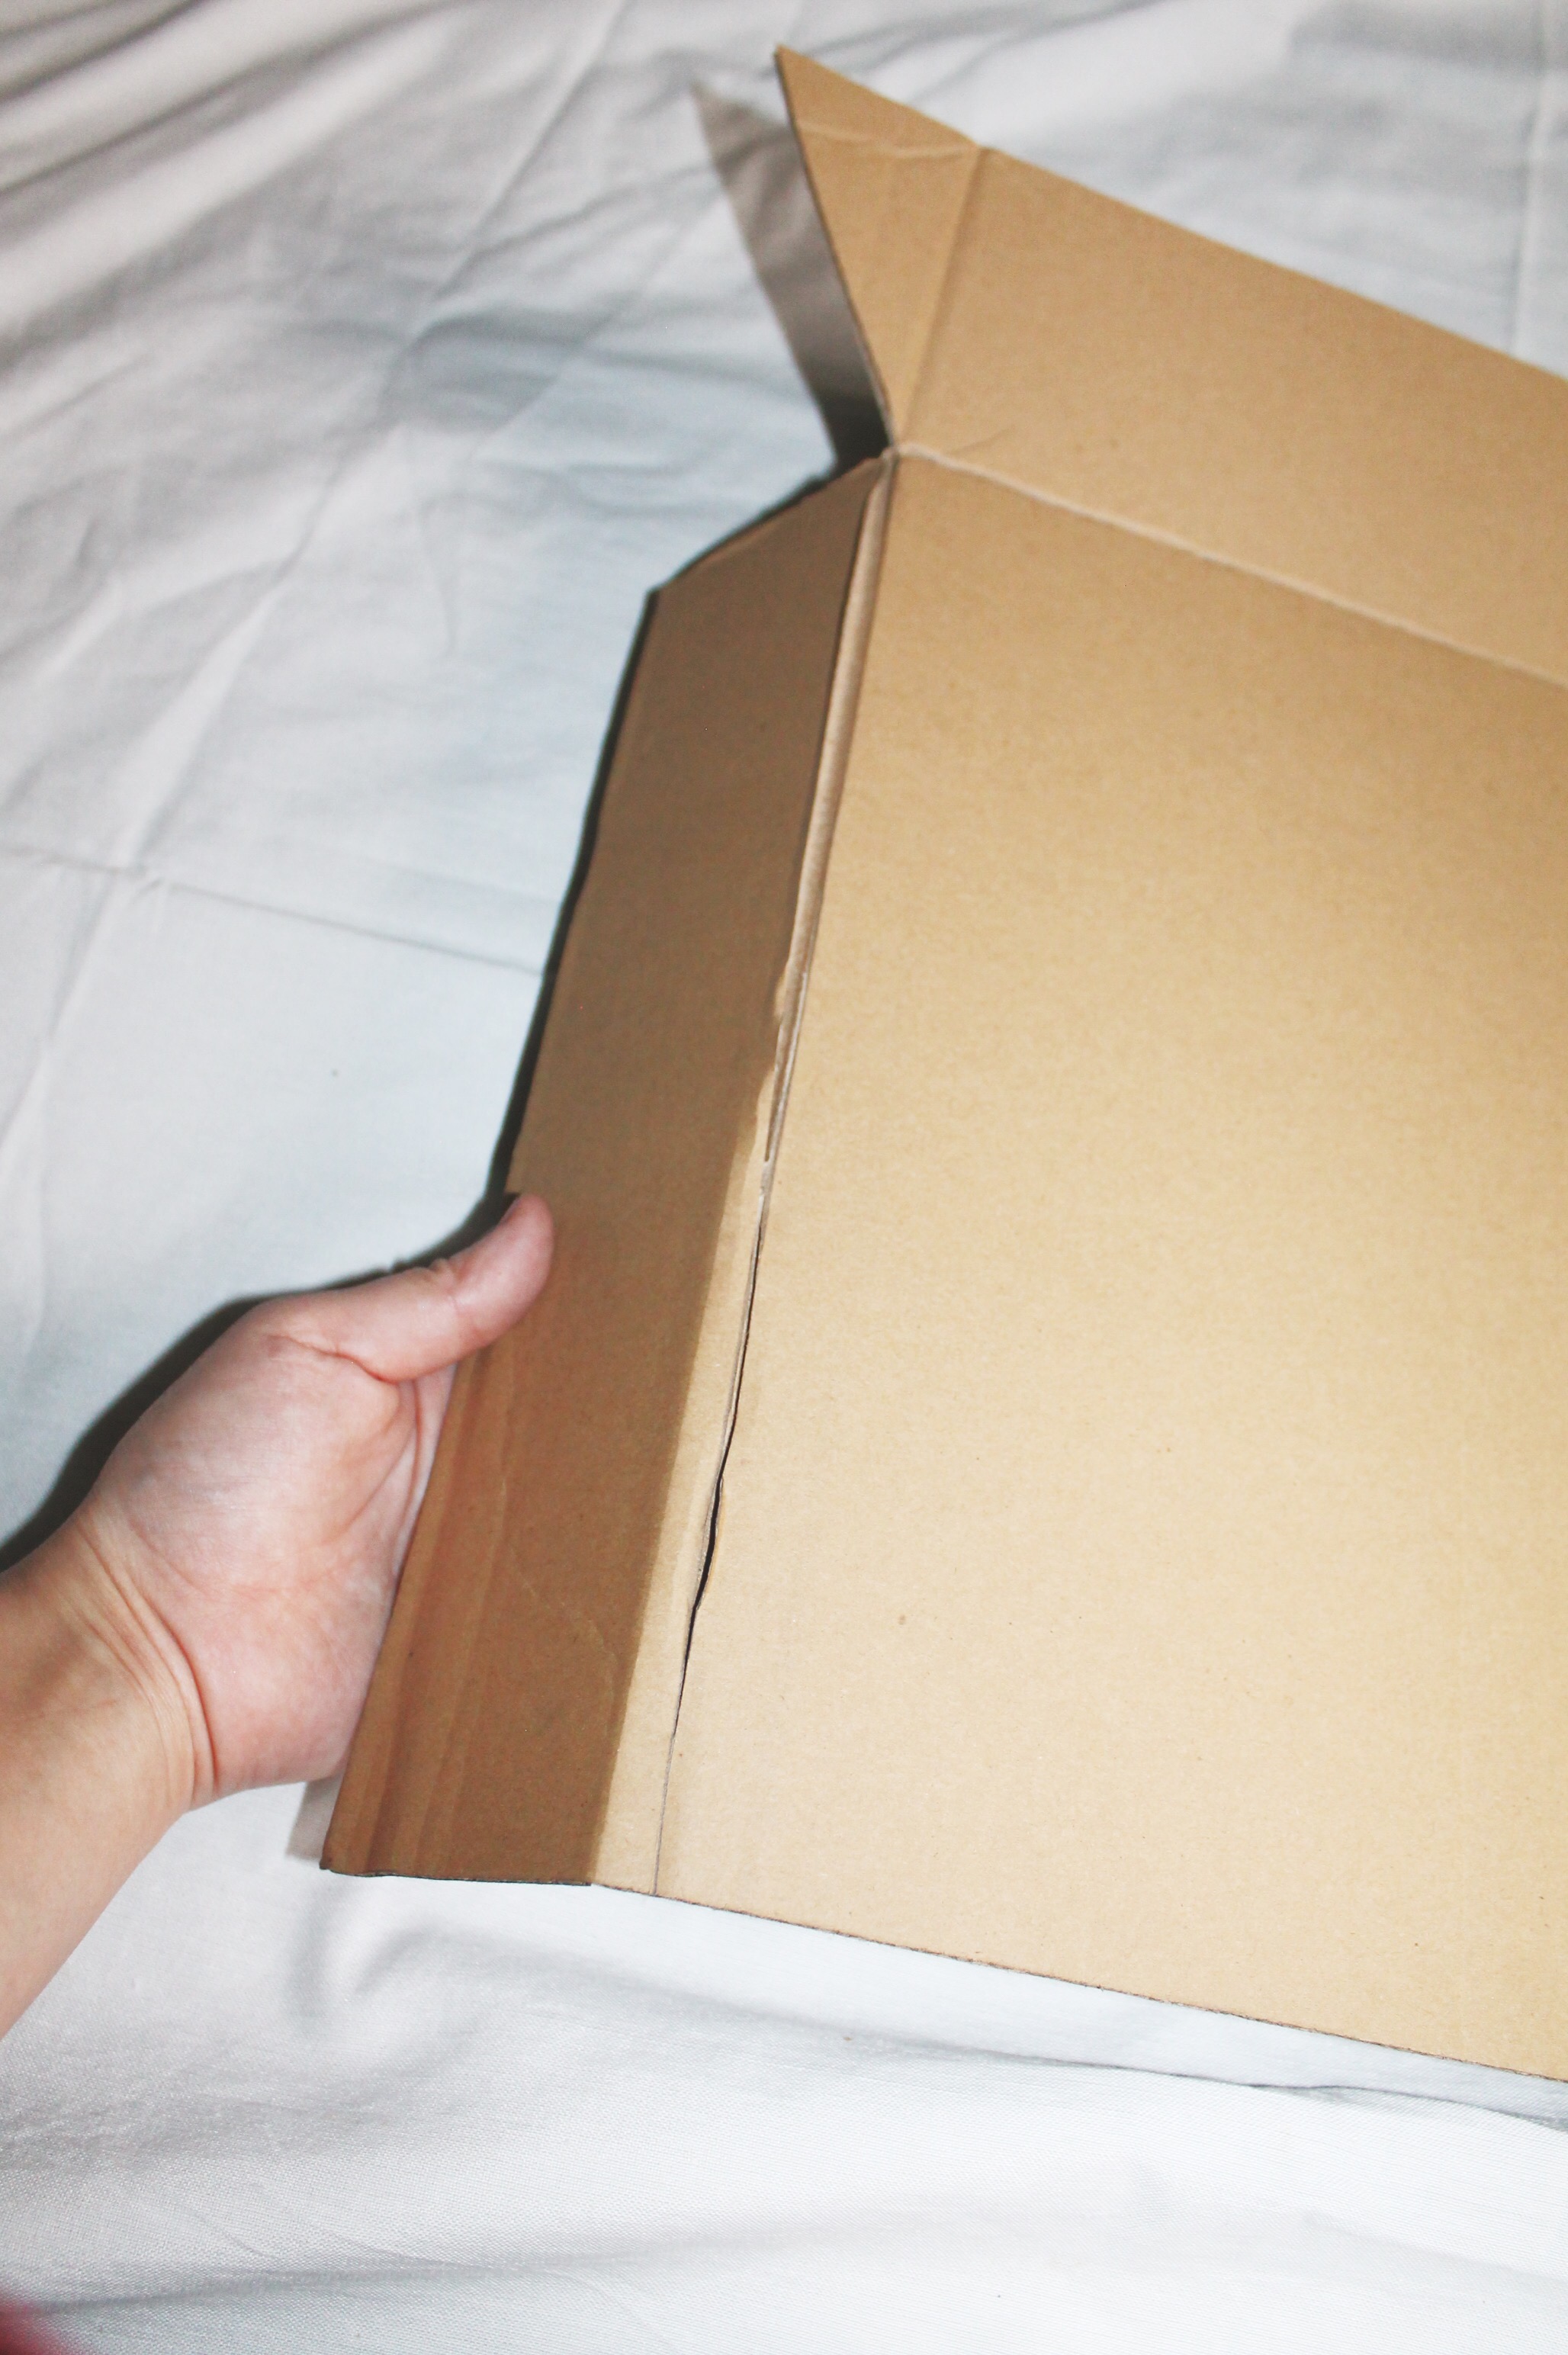
Make a diagonal cut at the corners.
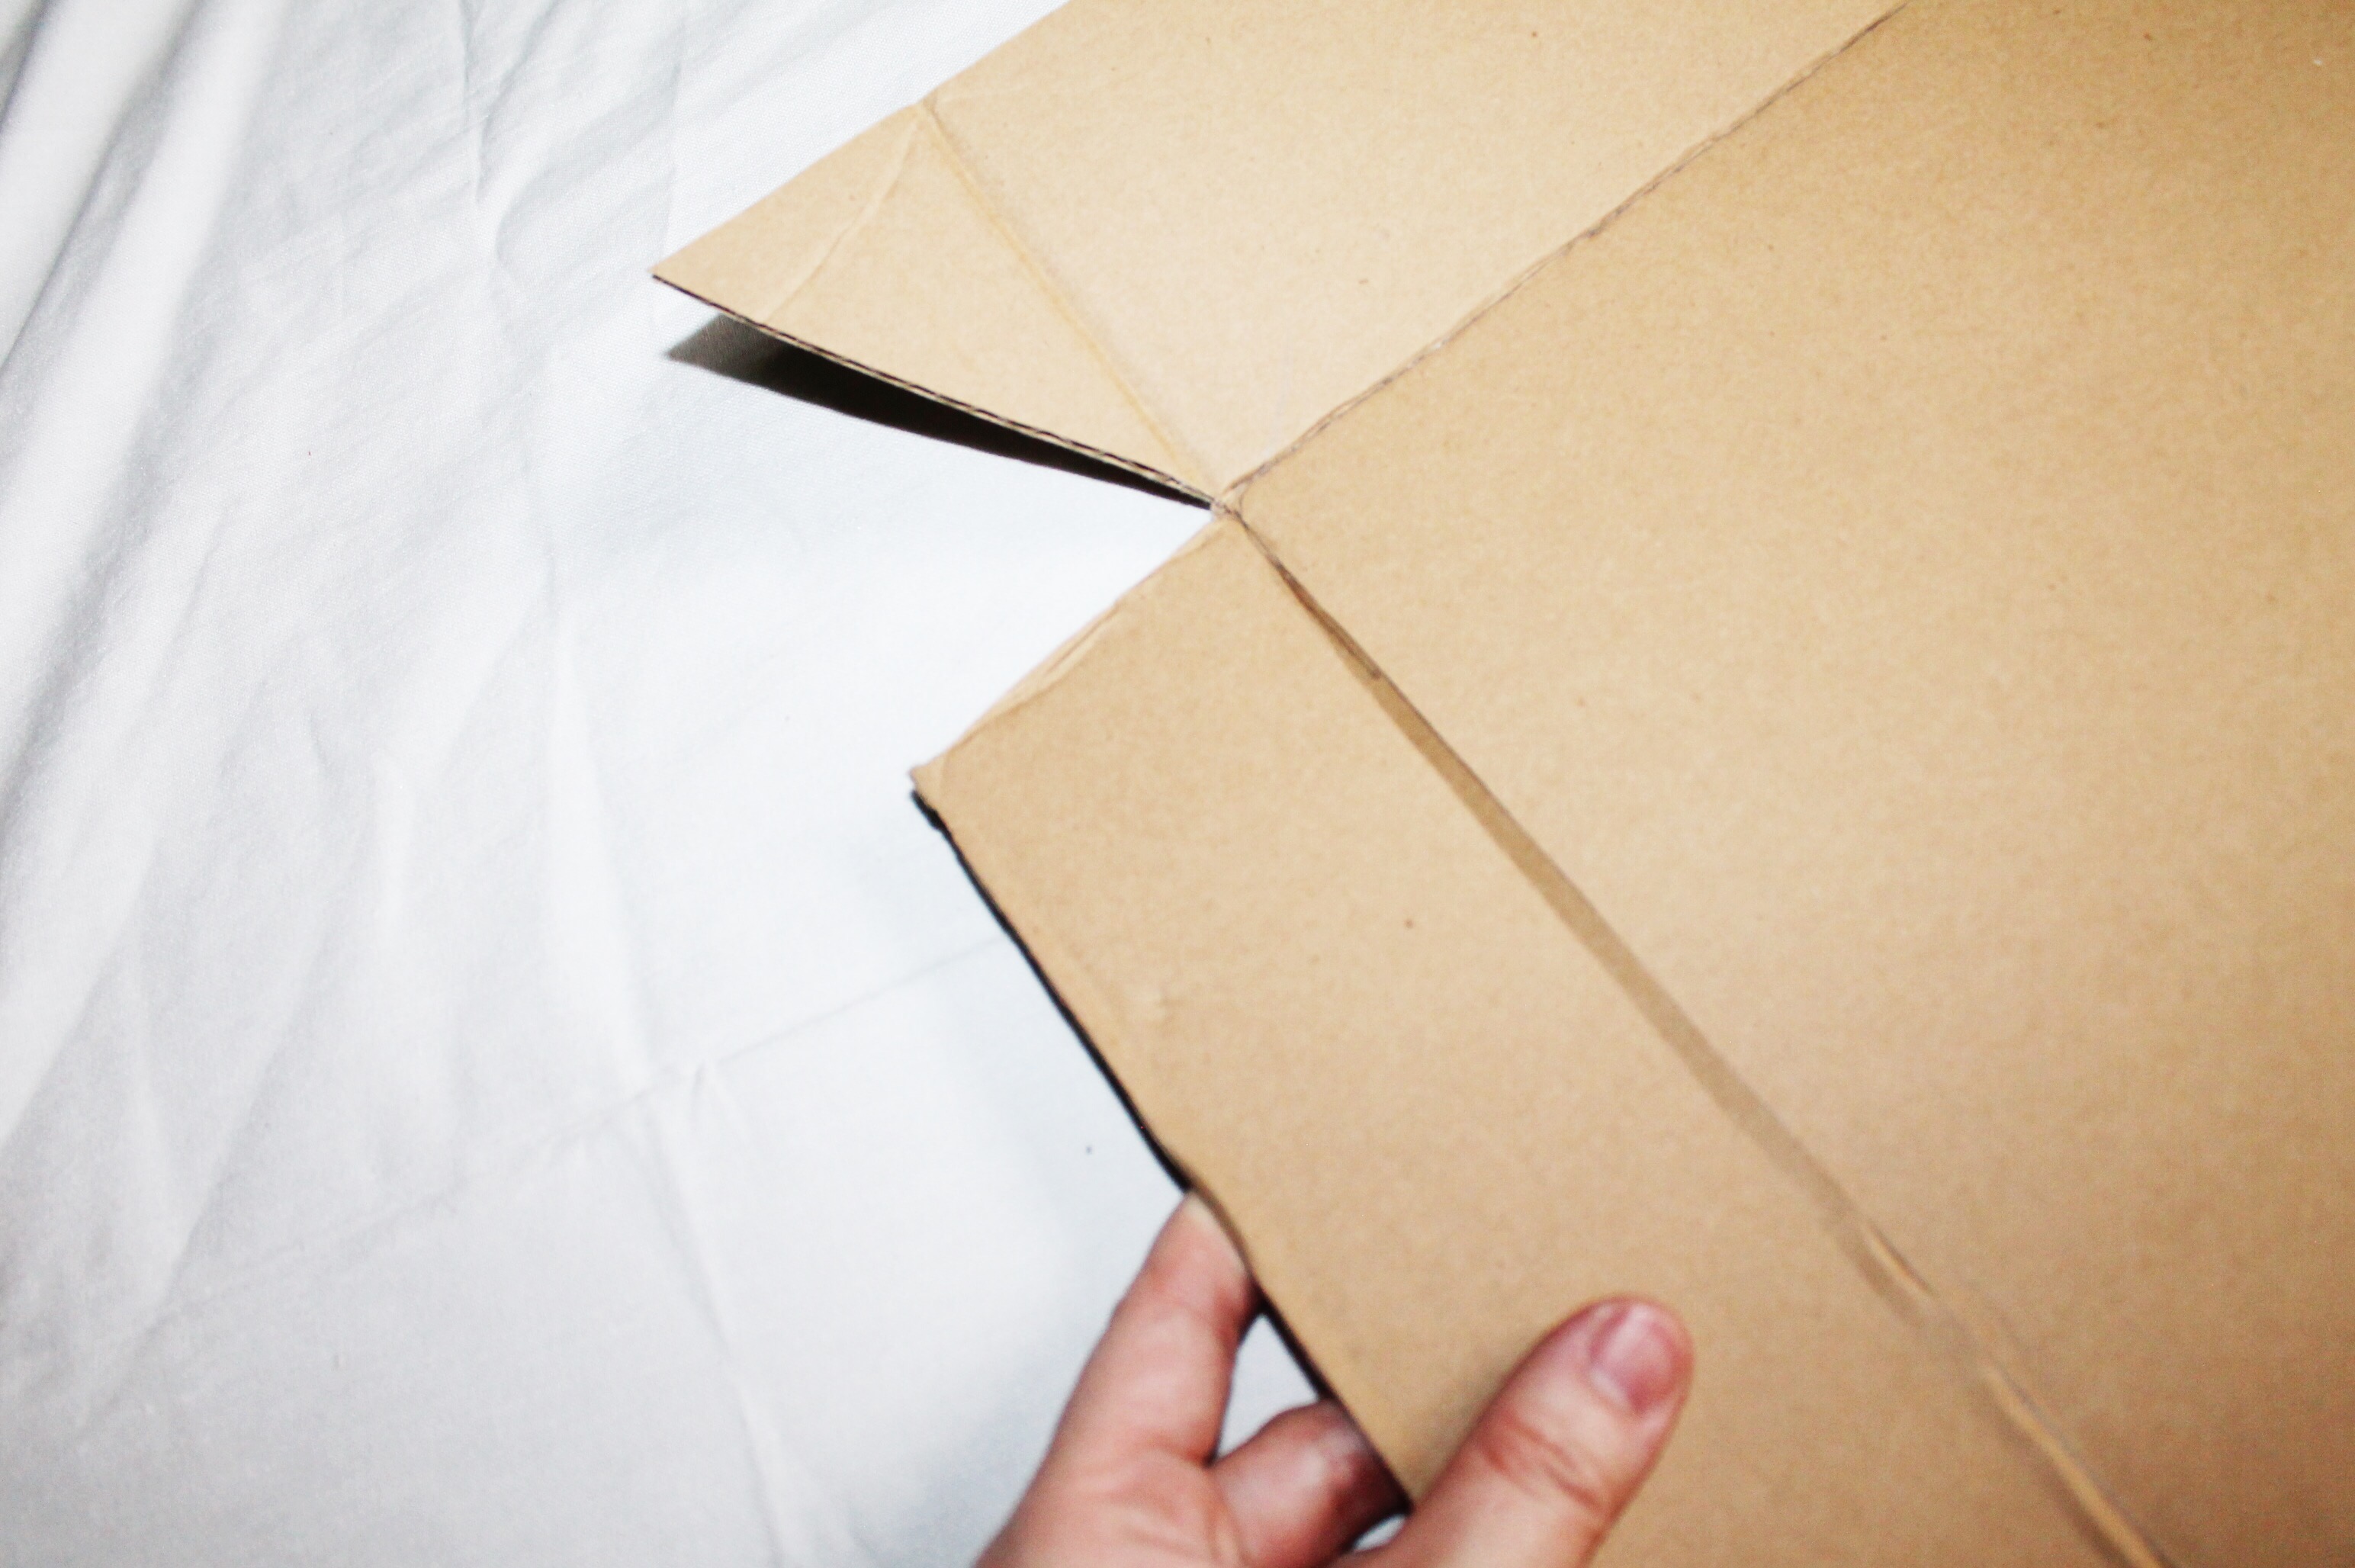
Then just fold and tape together with packing tape.
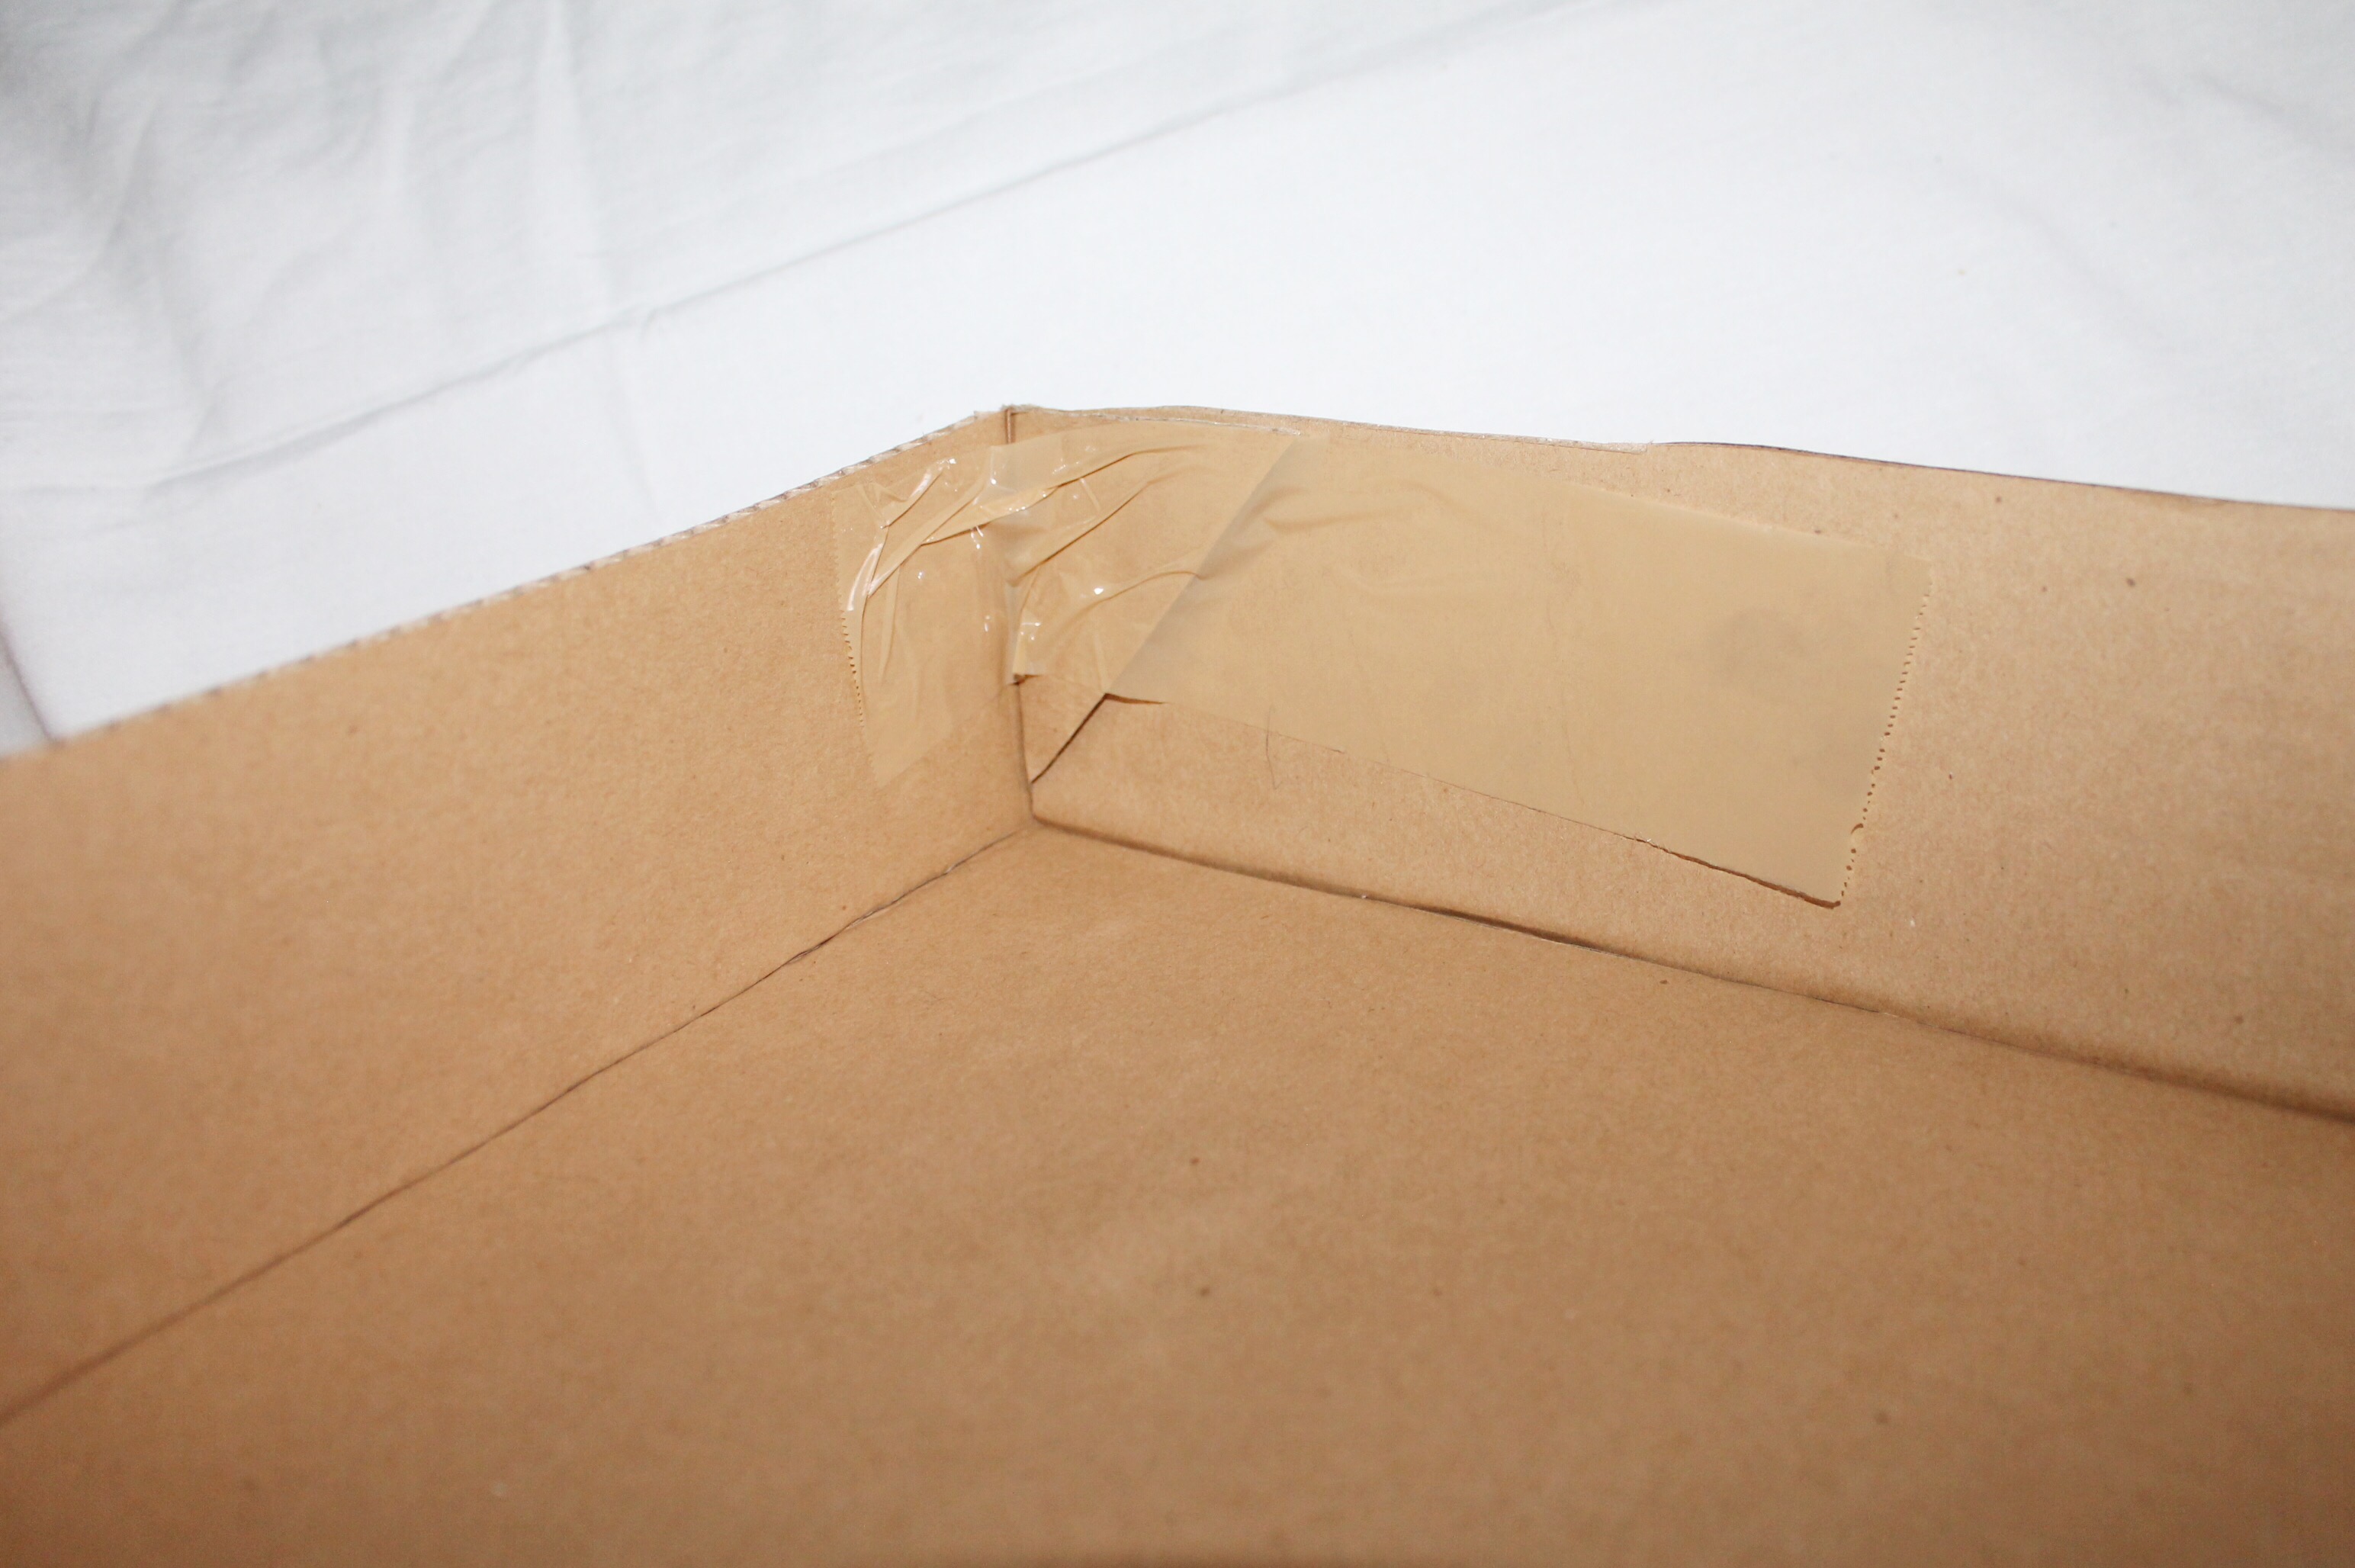
Put inside the oven and position it. Secure with packing tape.
Close the bottom of the box using masking tape.
Tape and cover sharp edges with masking tape.
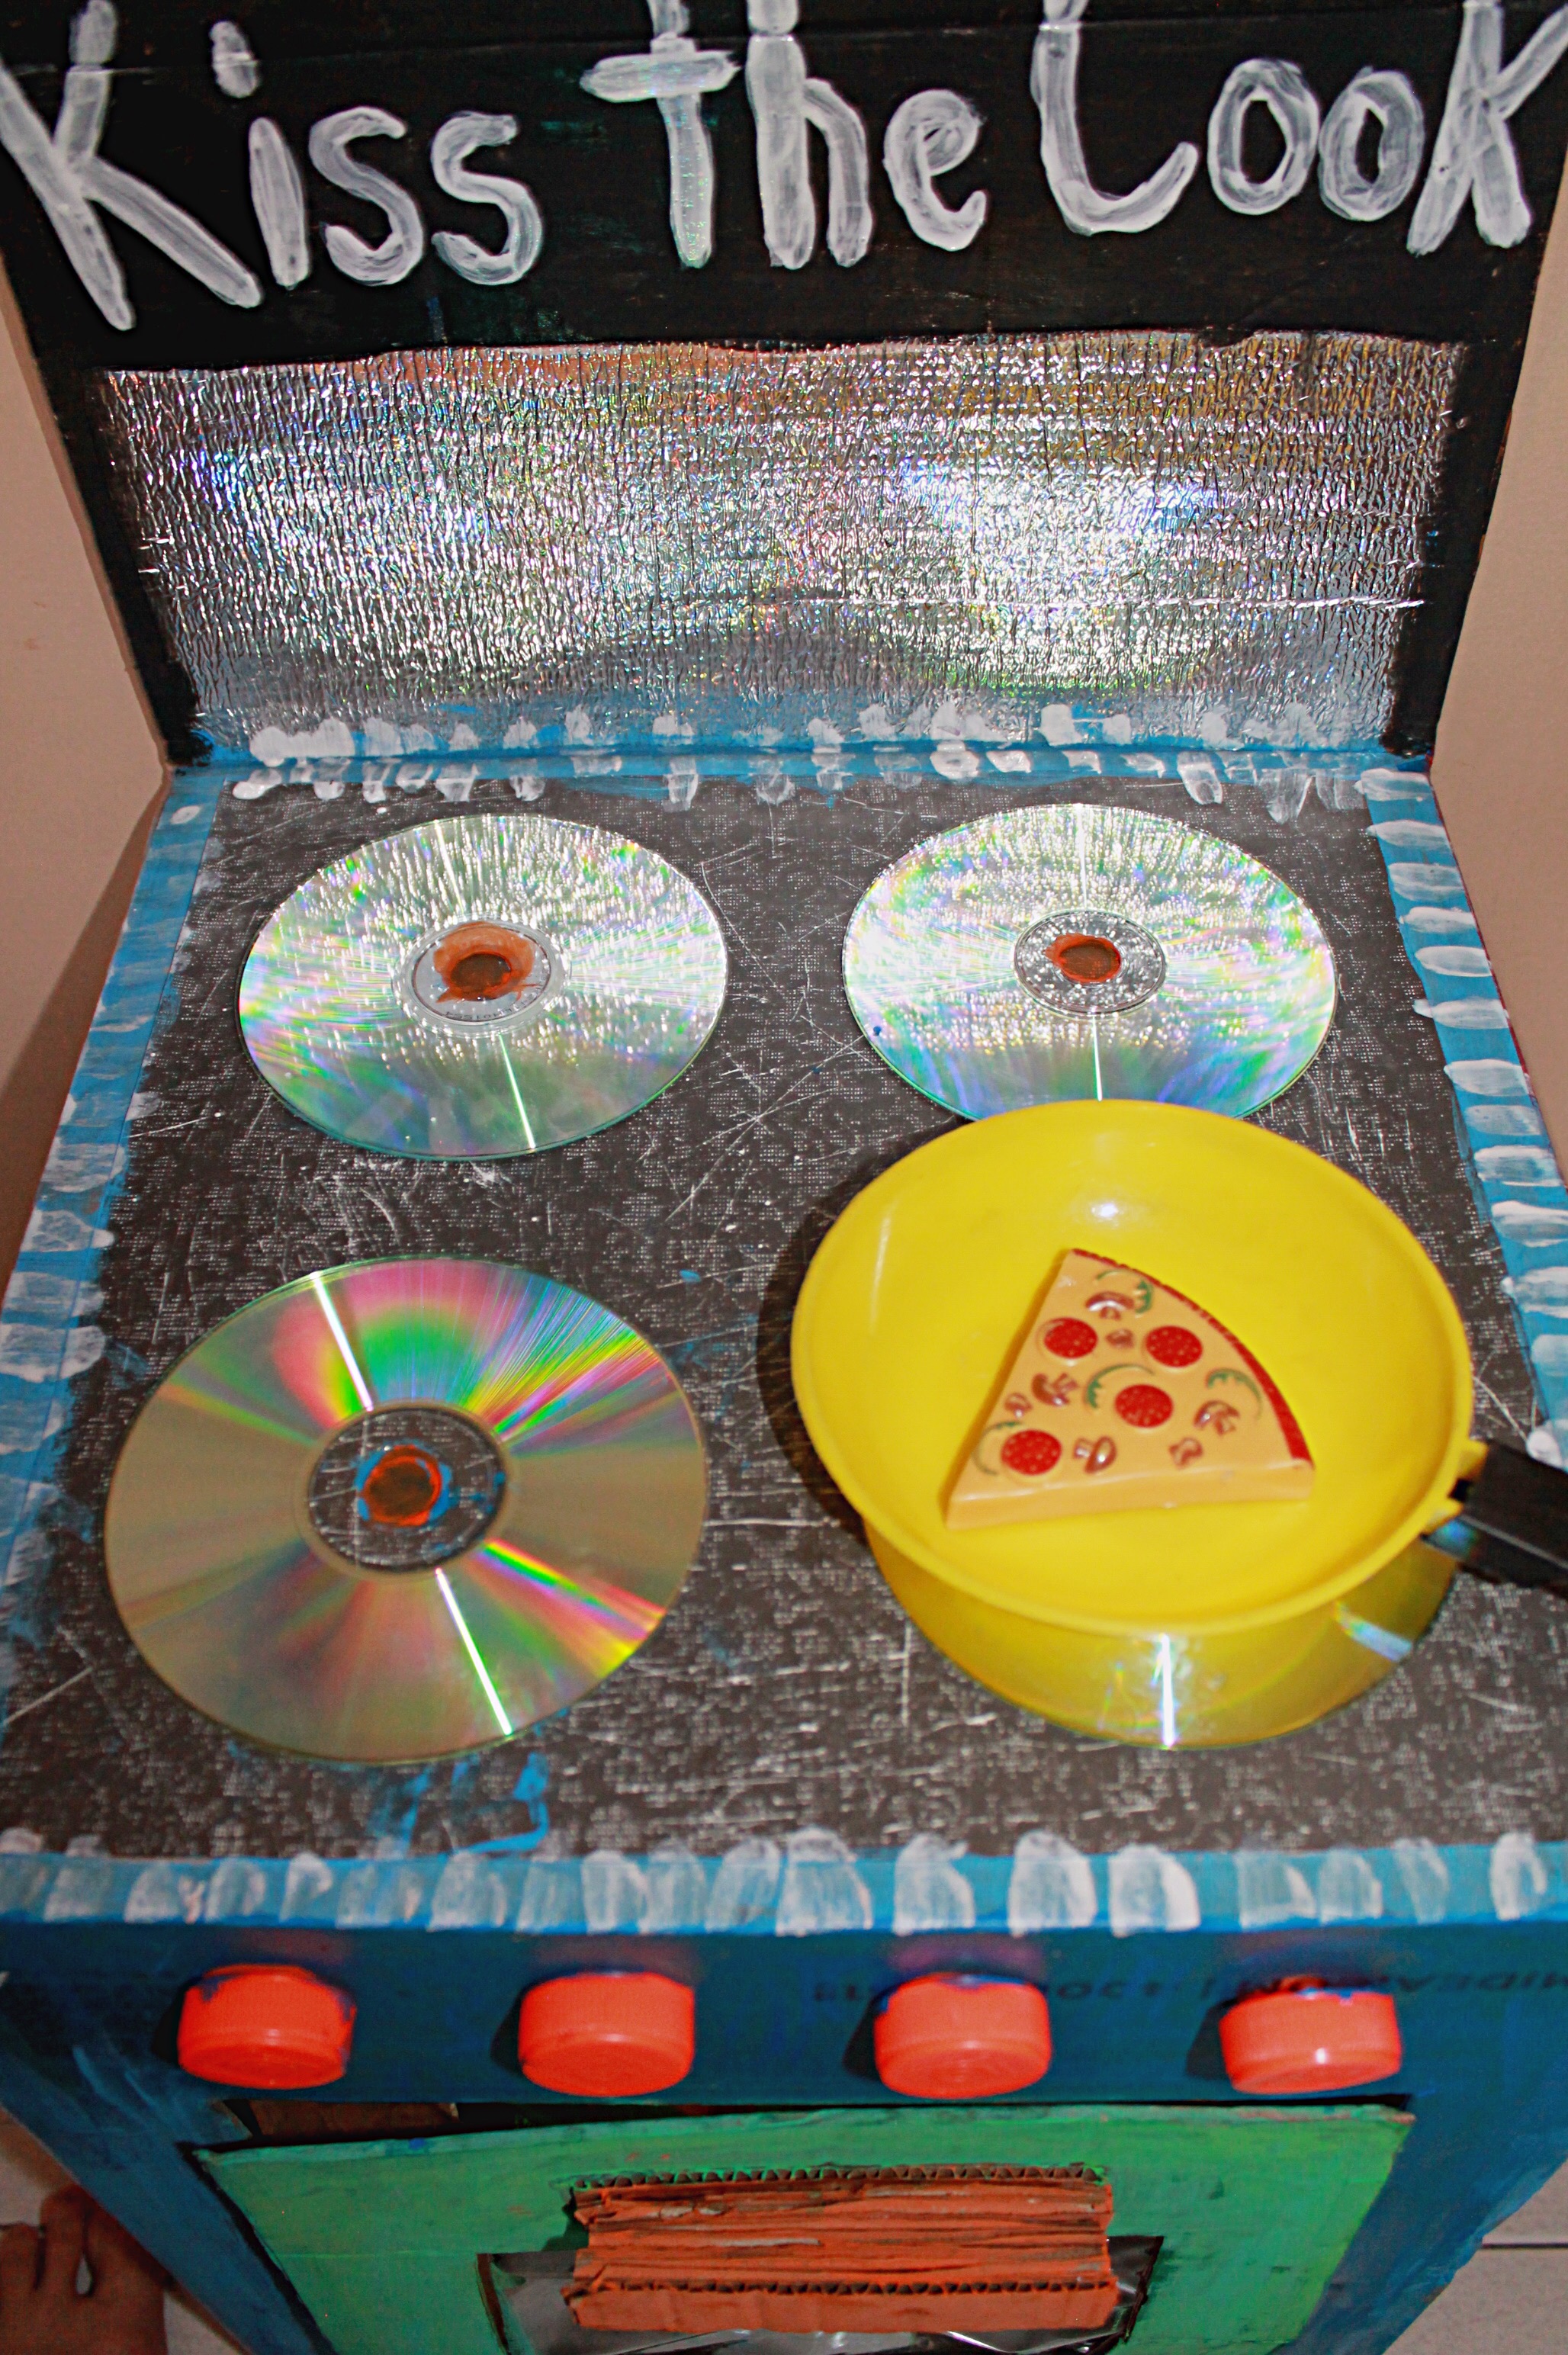
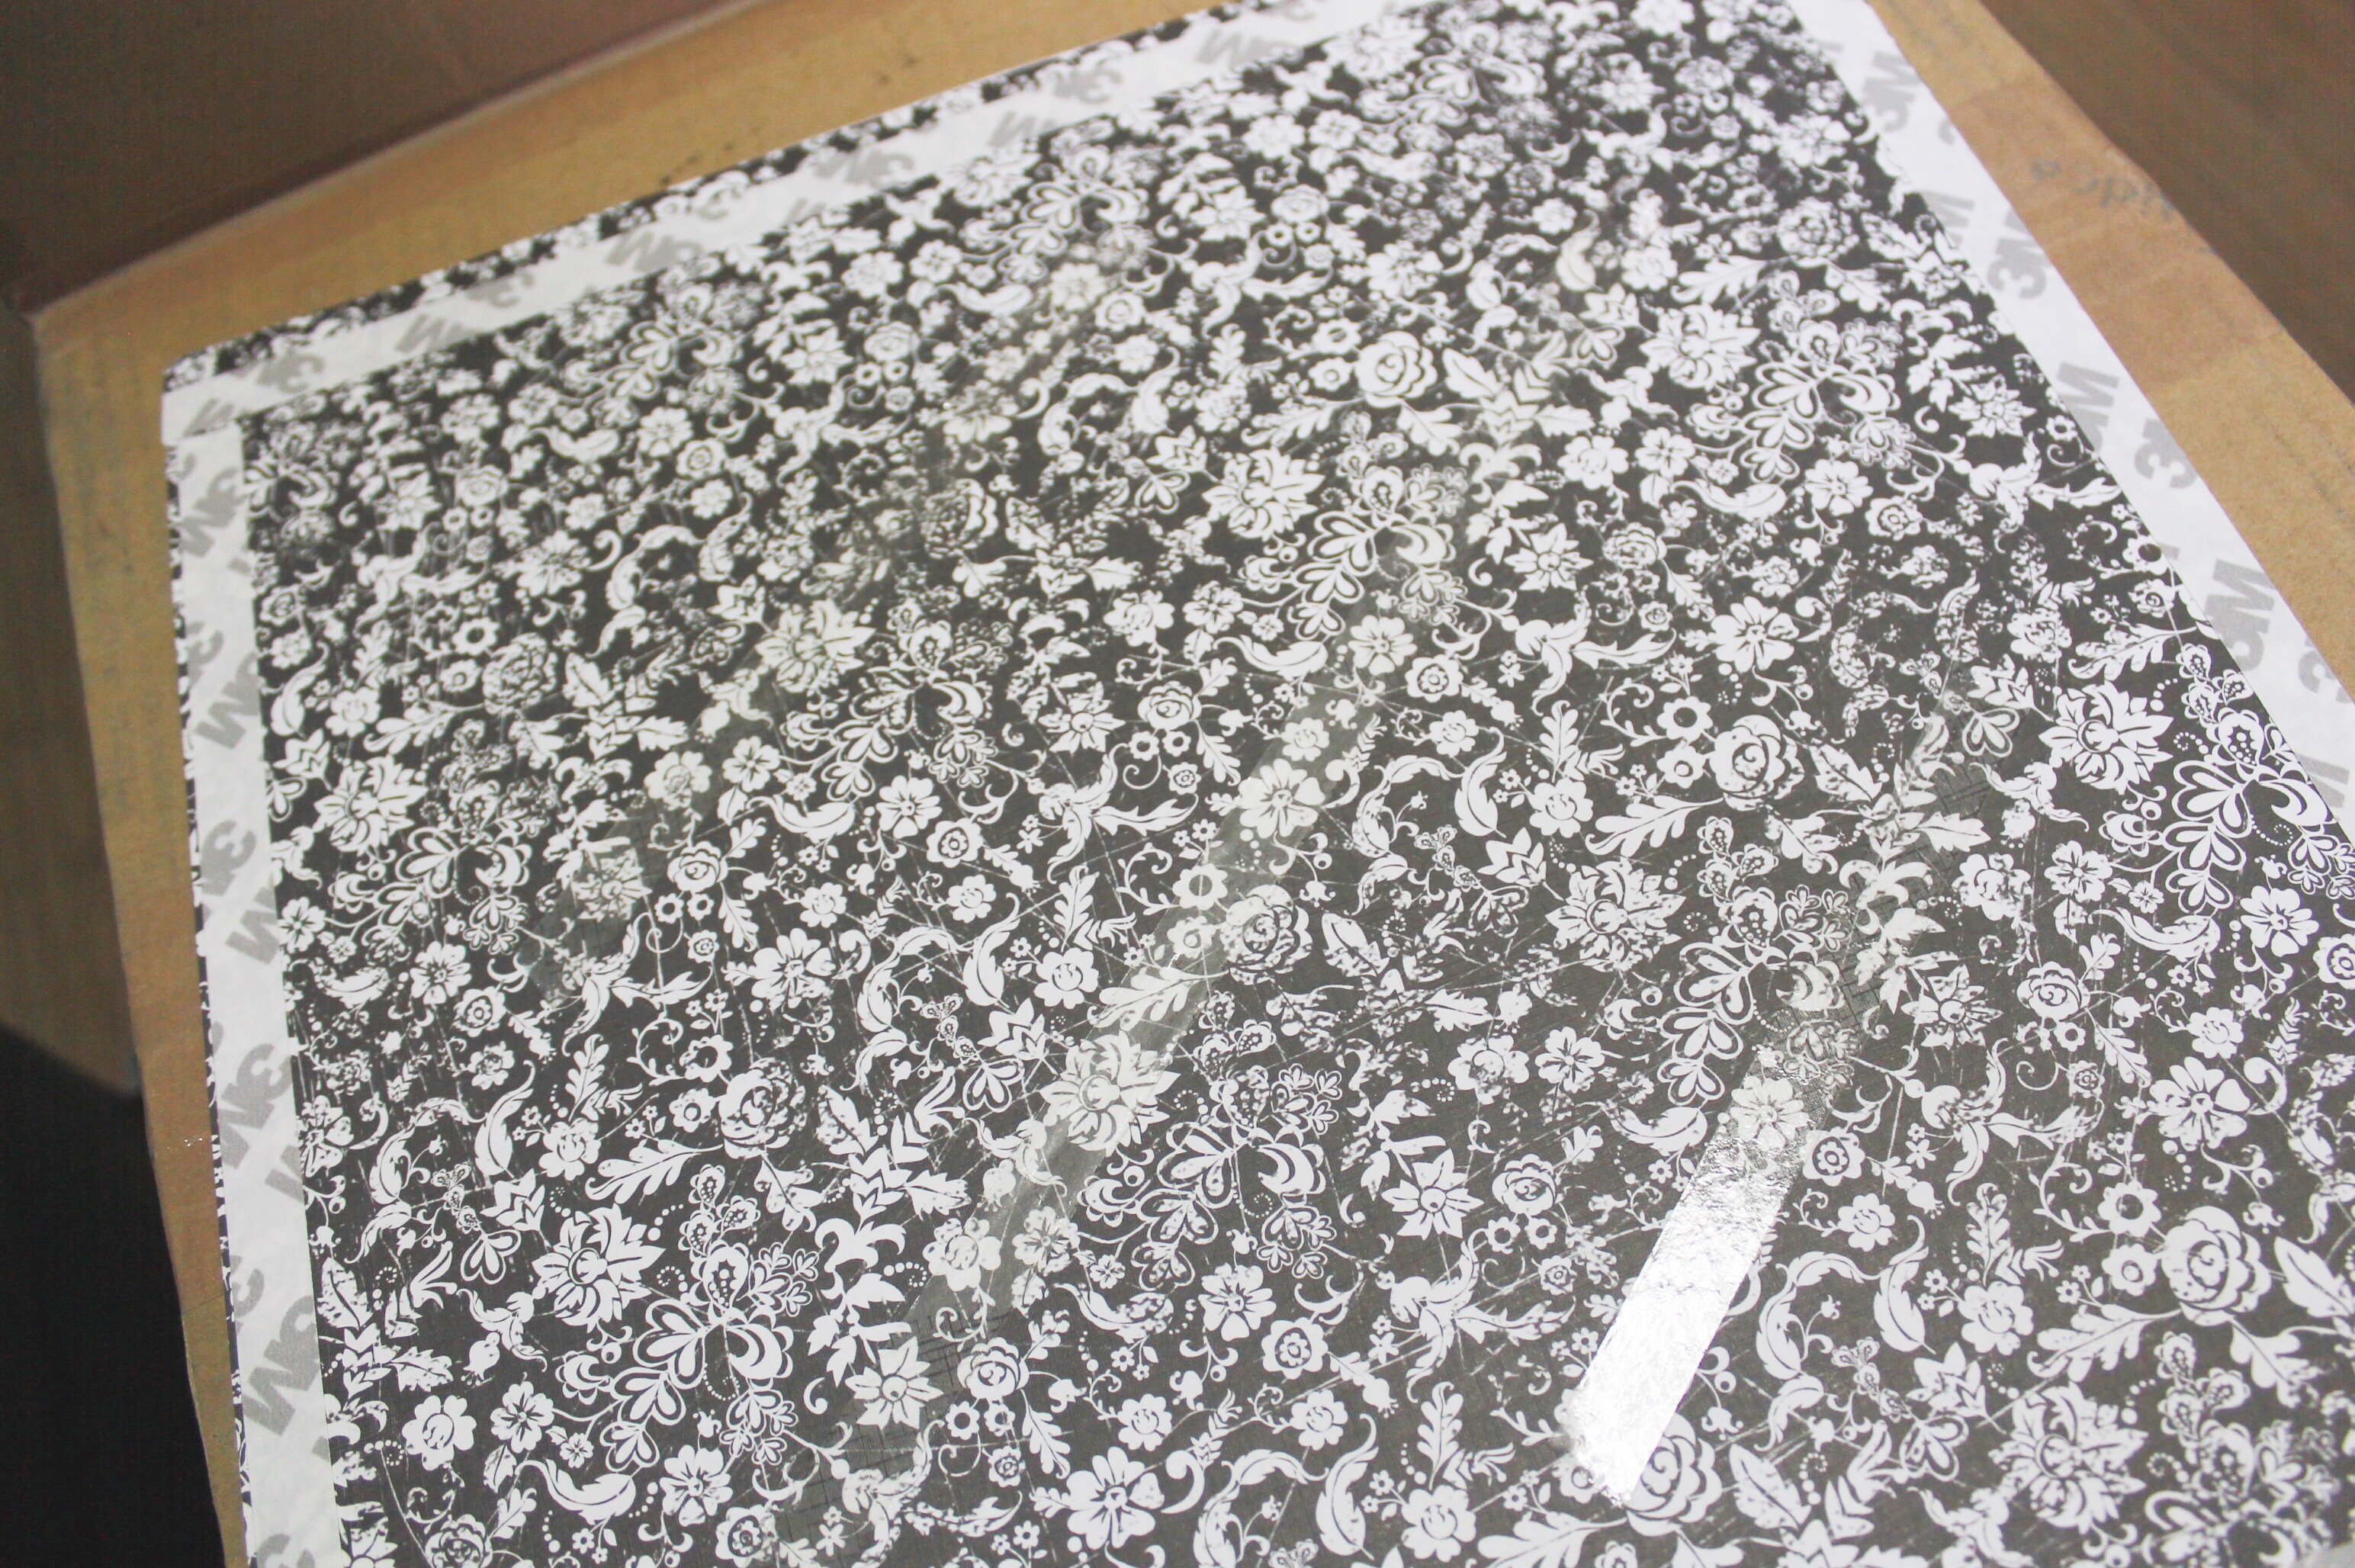
Stick a decorative paper on the top part of the oven. I used scrapbook paper.
And double sided tape.
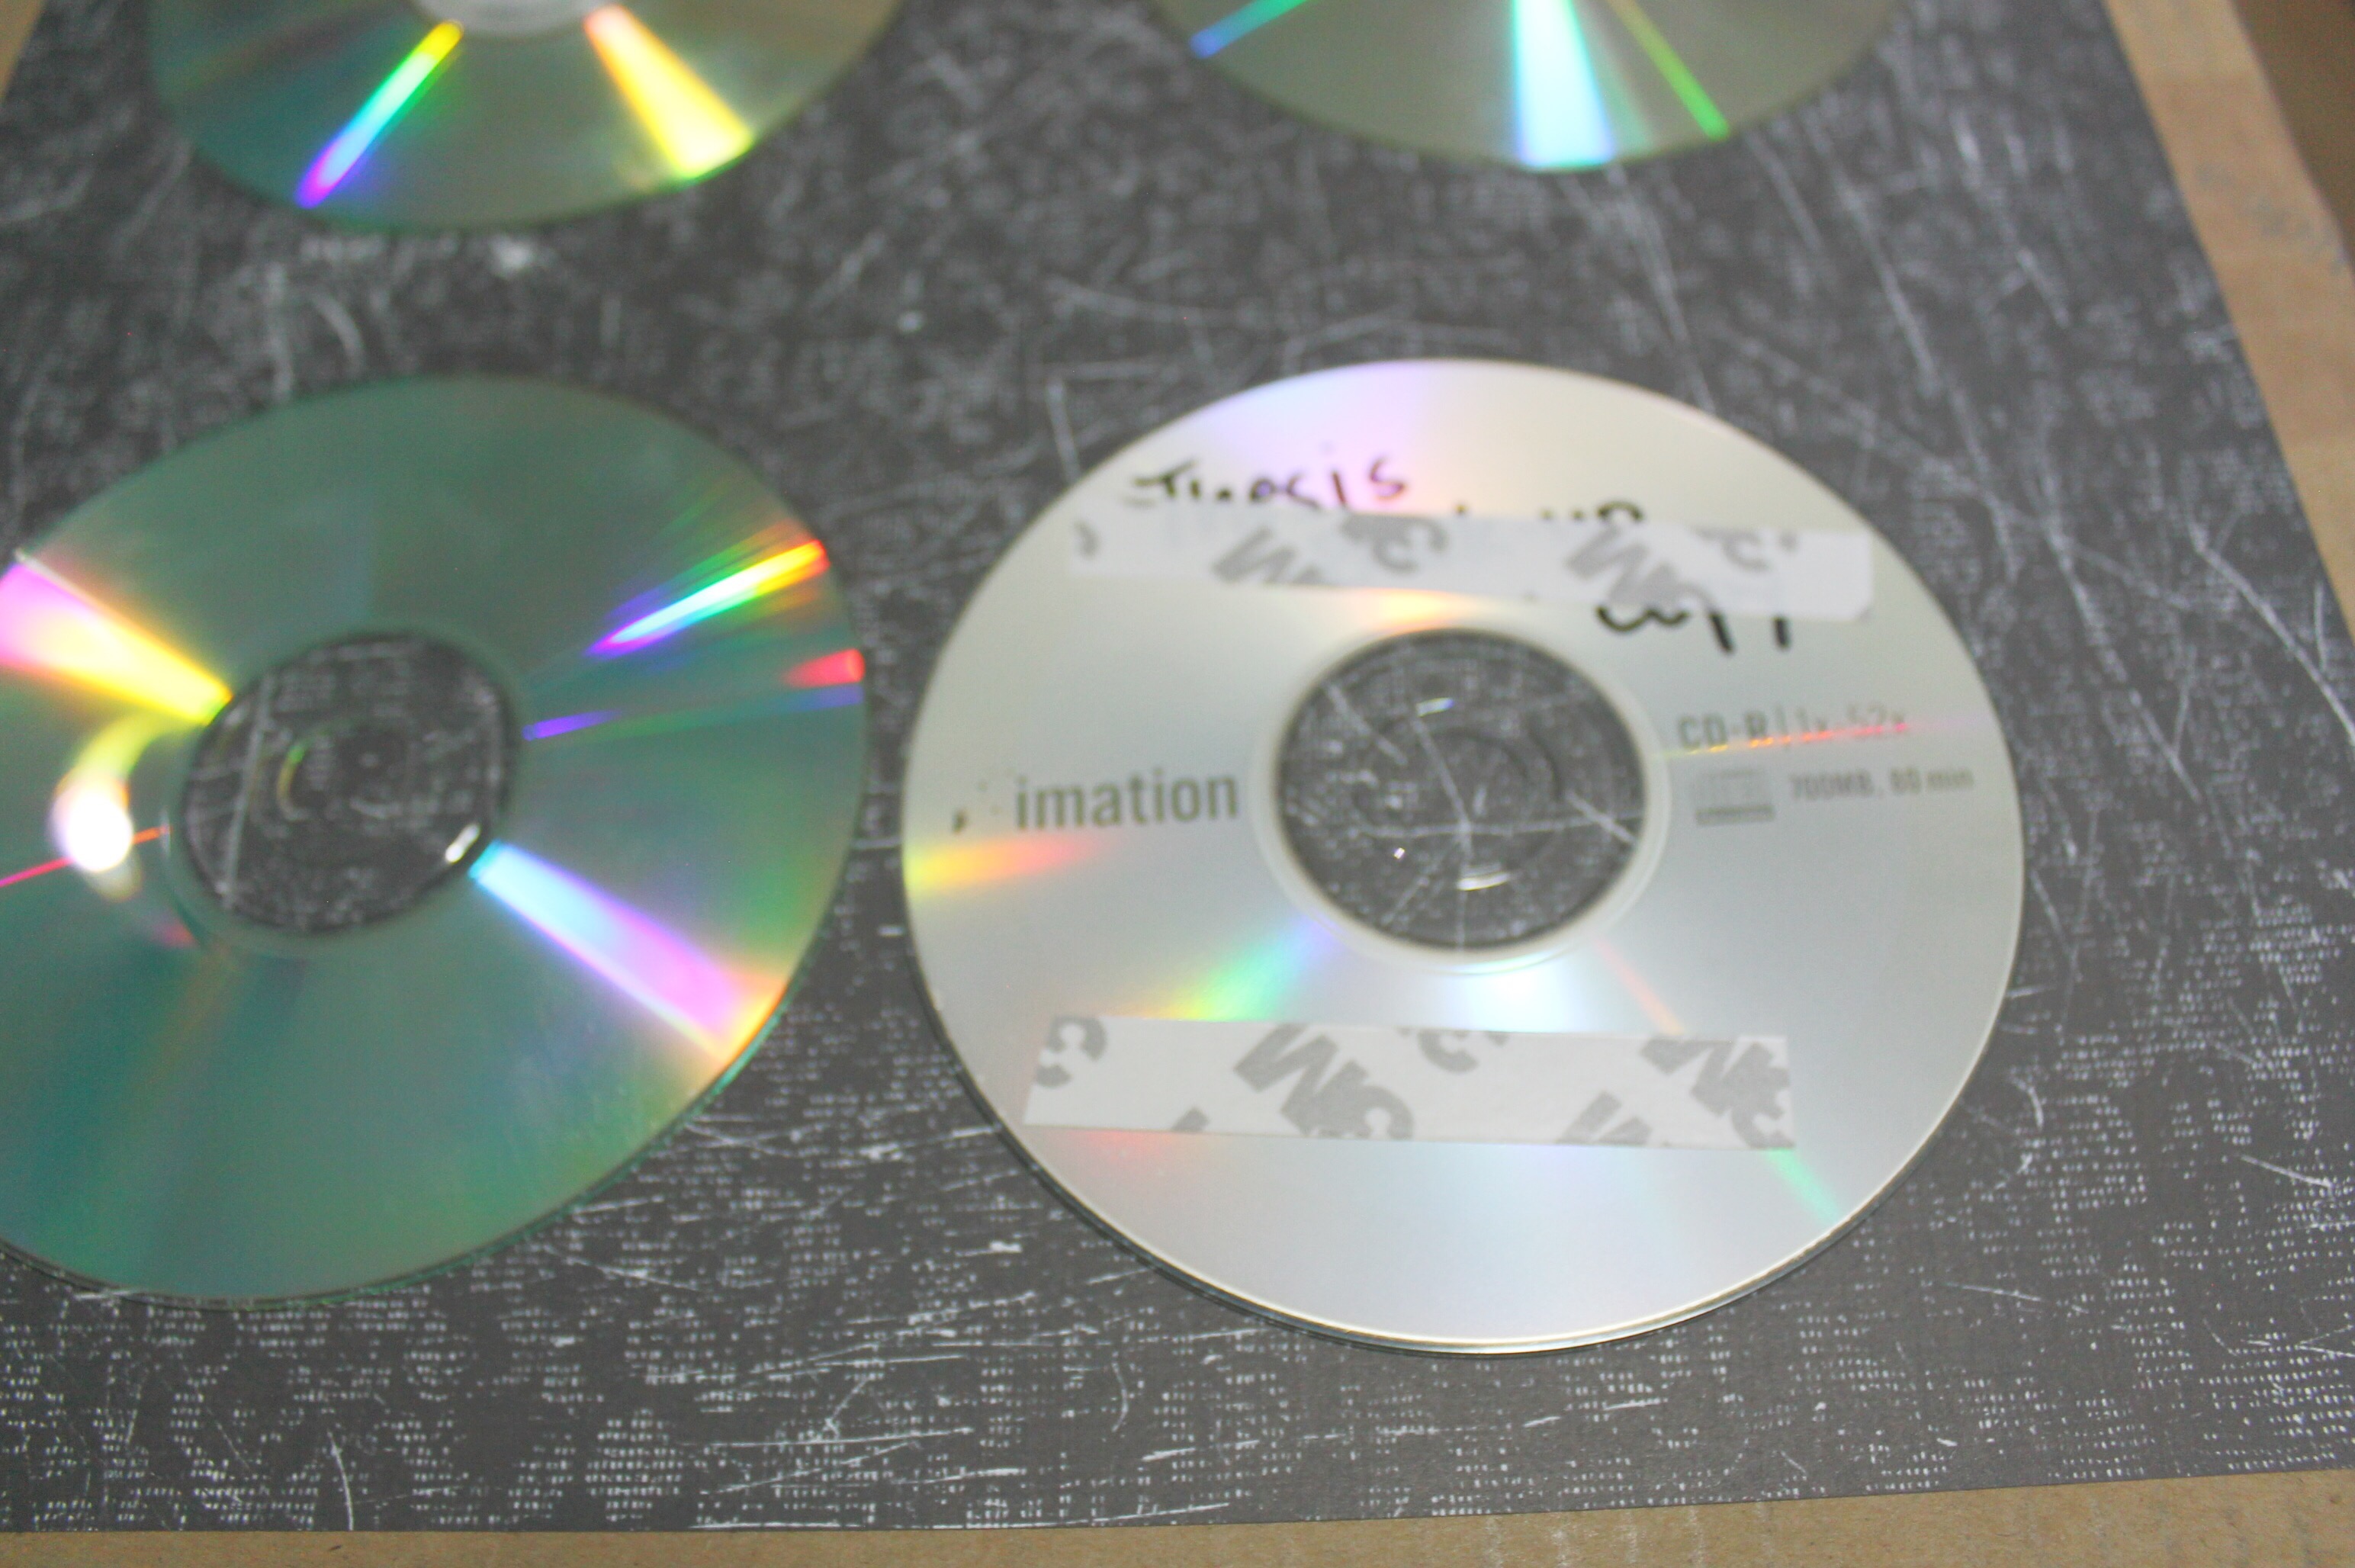
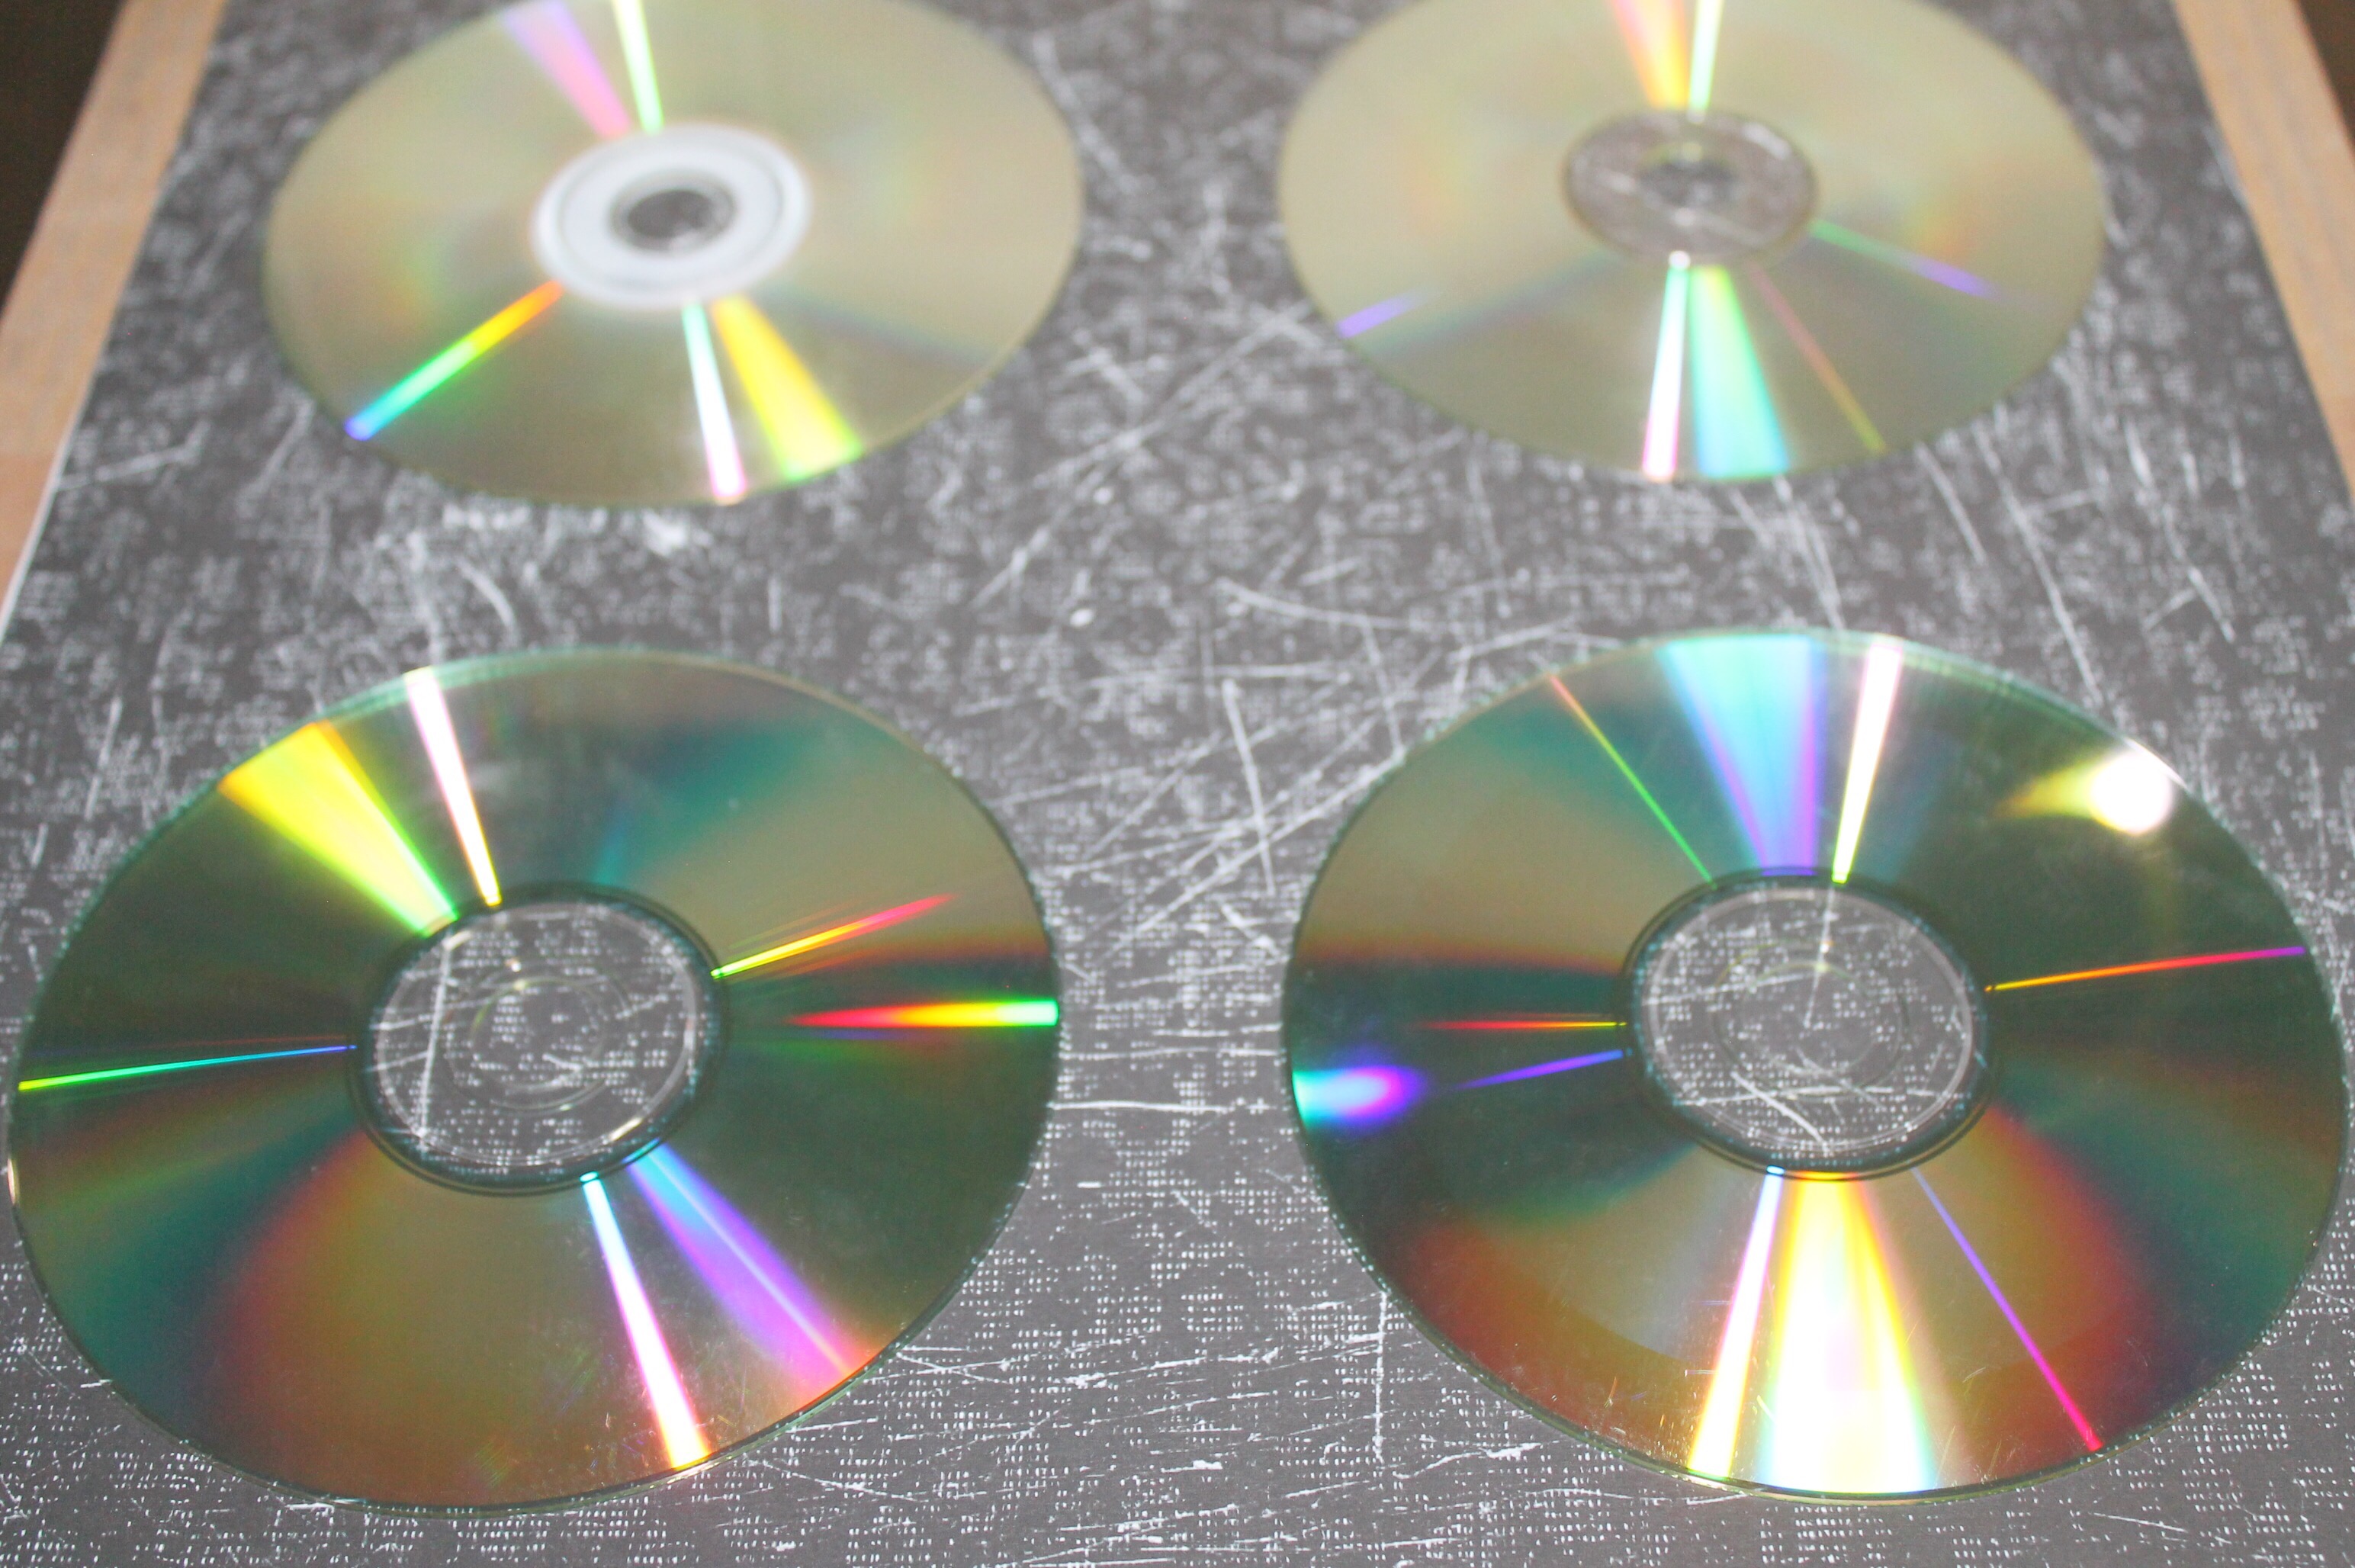
Did the same for the old cds.
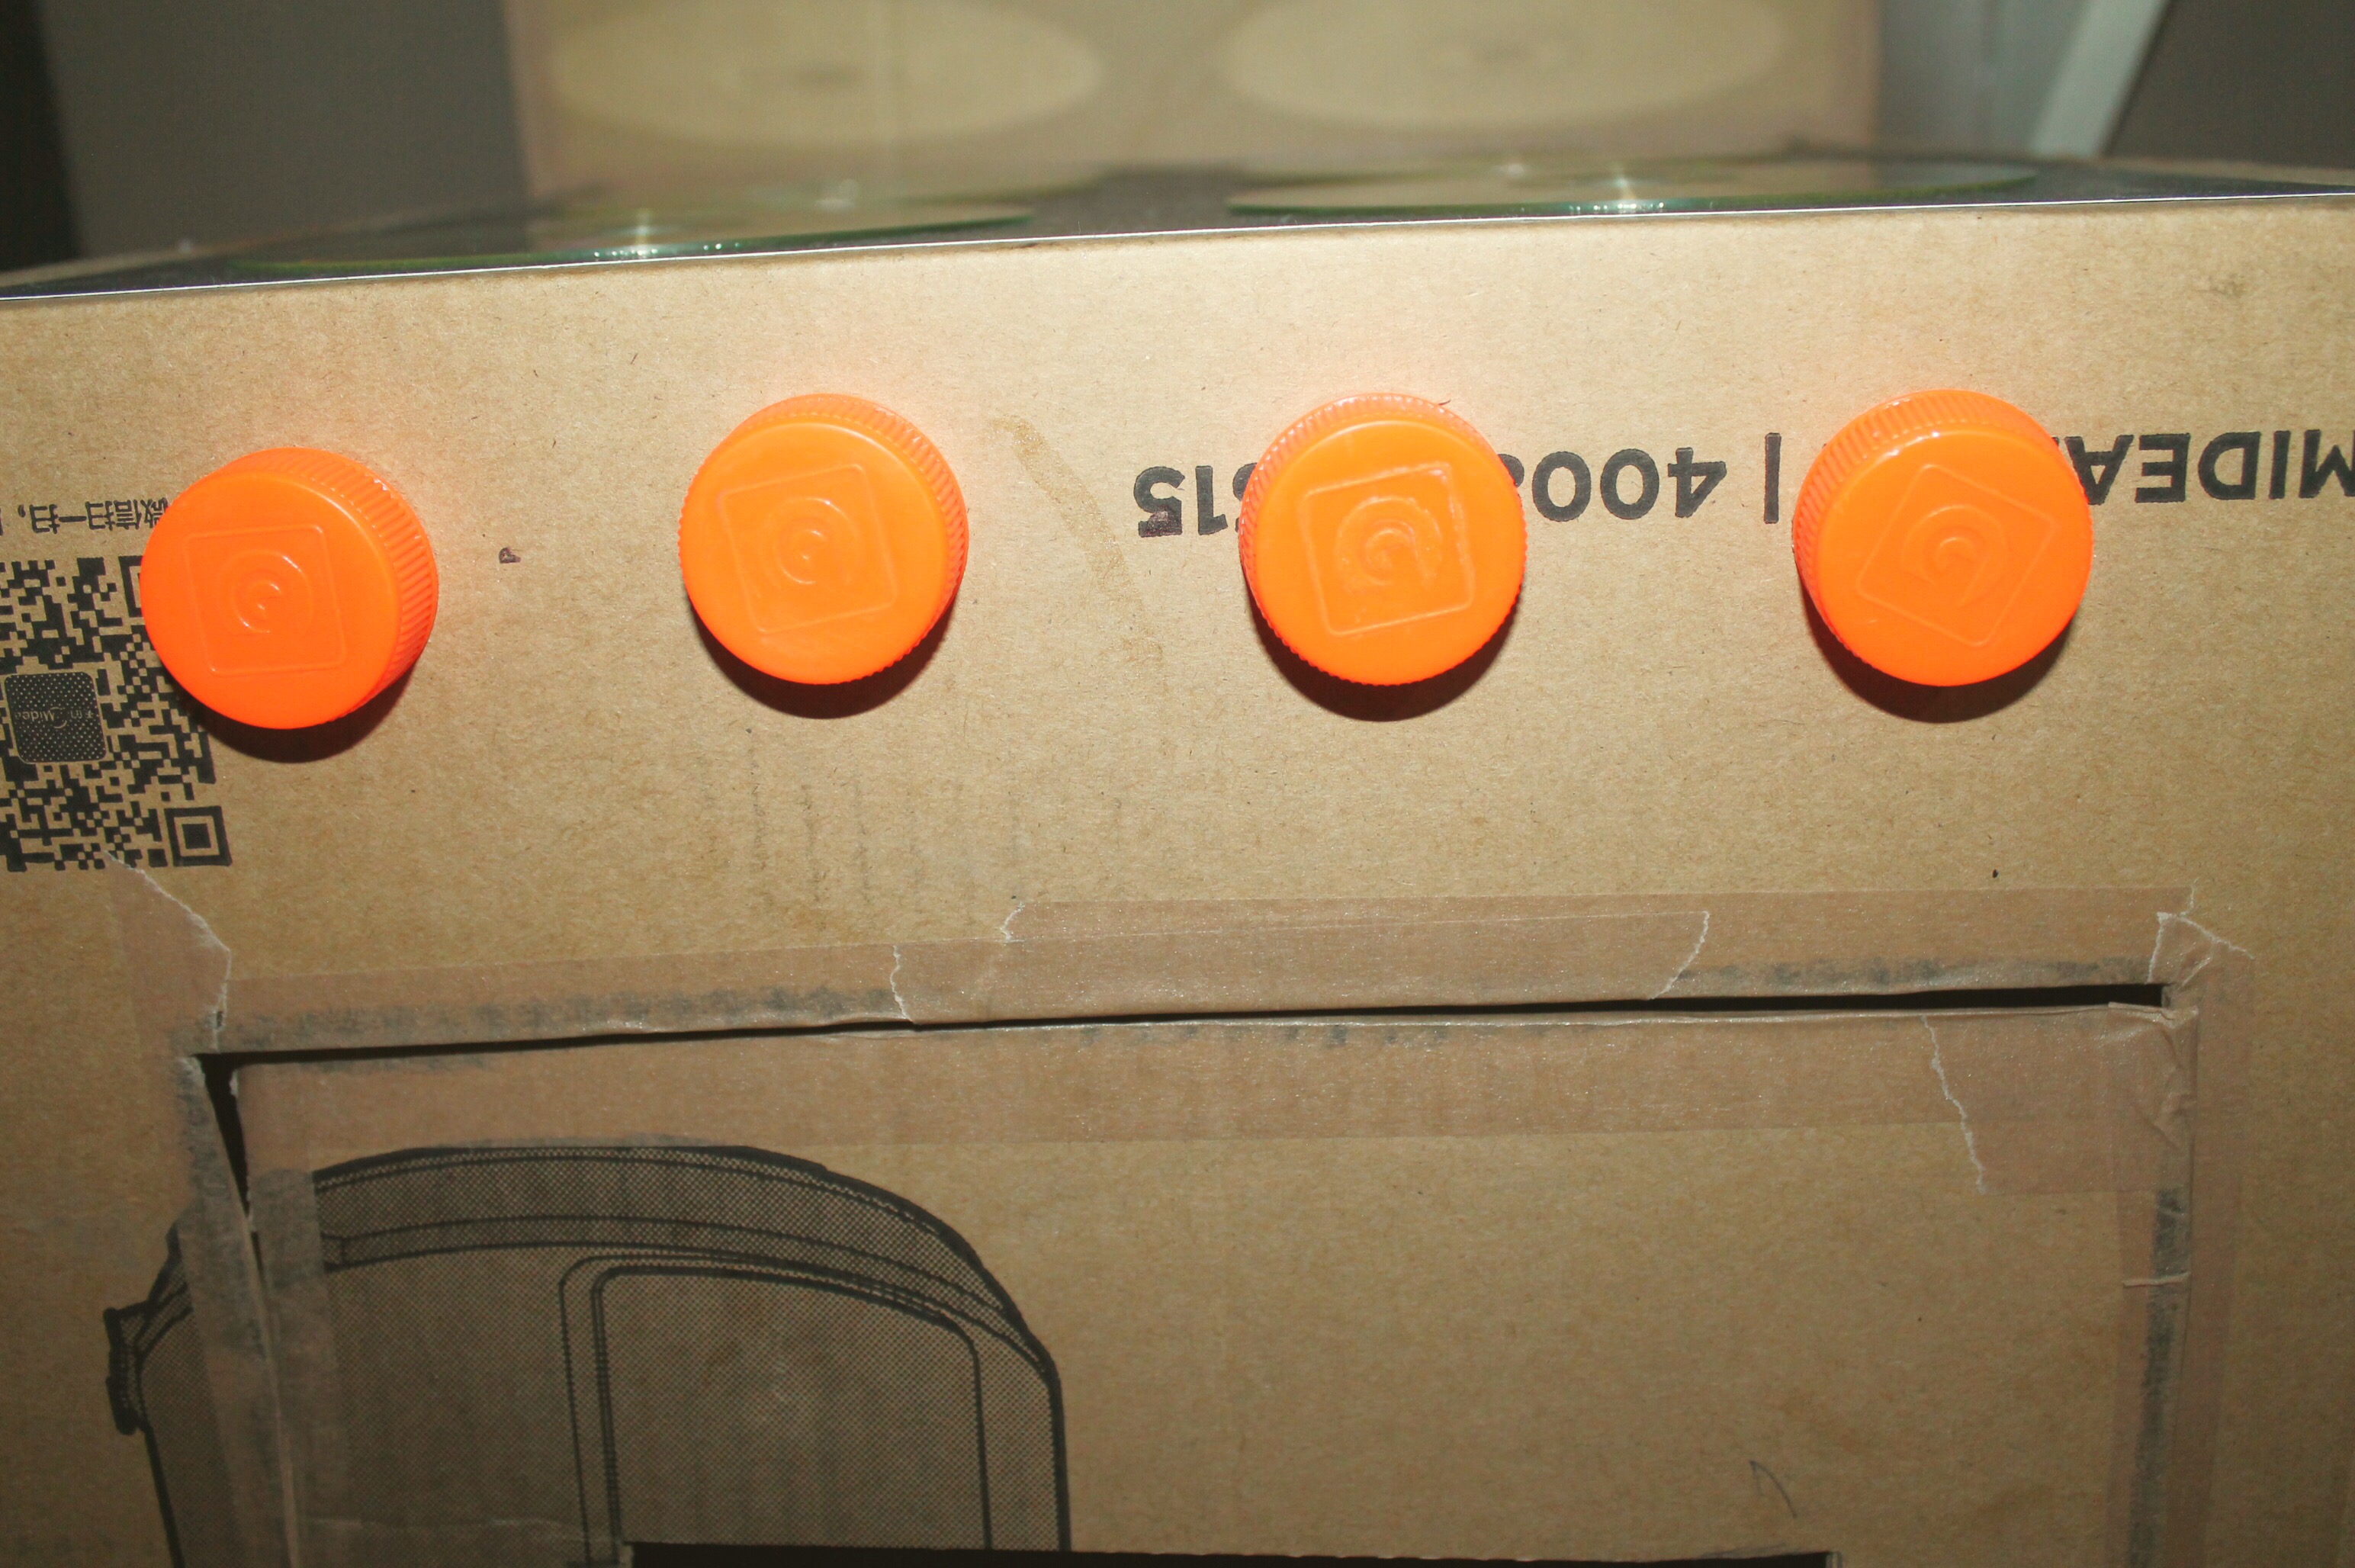
Now, make the knobs using plastic bottle caps and paper Fasteners.

Glue together with a glue gun.
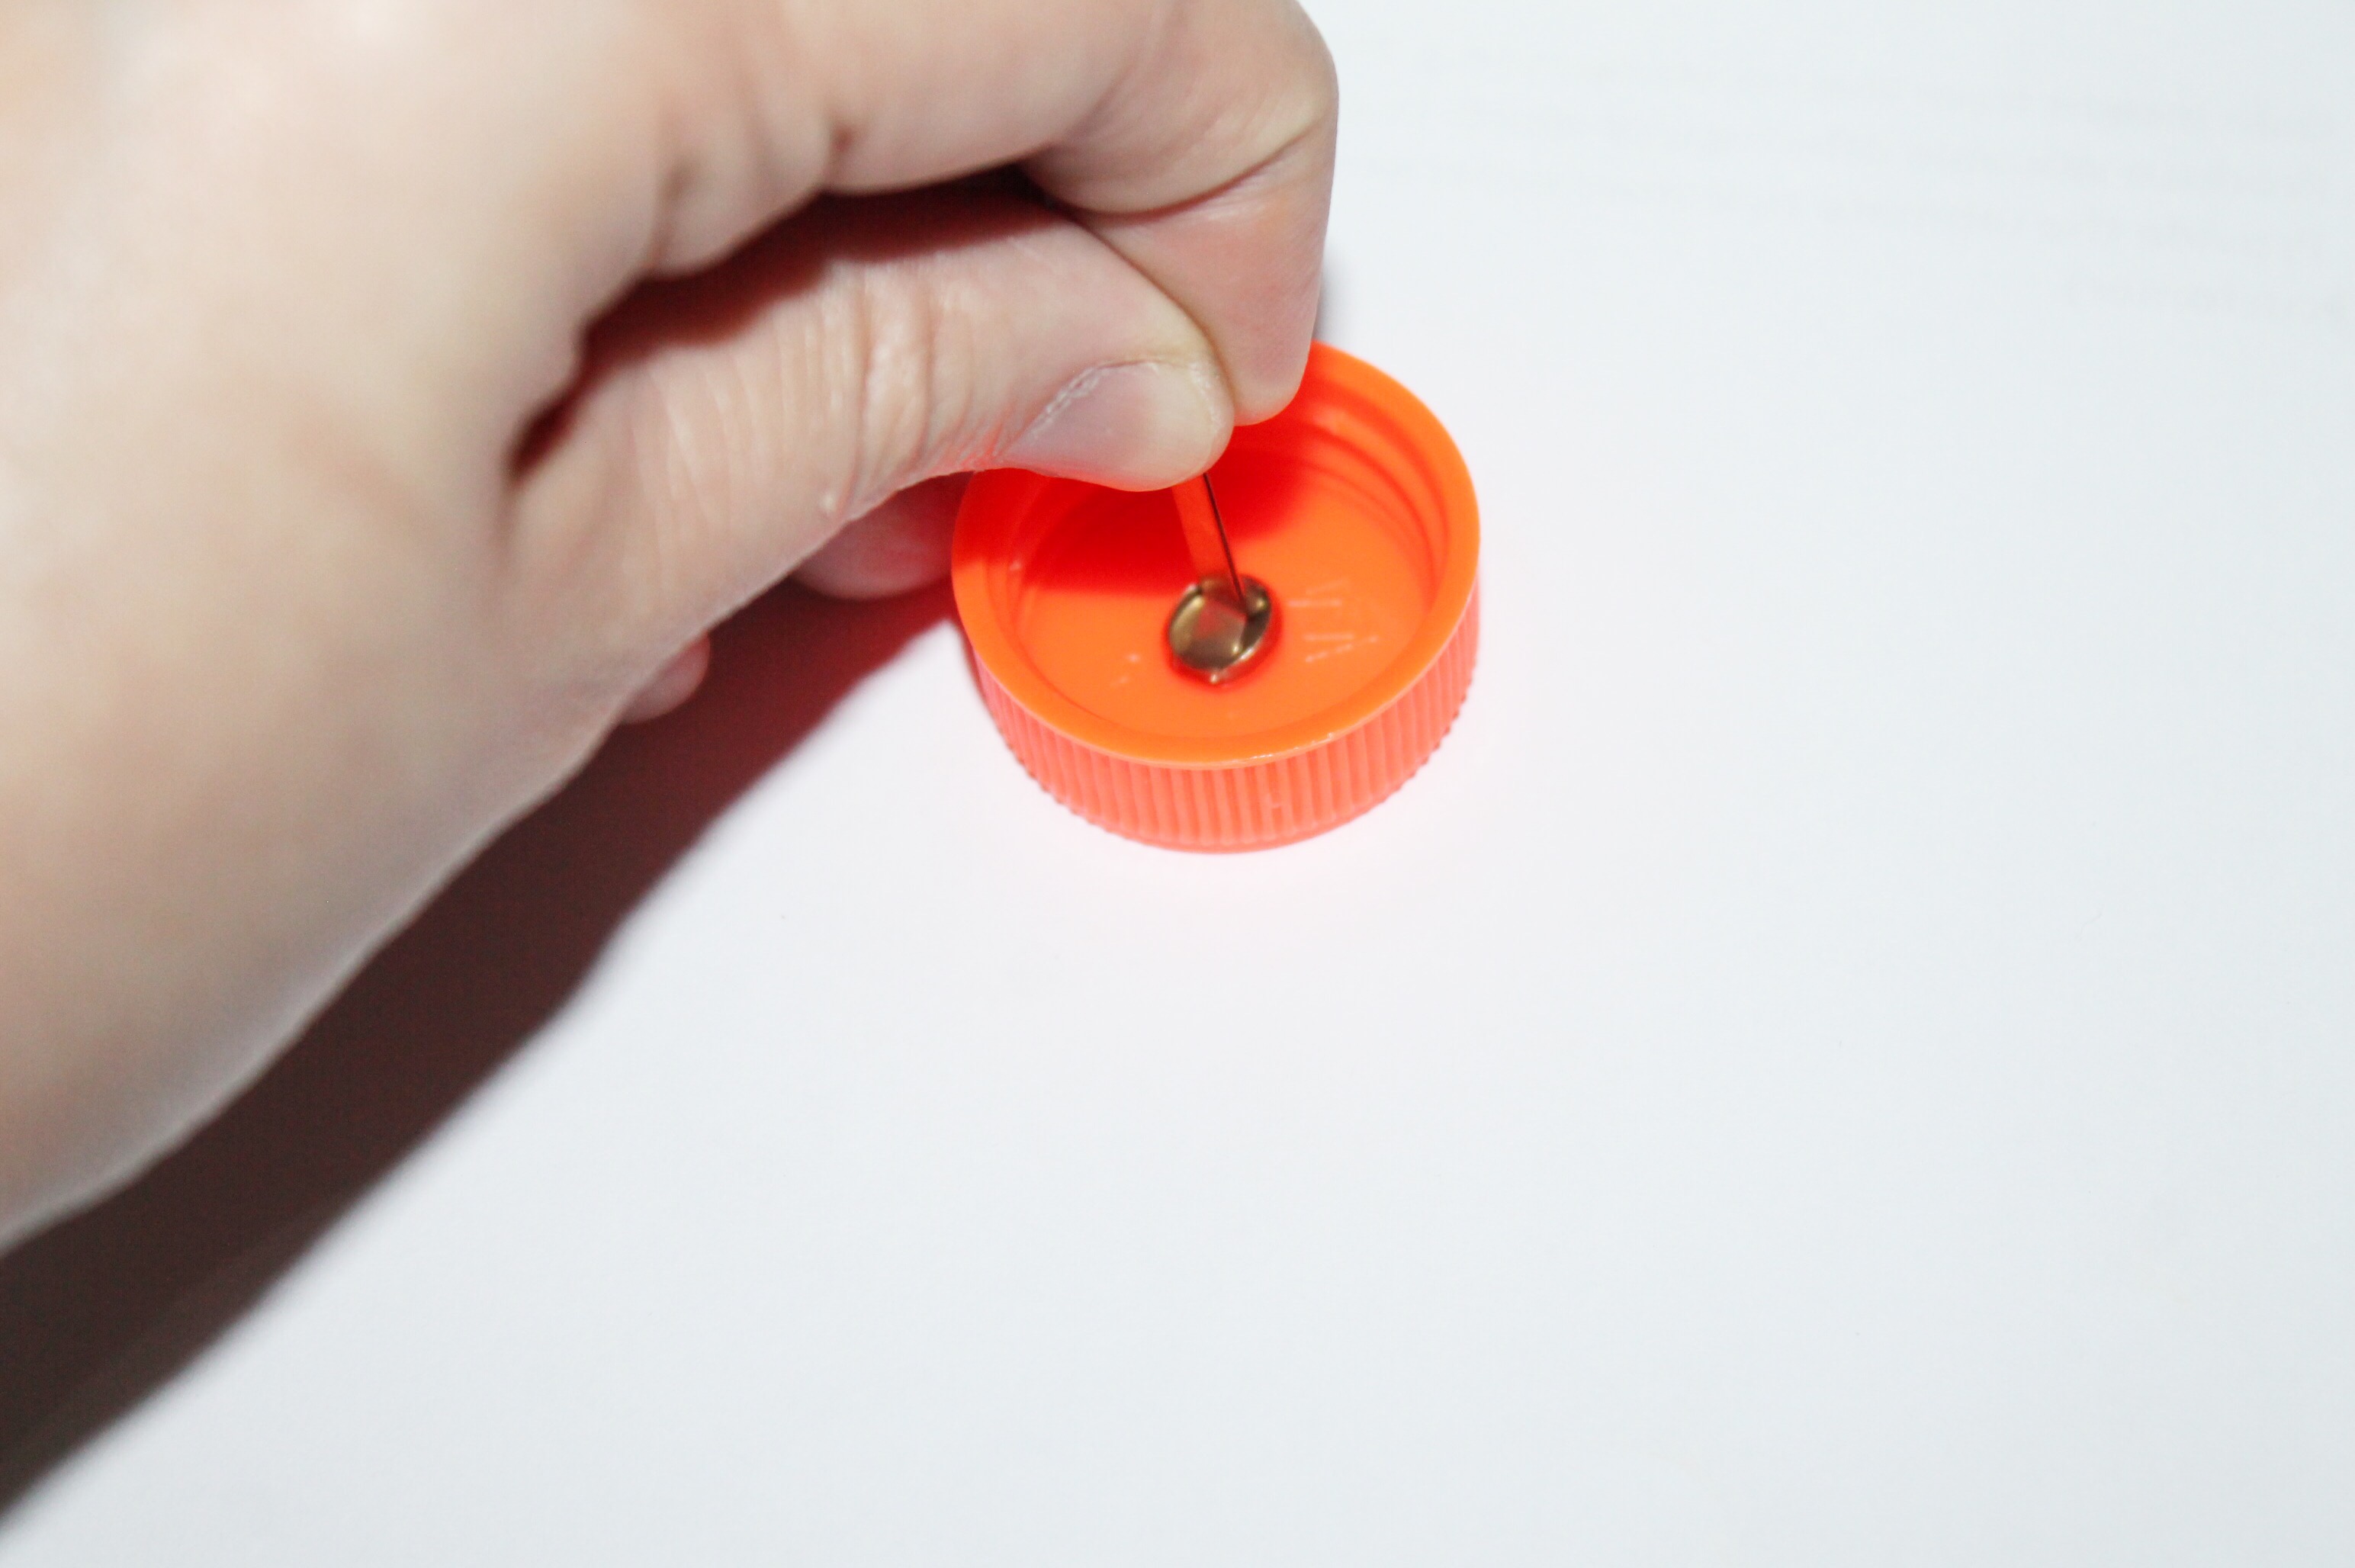
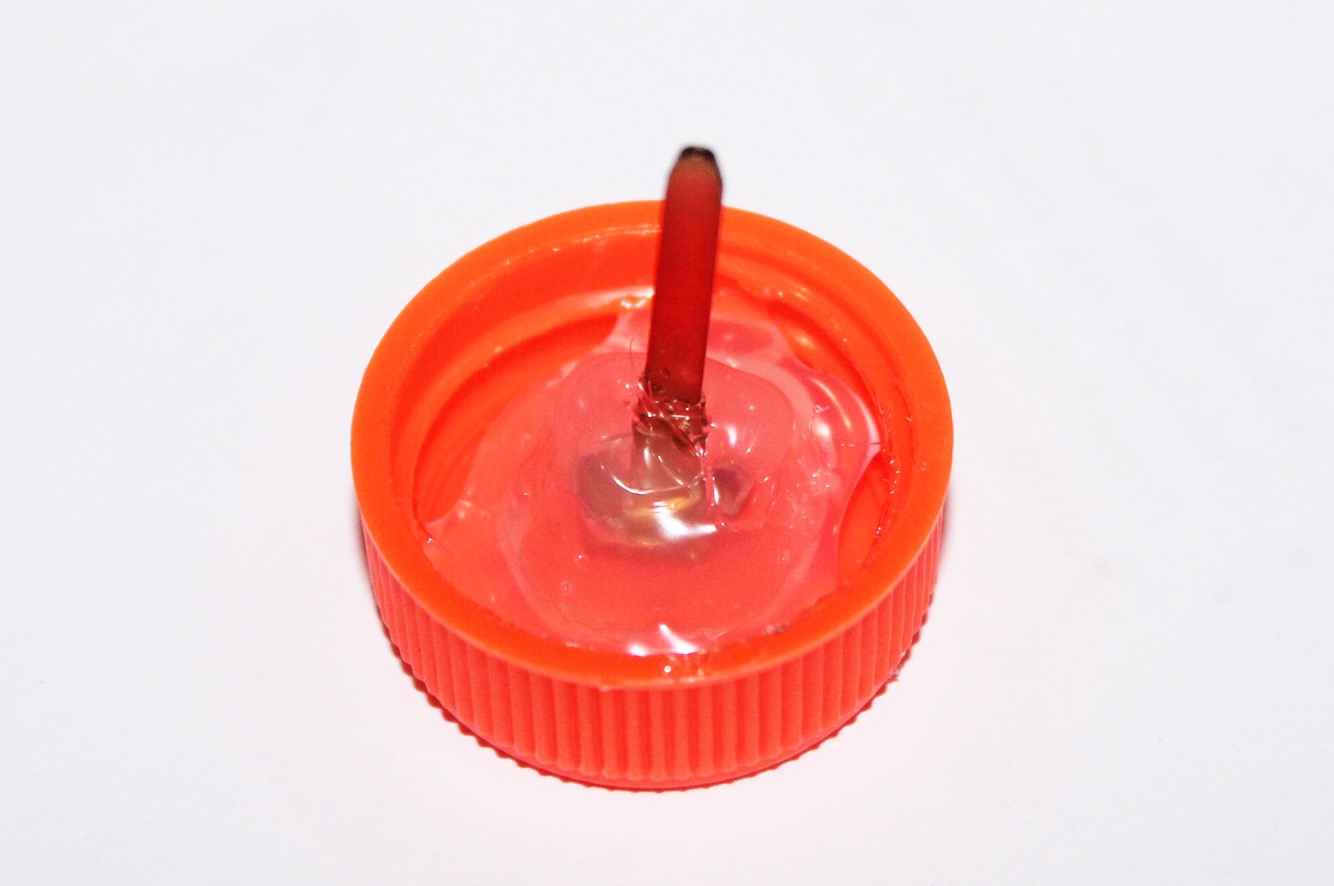
Then just fasten to the oven. This will allow for the knobs to turn 🙂
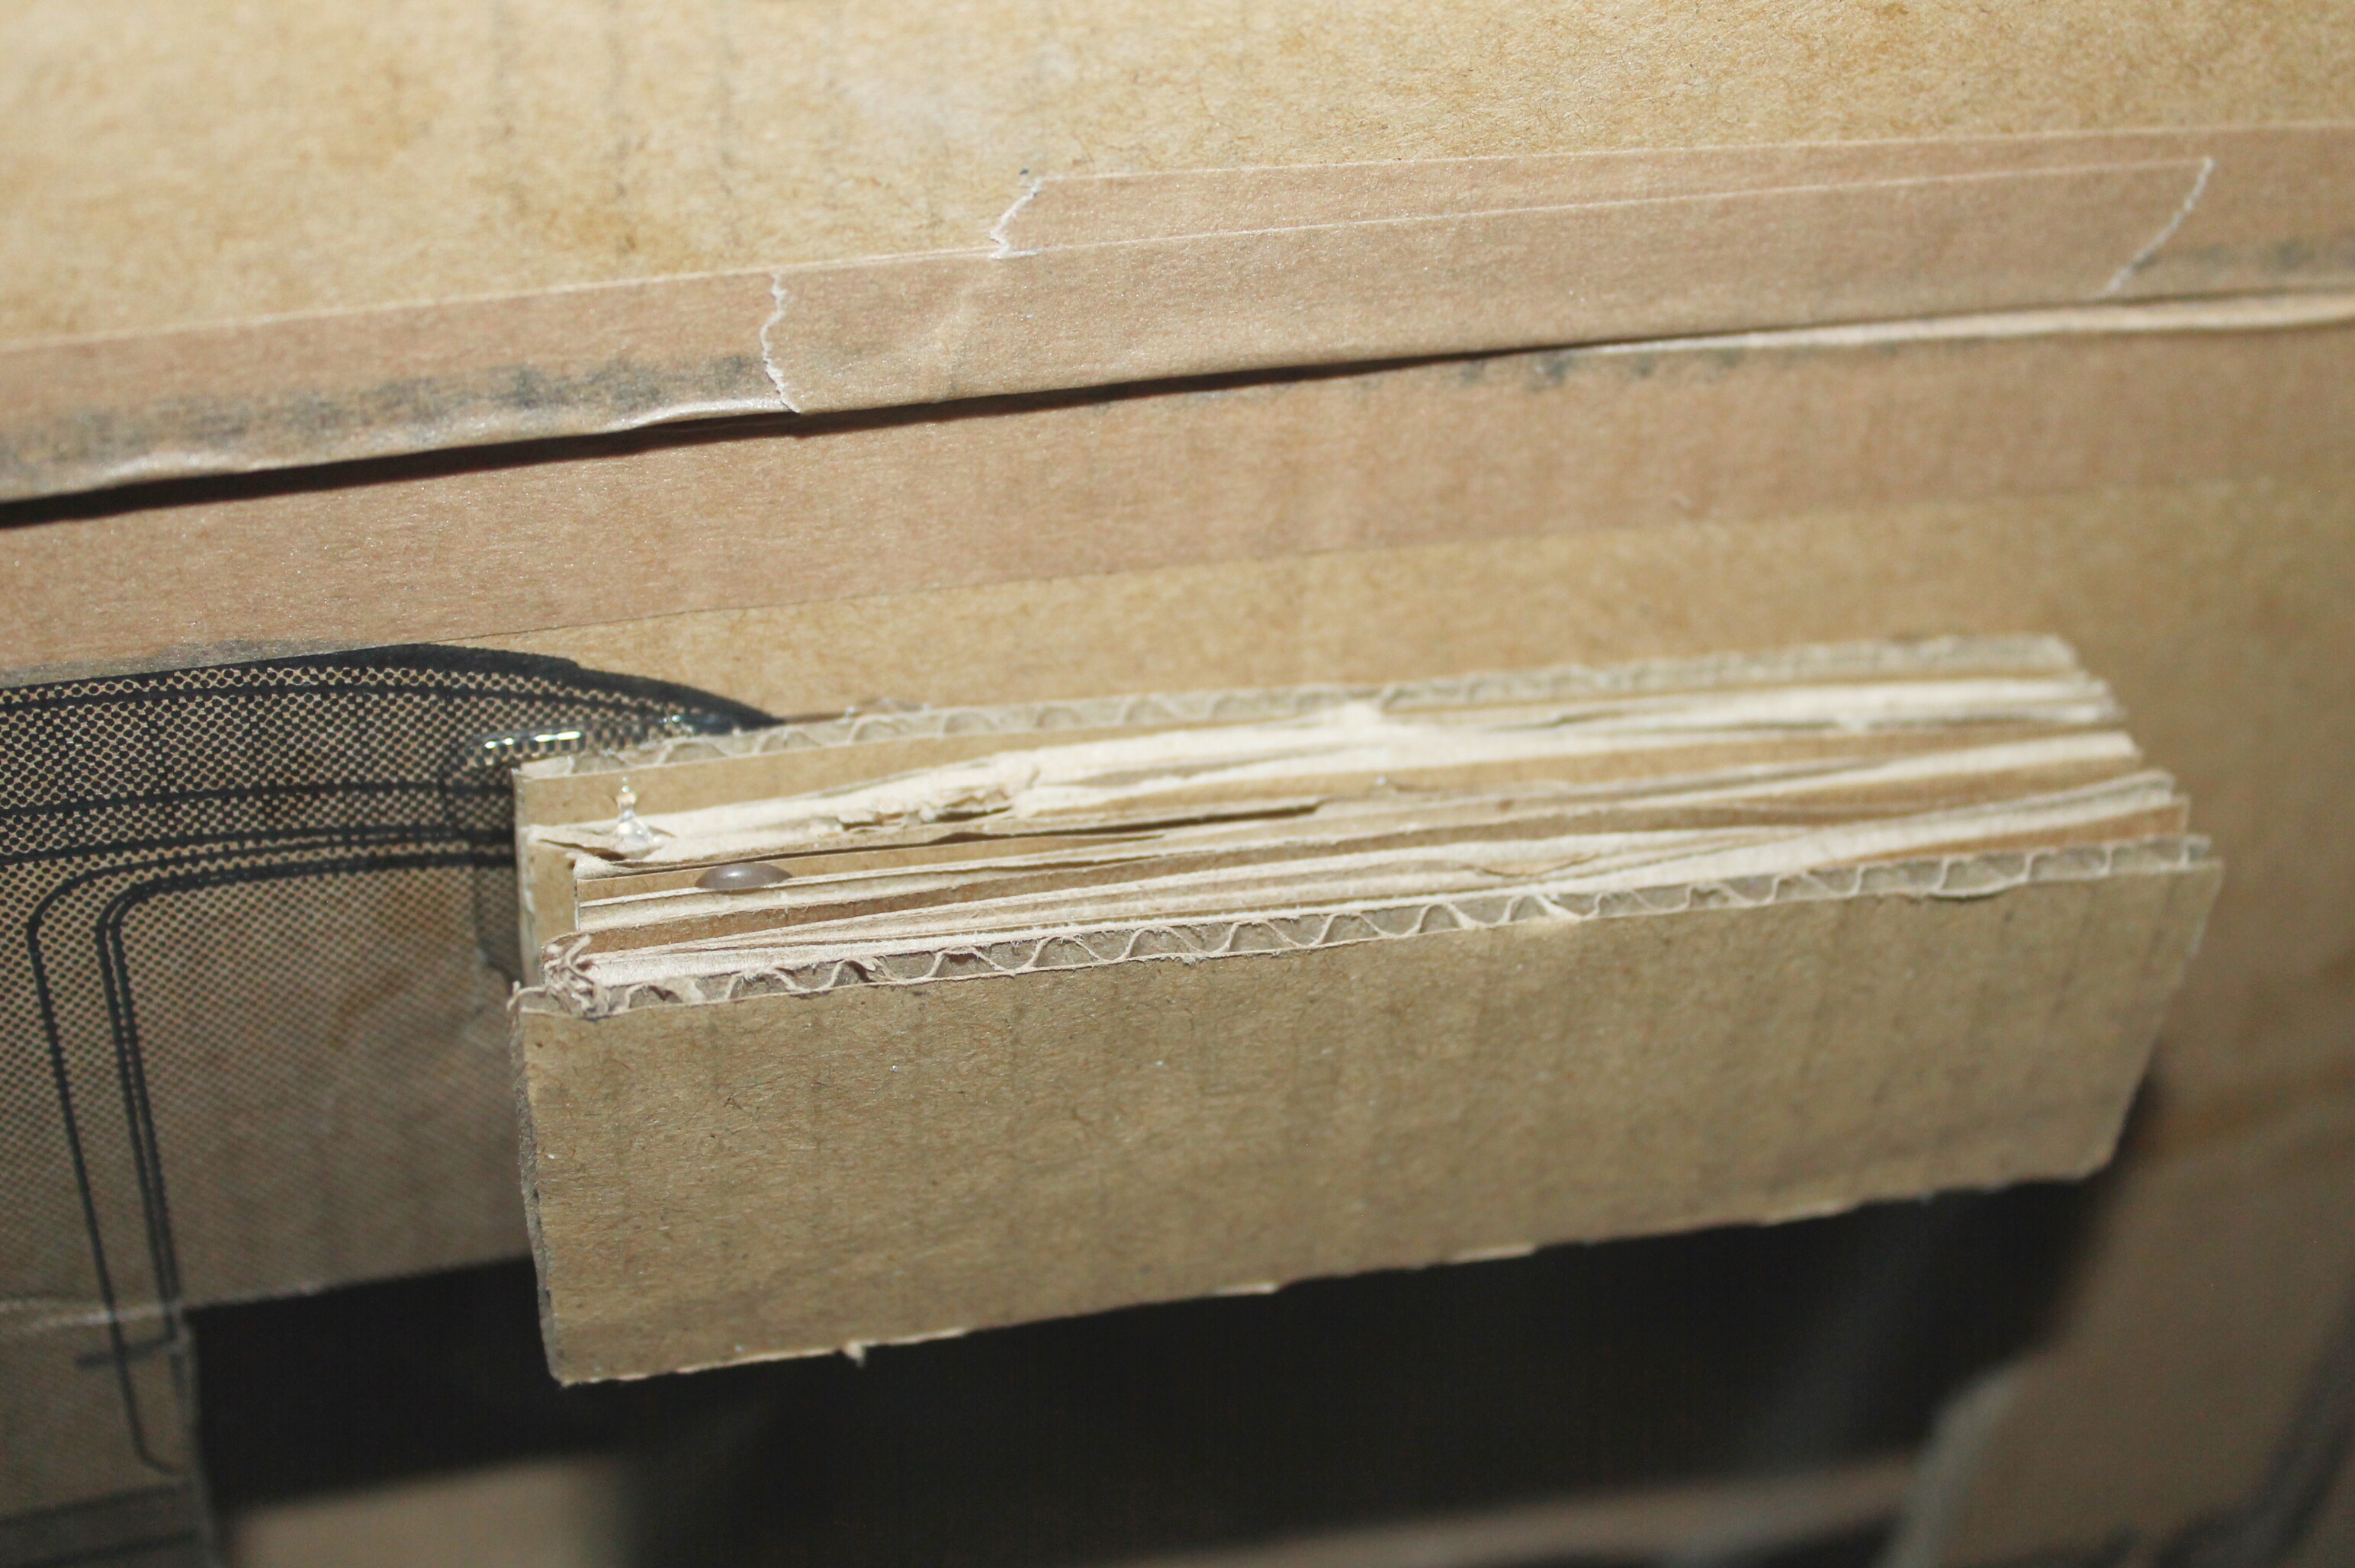
Made a handle by gluing 5 pcs of cardboard together. Cut into any shape you want. And put together with a glue gun.
Cover the hole with clear plastic. Use whatever you have at home. I used the plastic from a pack of sticker paper.
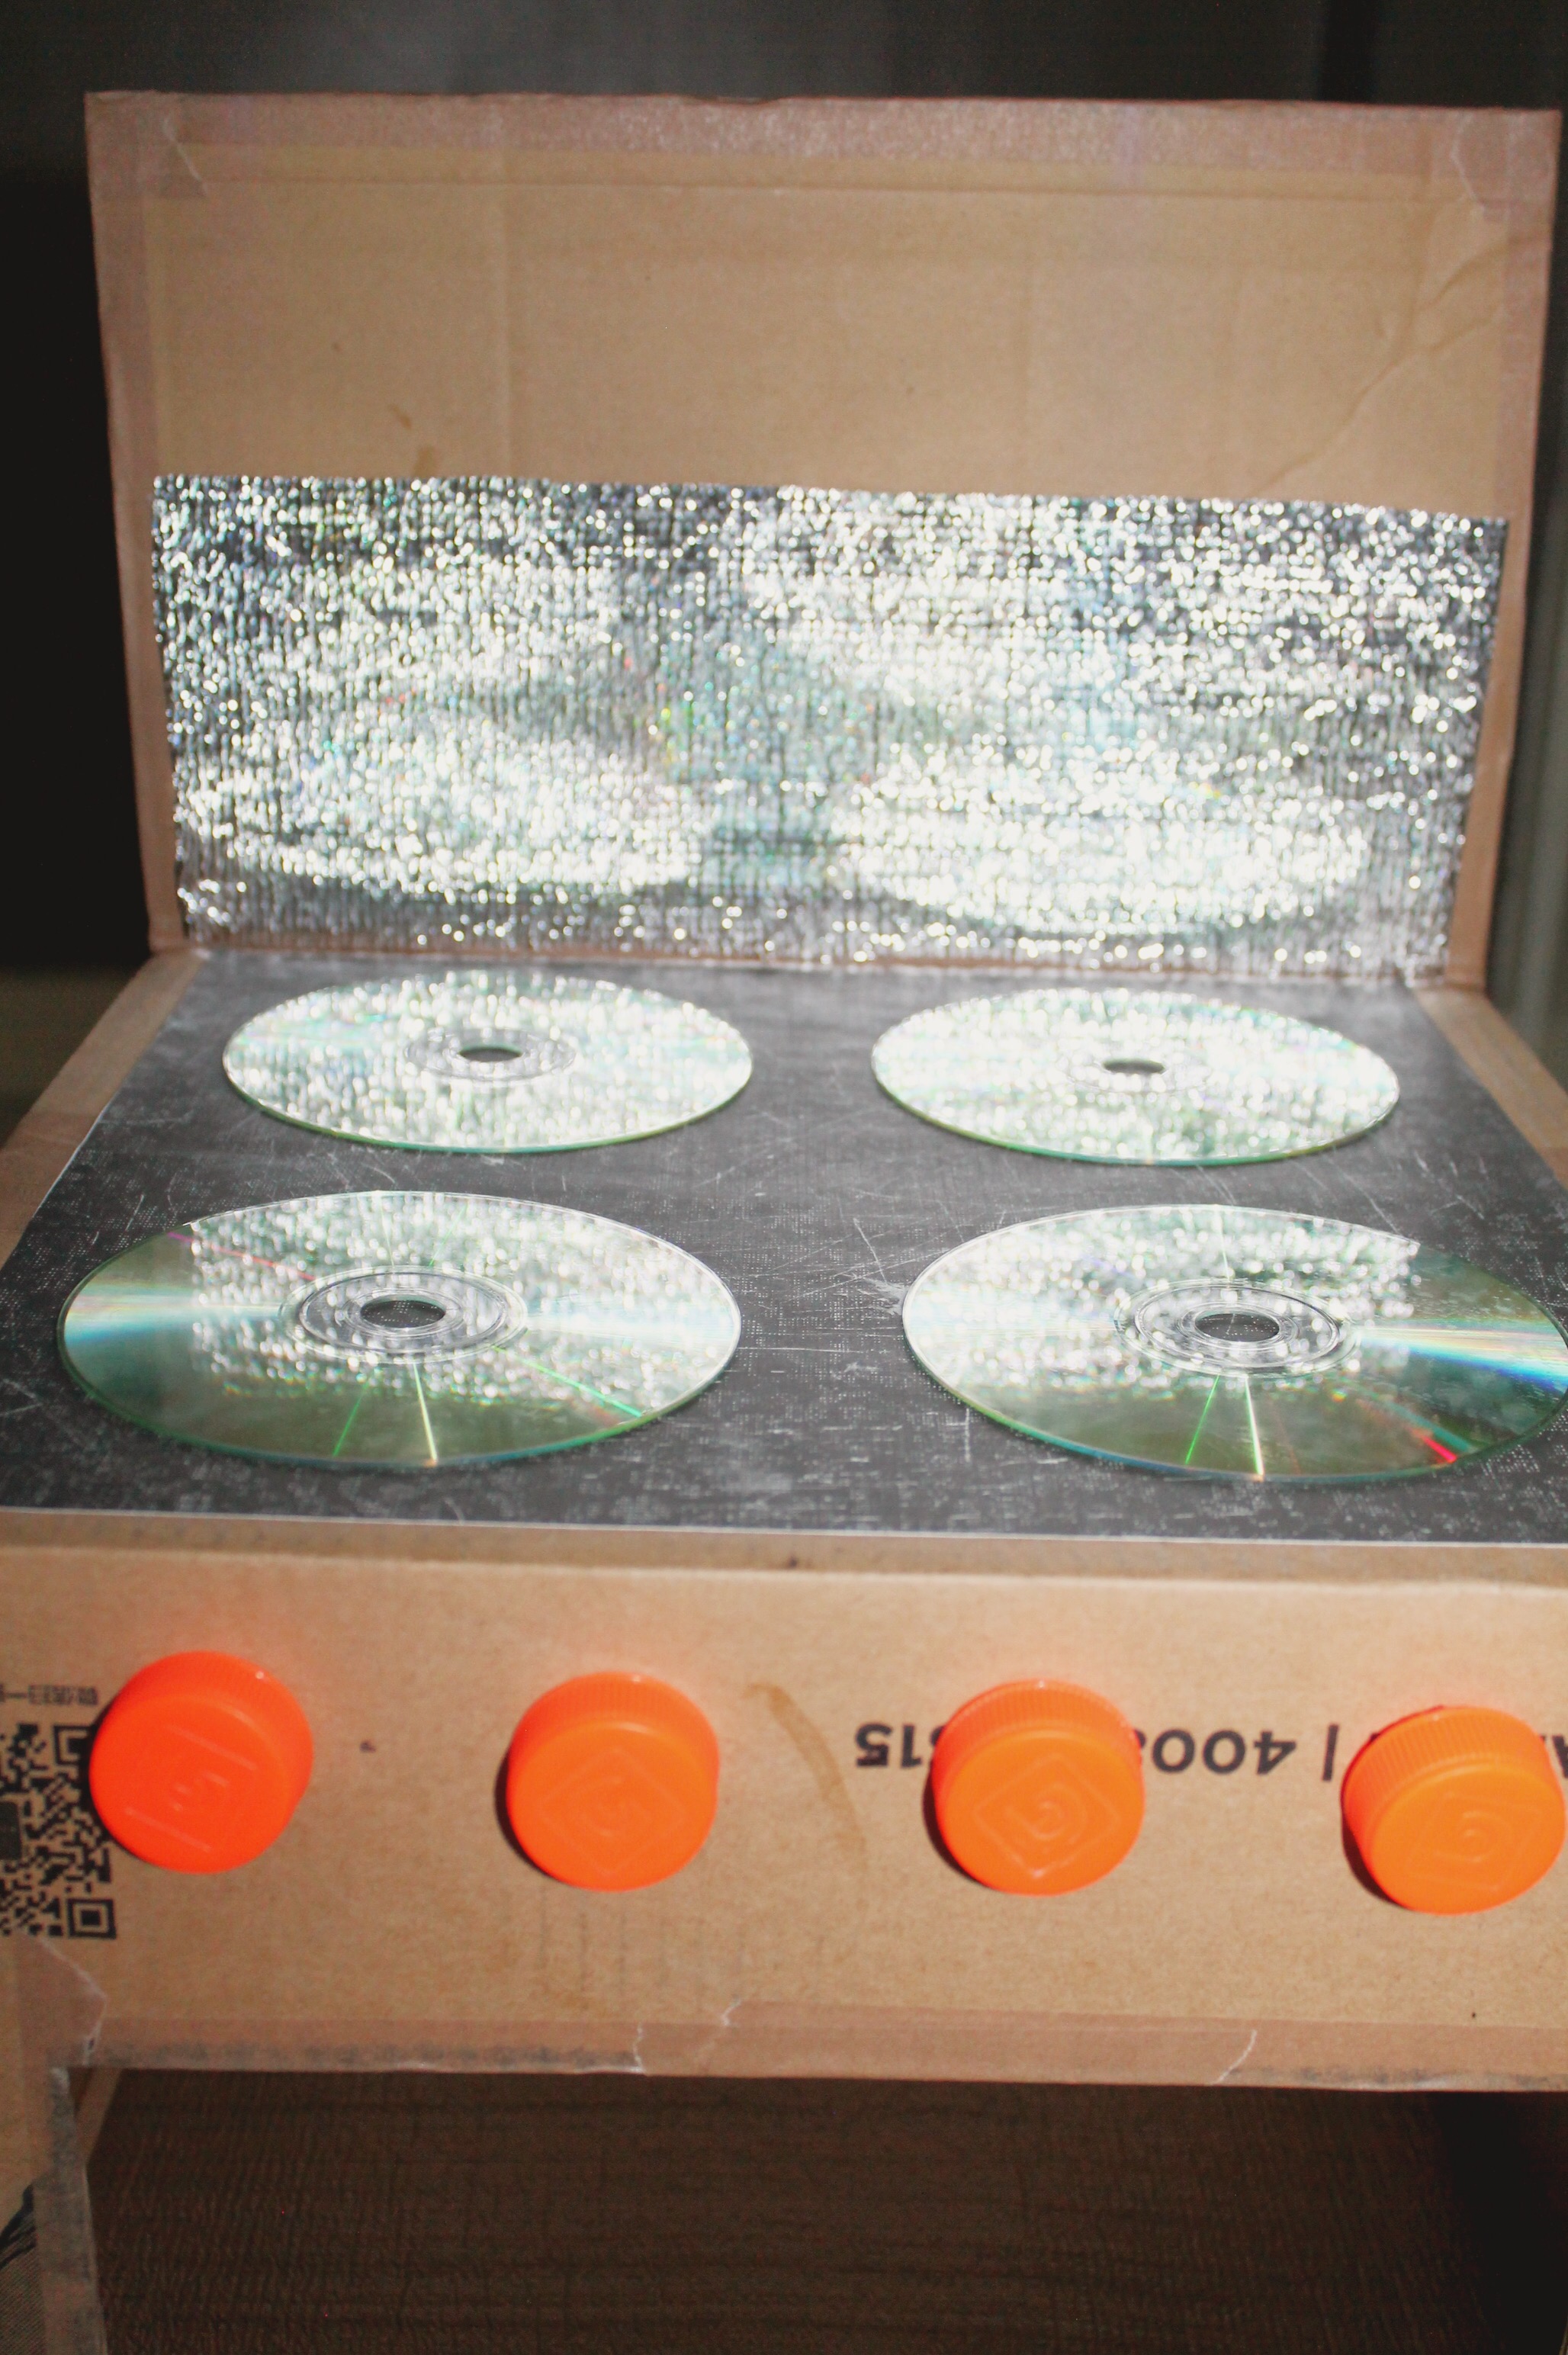
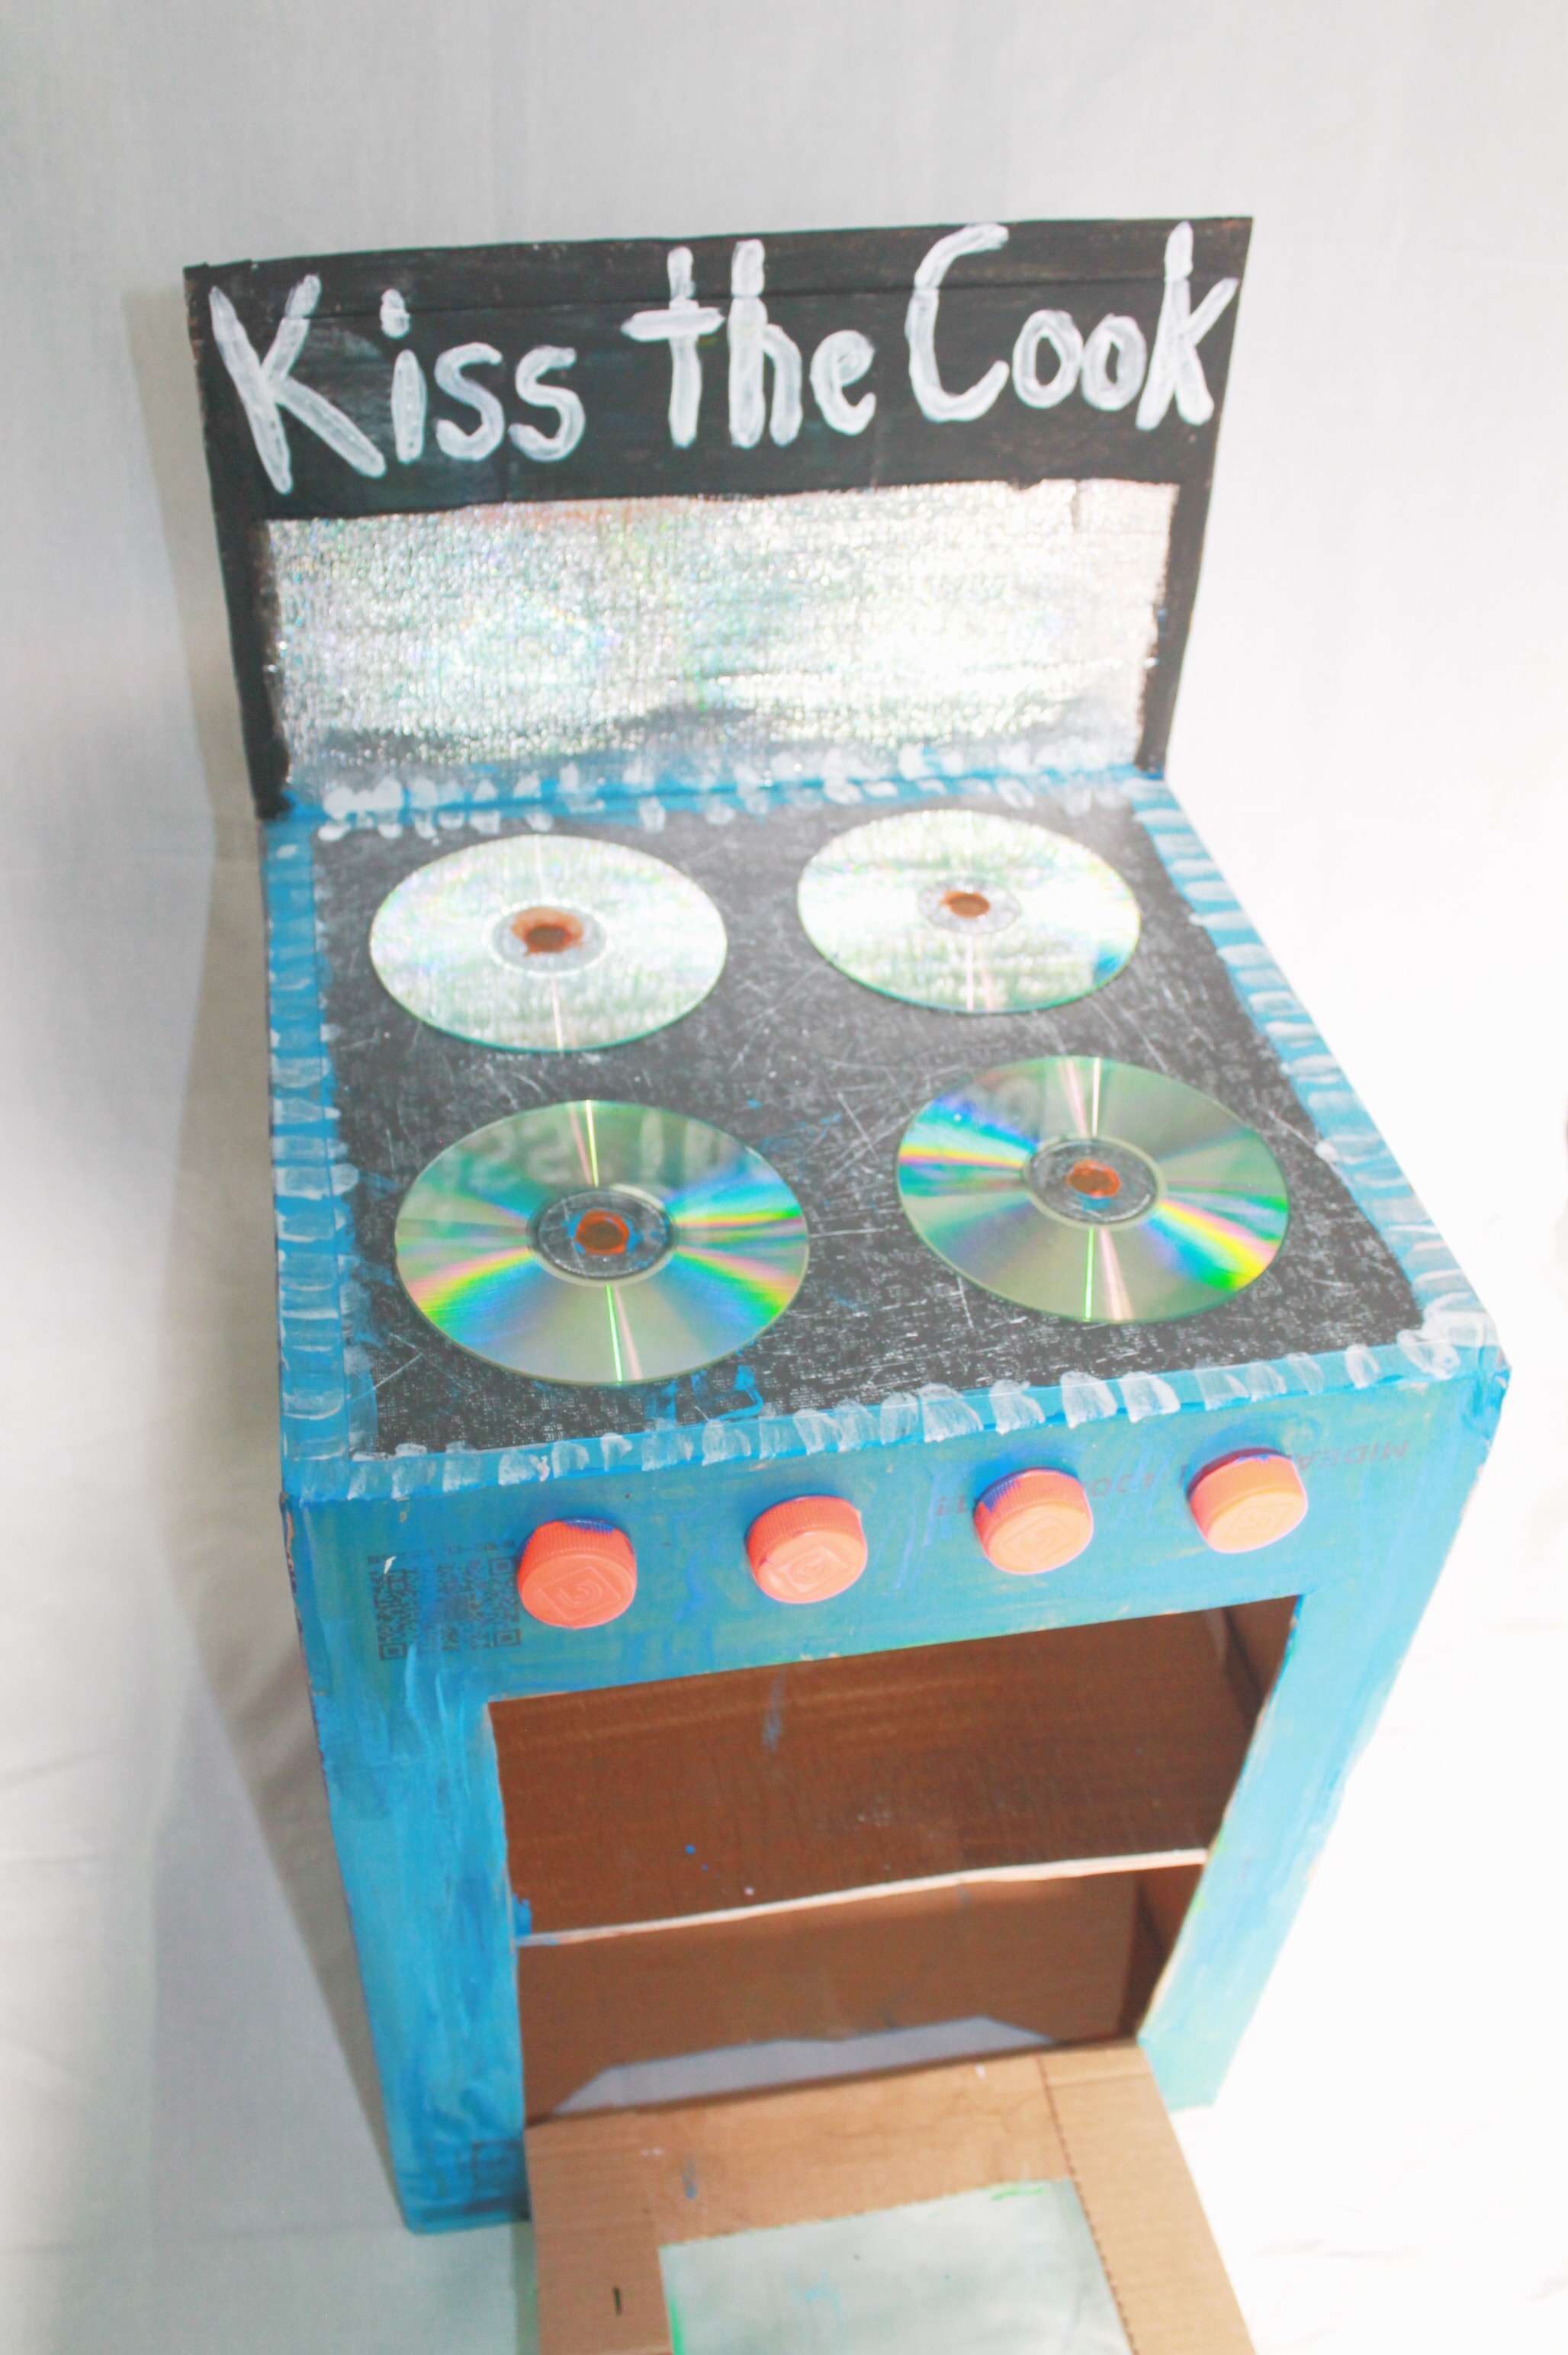
Then I added some more details. I used more scrap cardboard to make a backsplash.
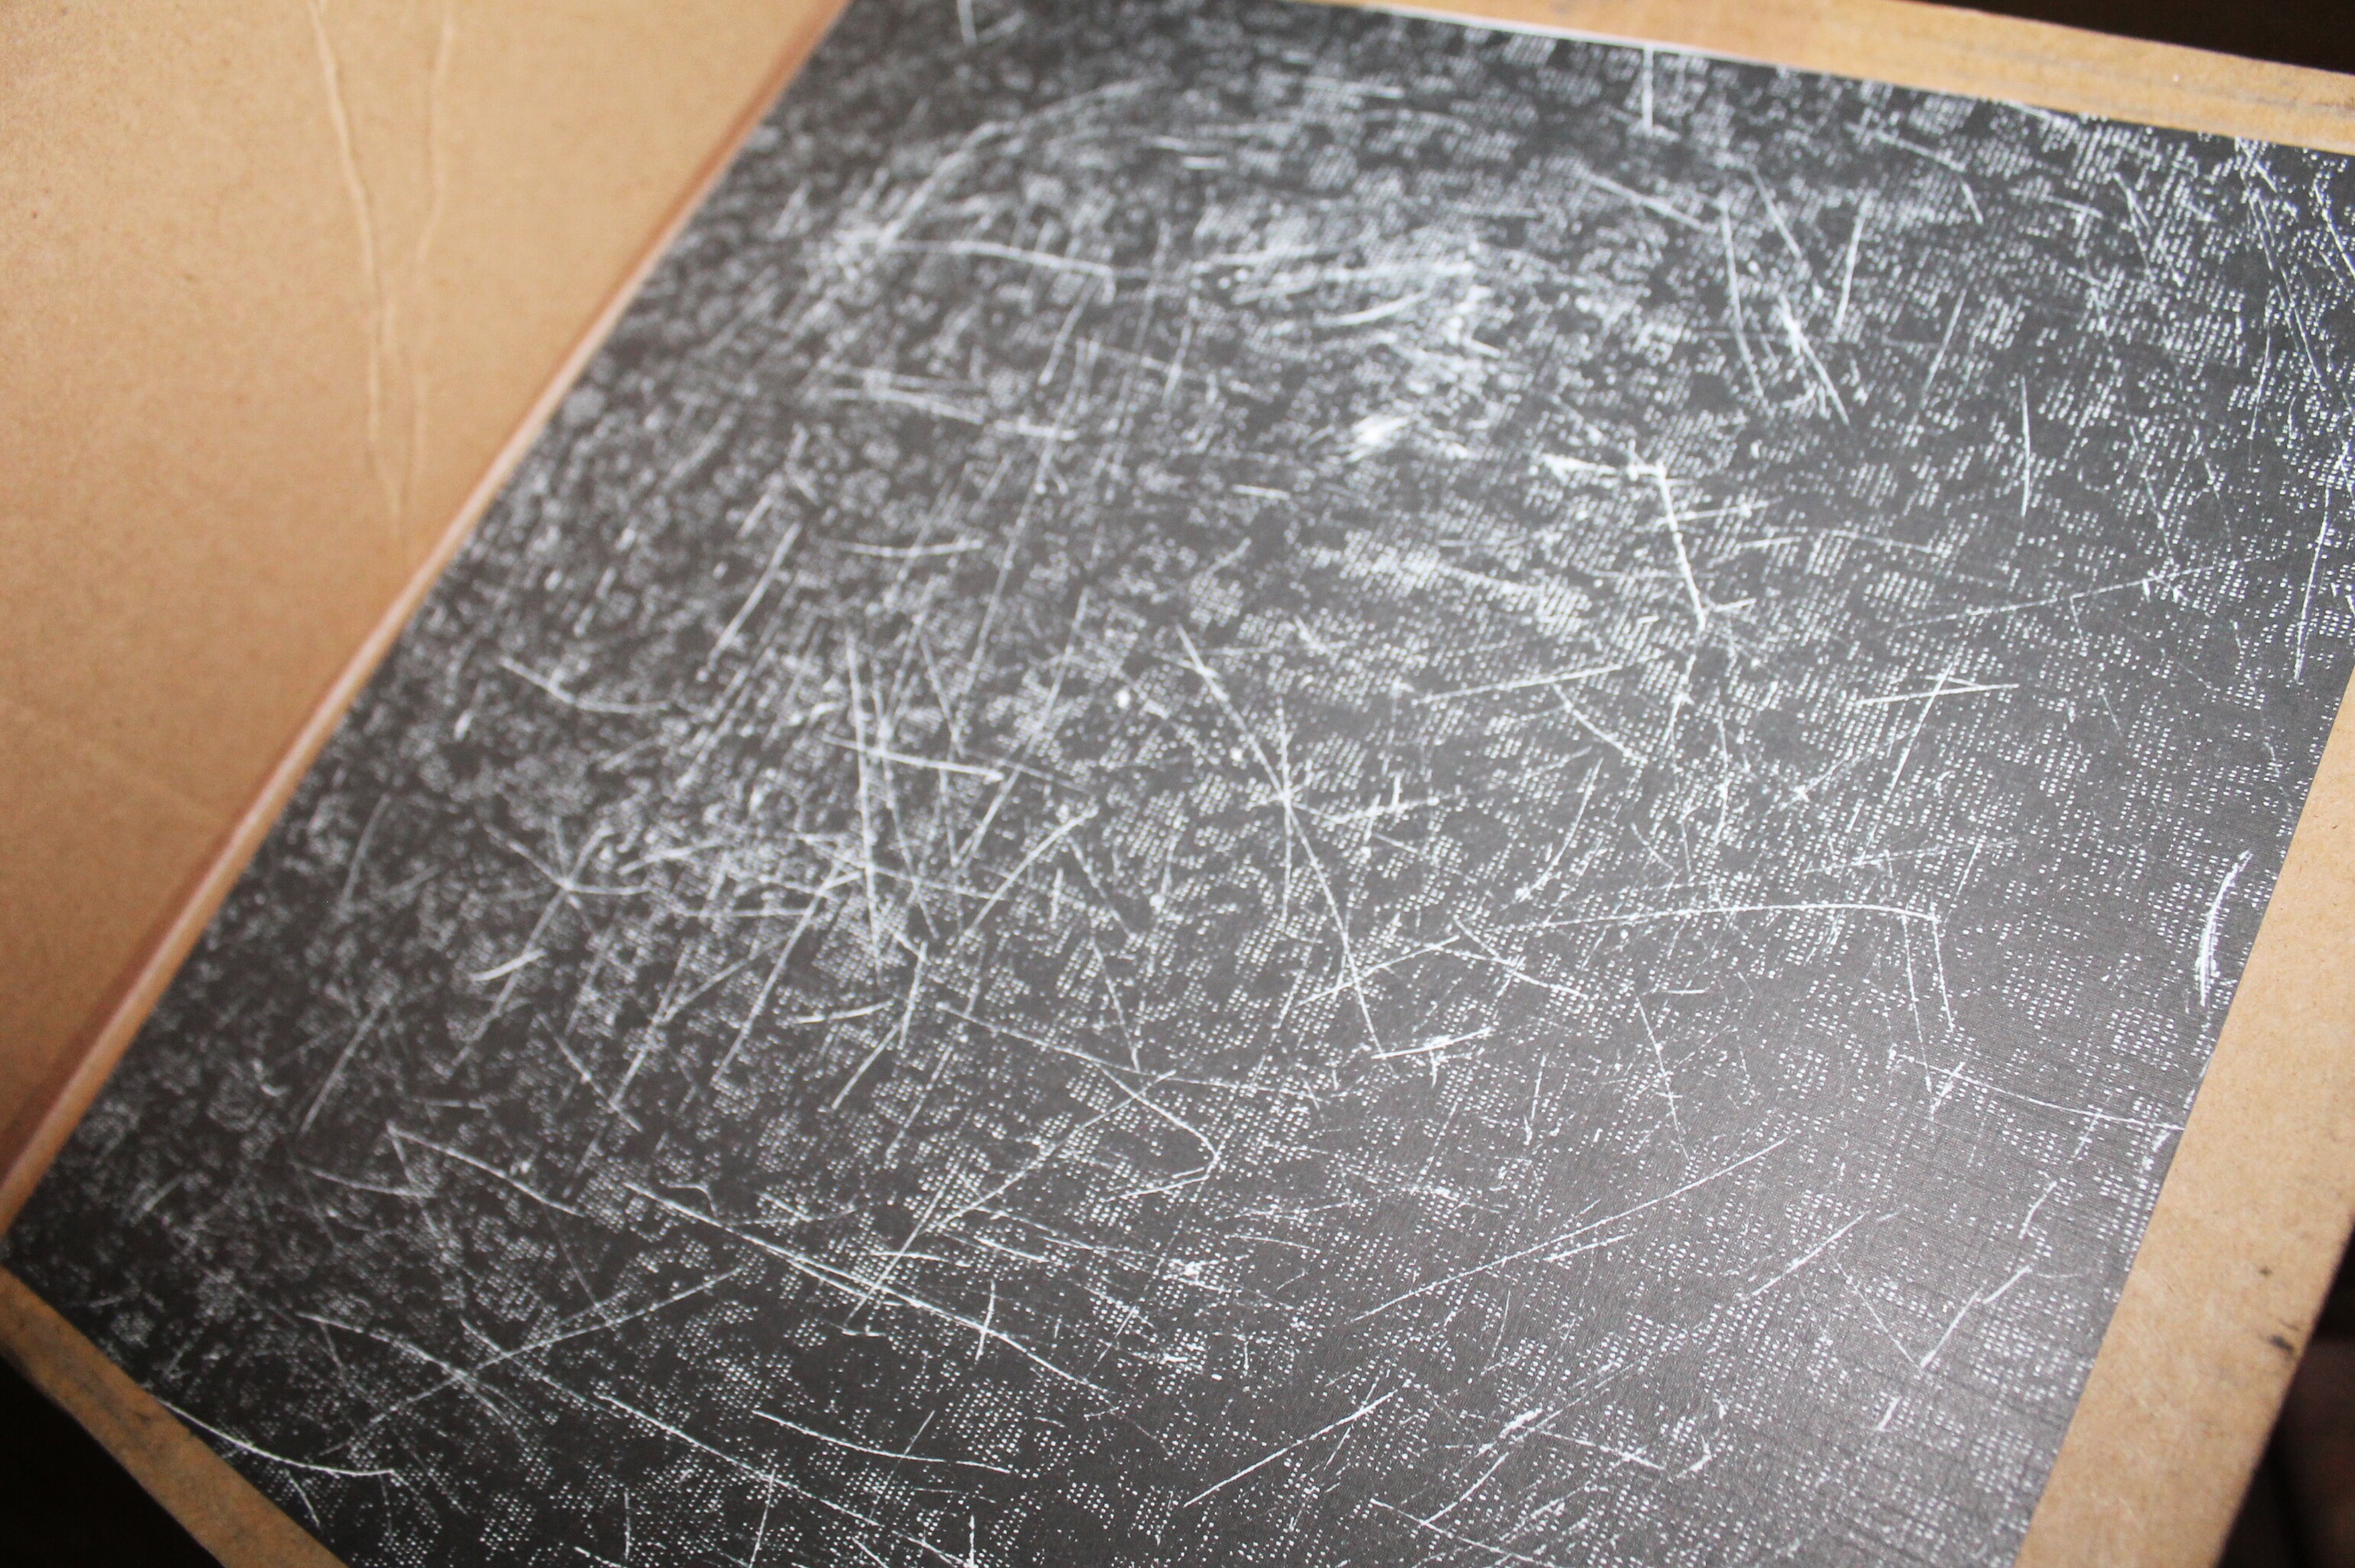
And added a shiny drawer liner to cover the oven shelf.
And a little to the backsplash.
Then my Eldest son and I painted it with quick drying kid friendly paint.
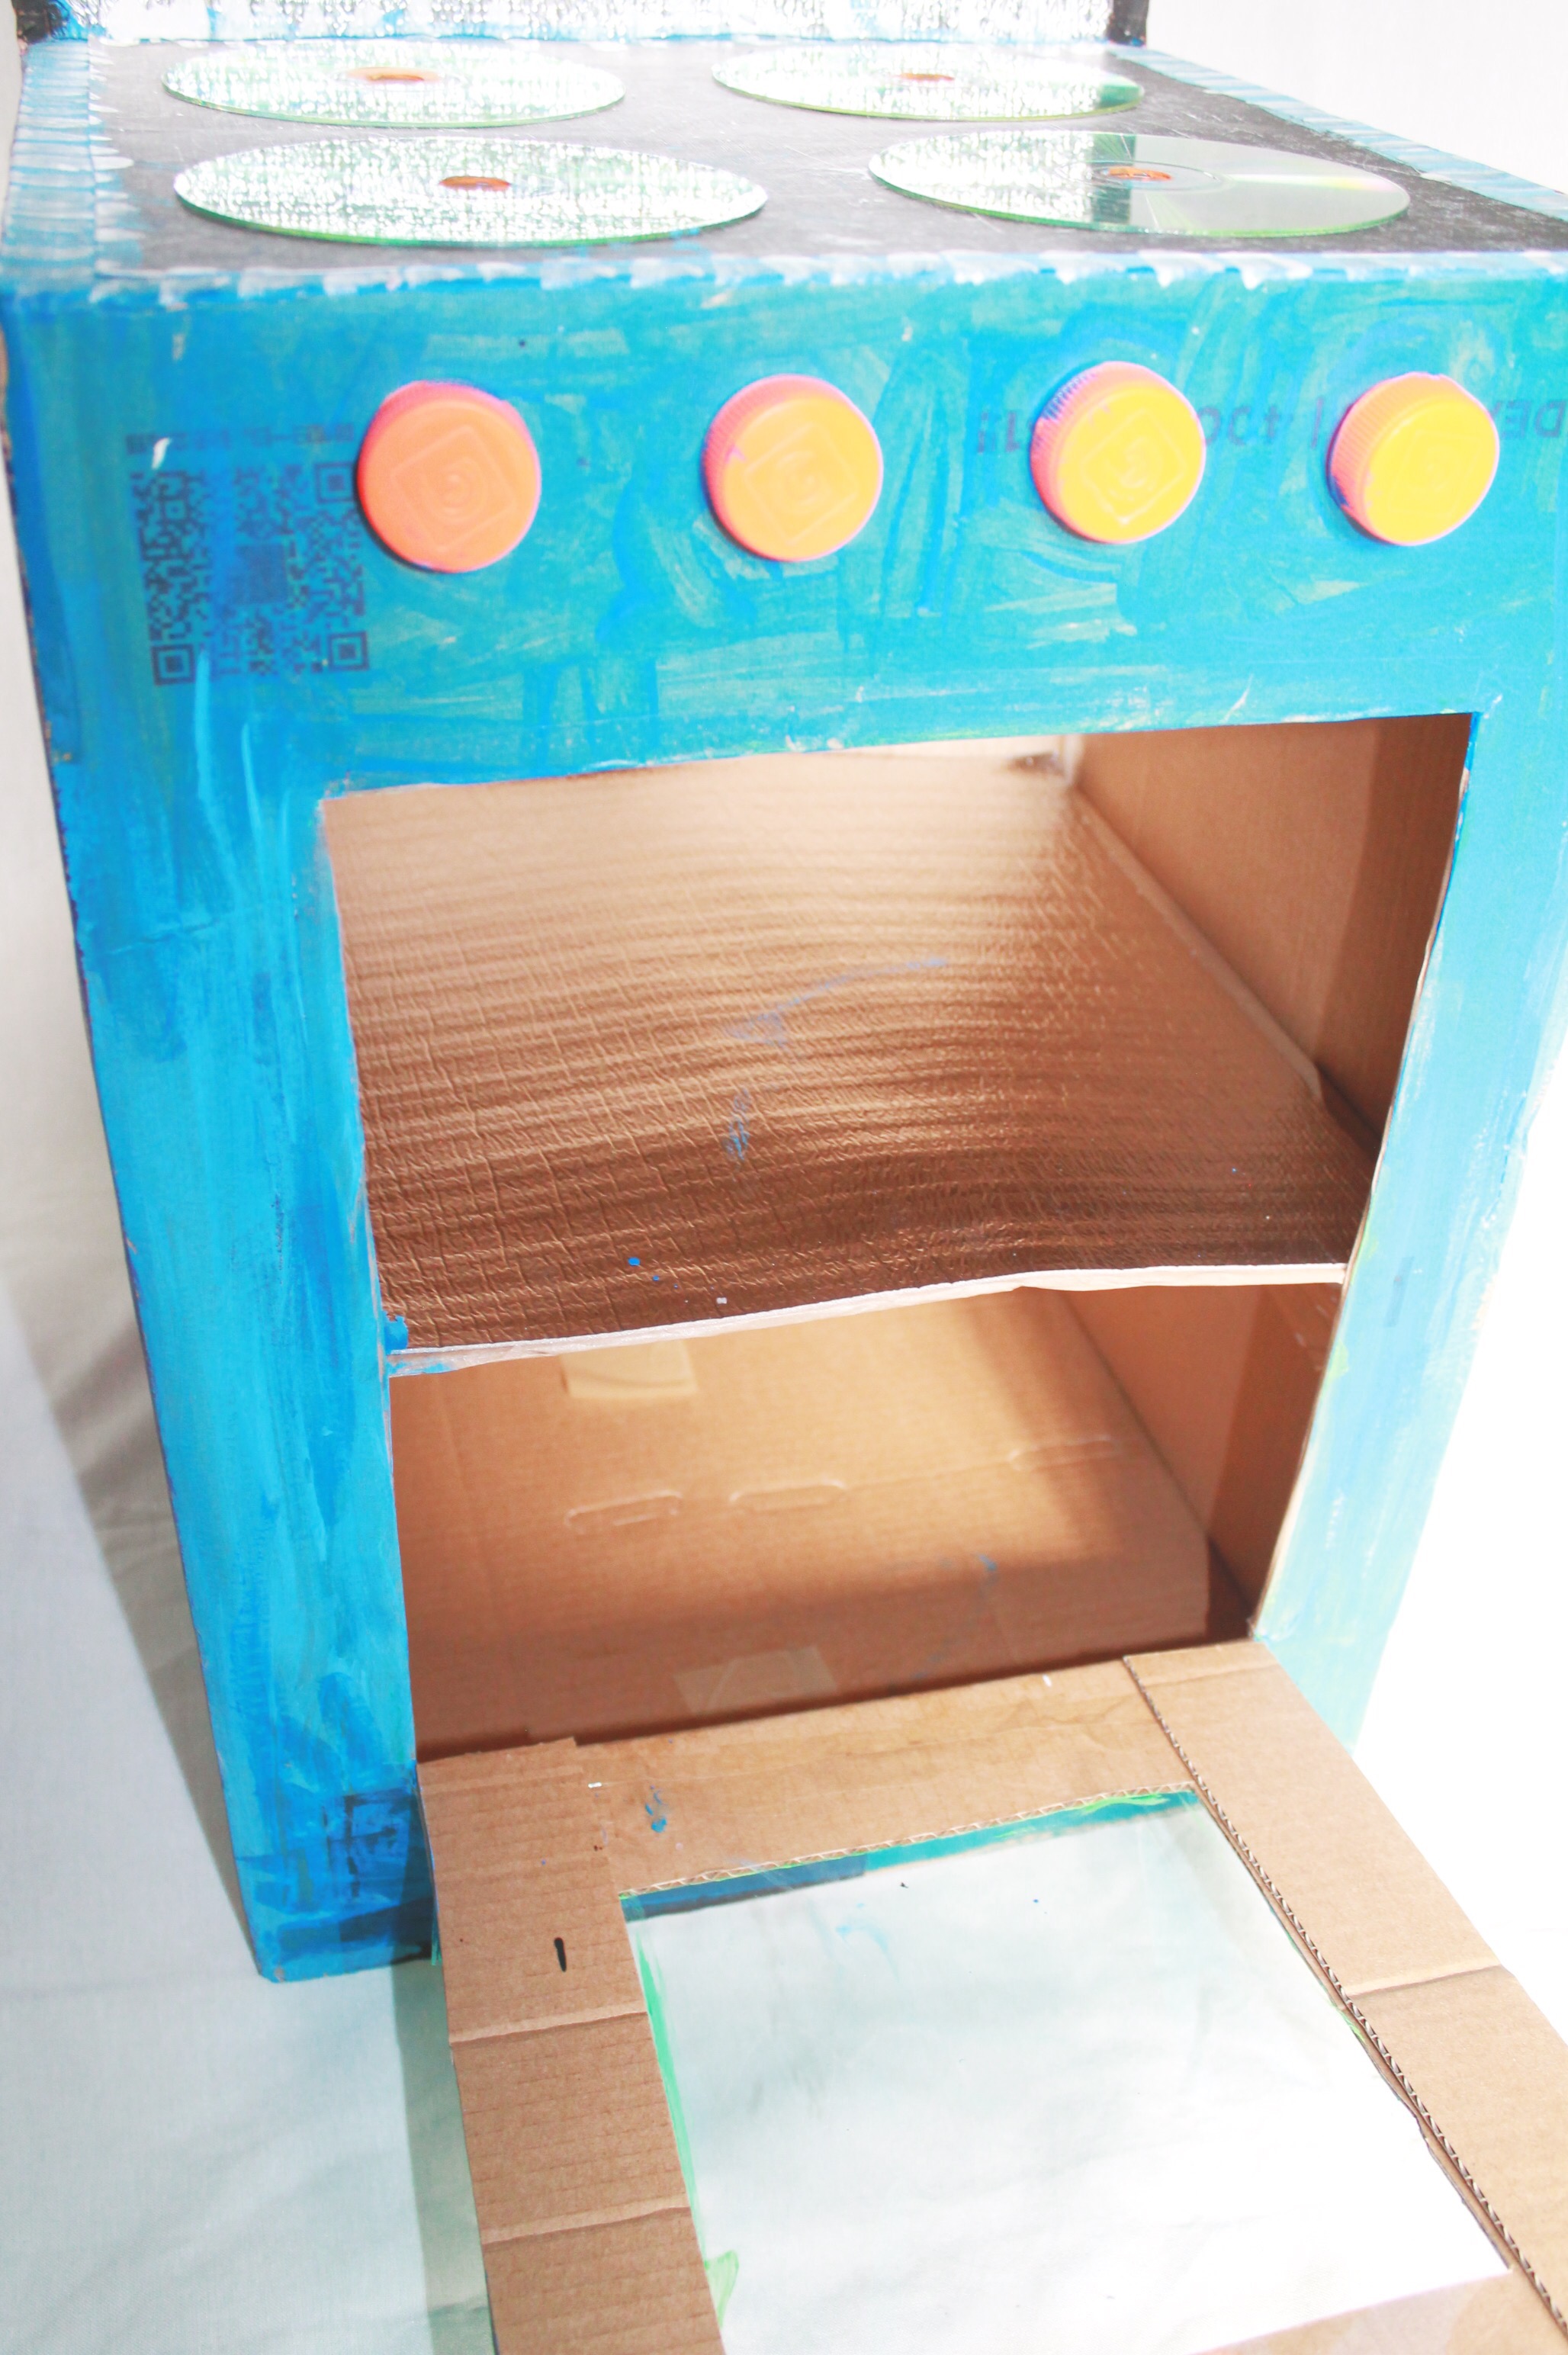
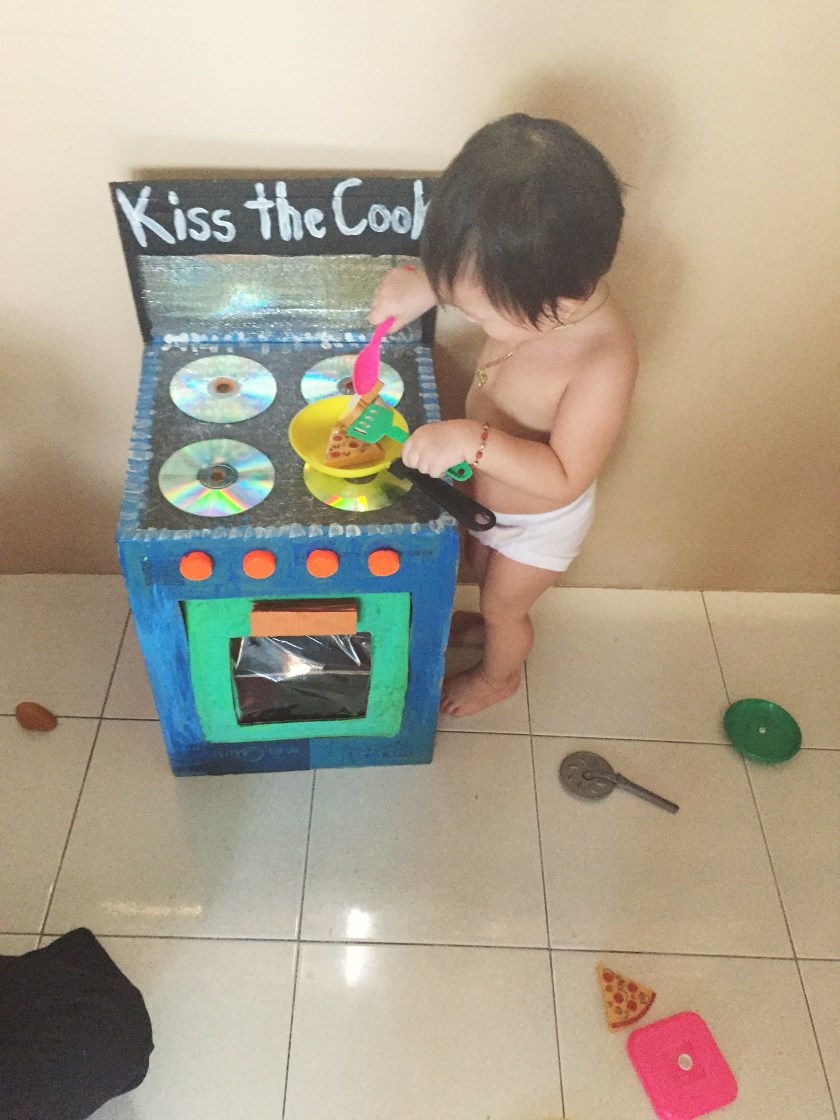
Finished product!
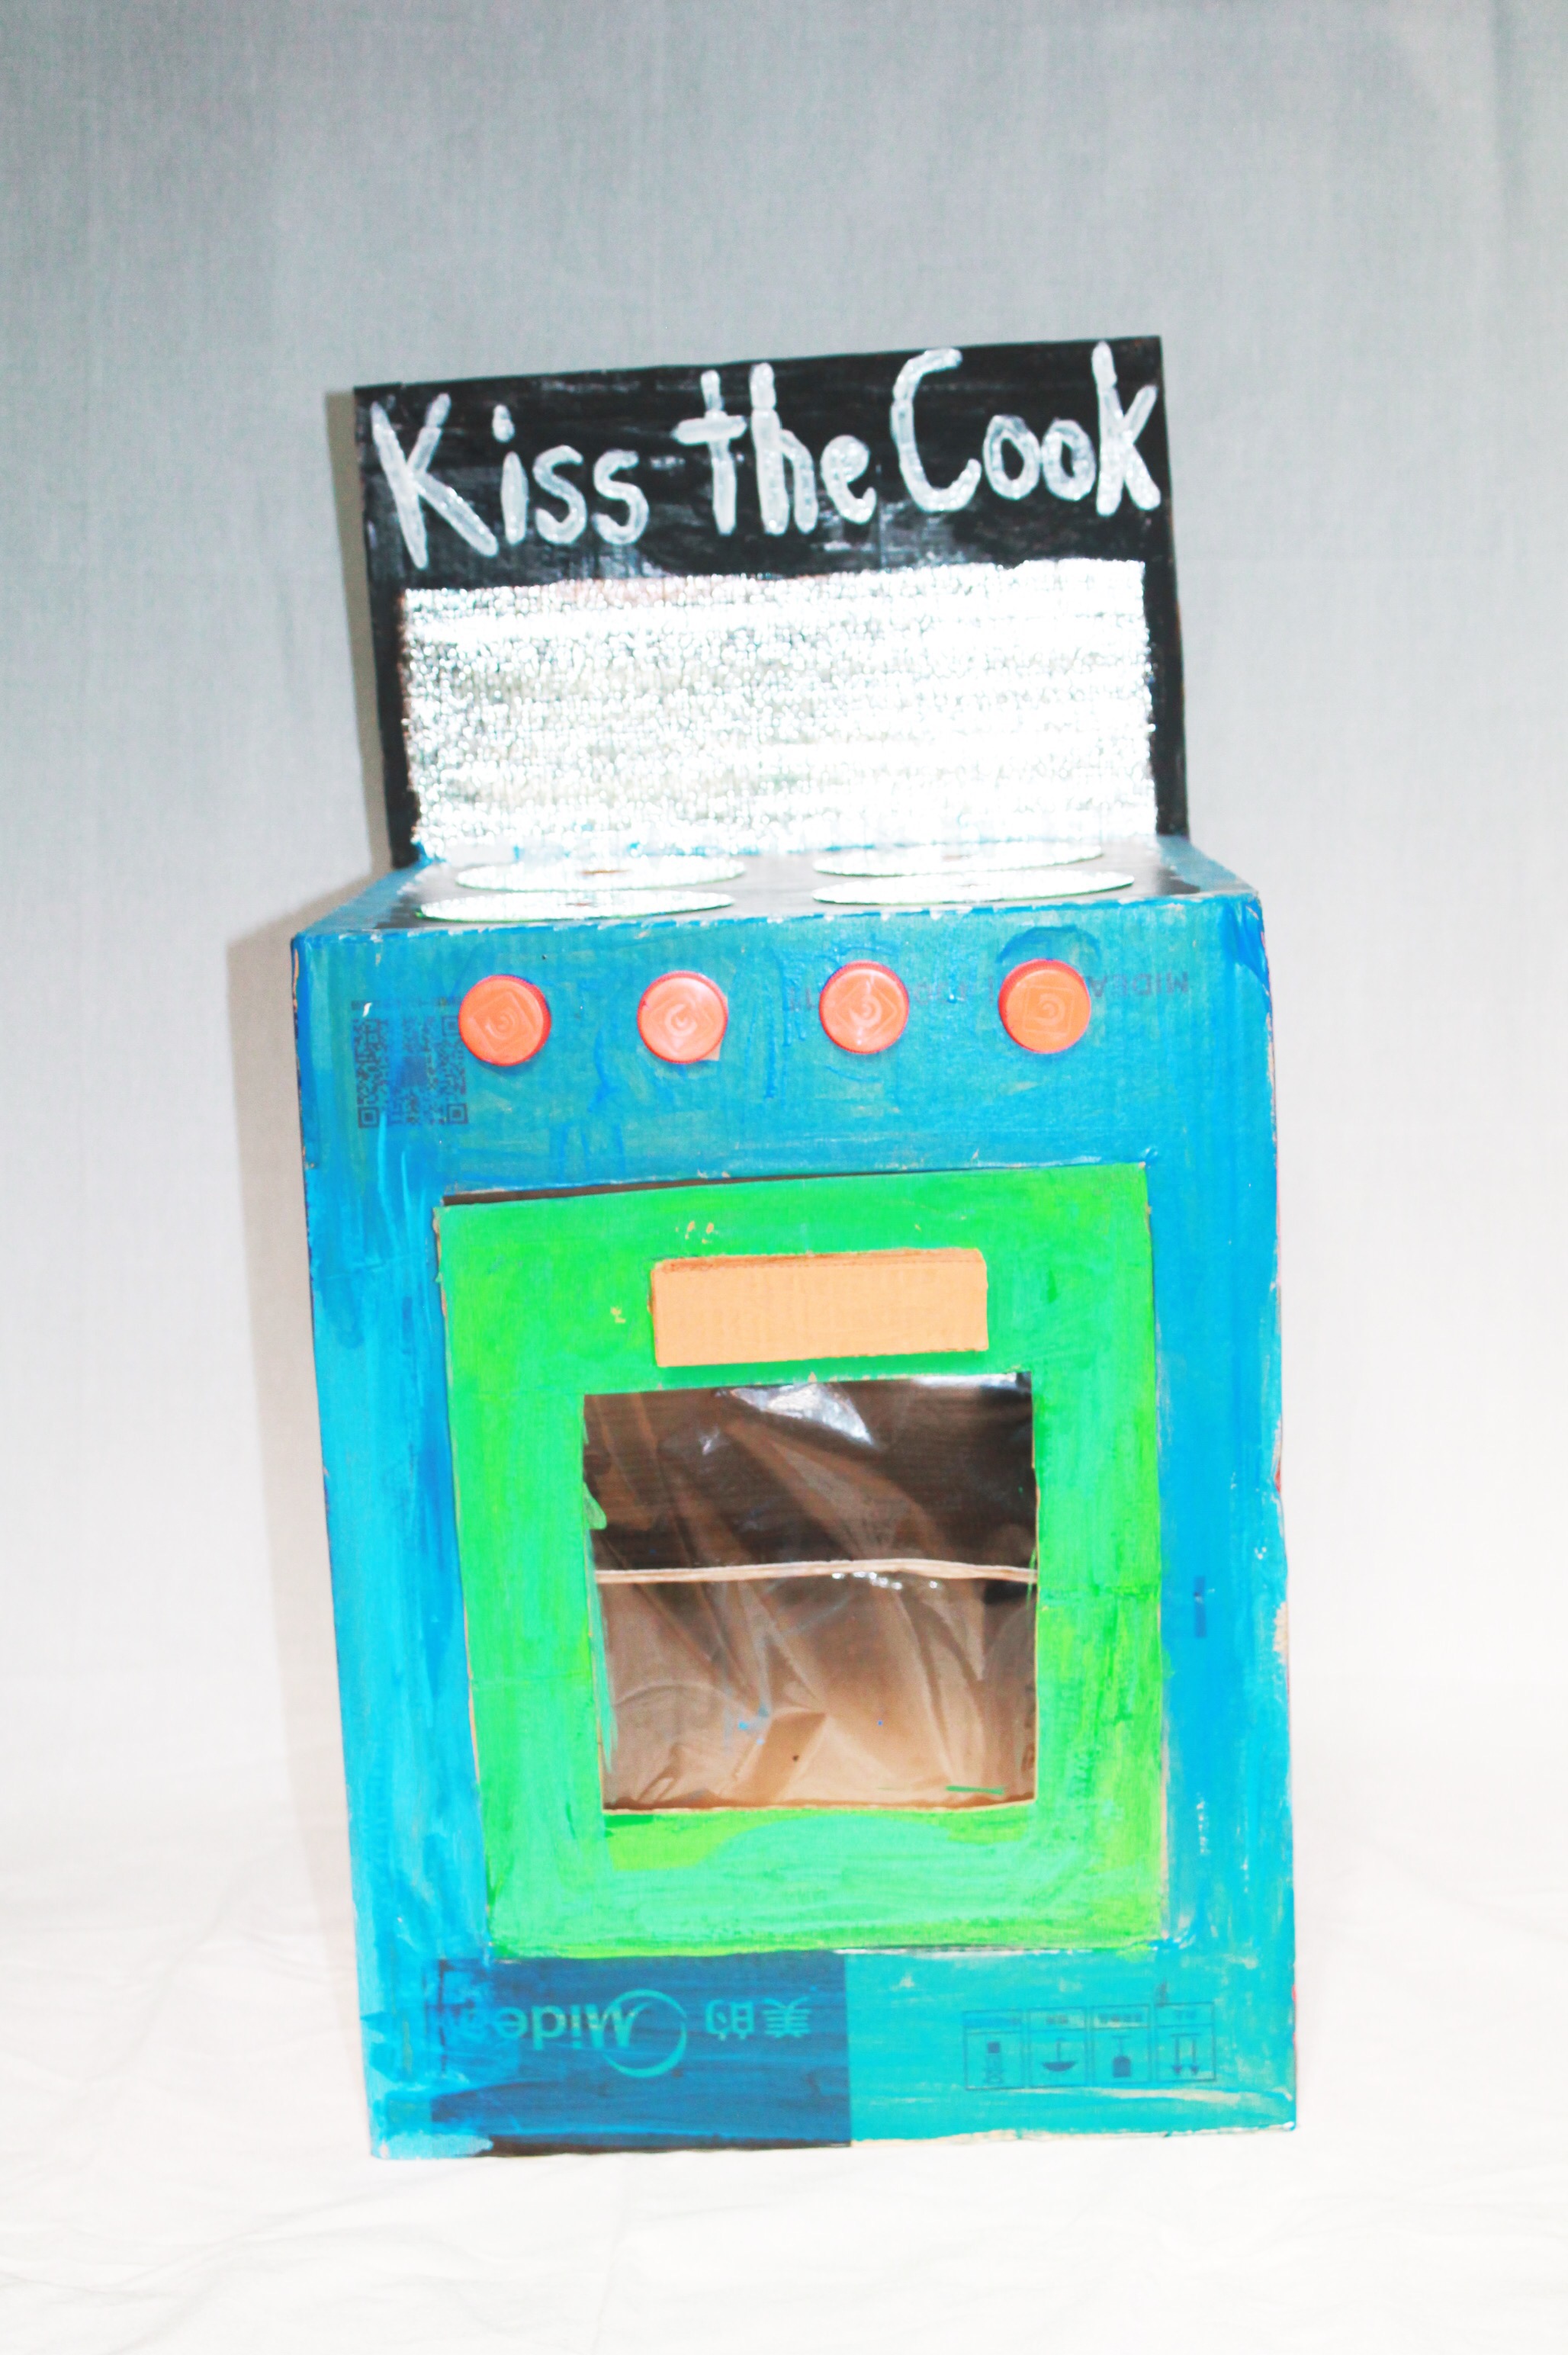
Kid tested and approved.